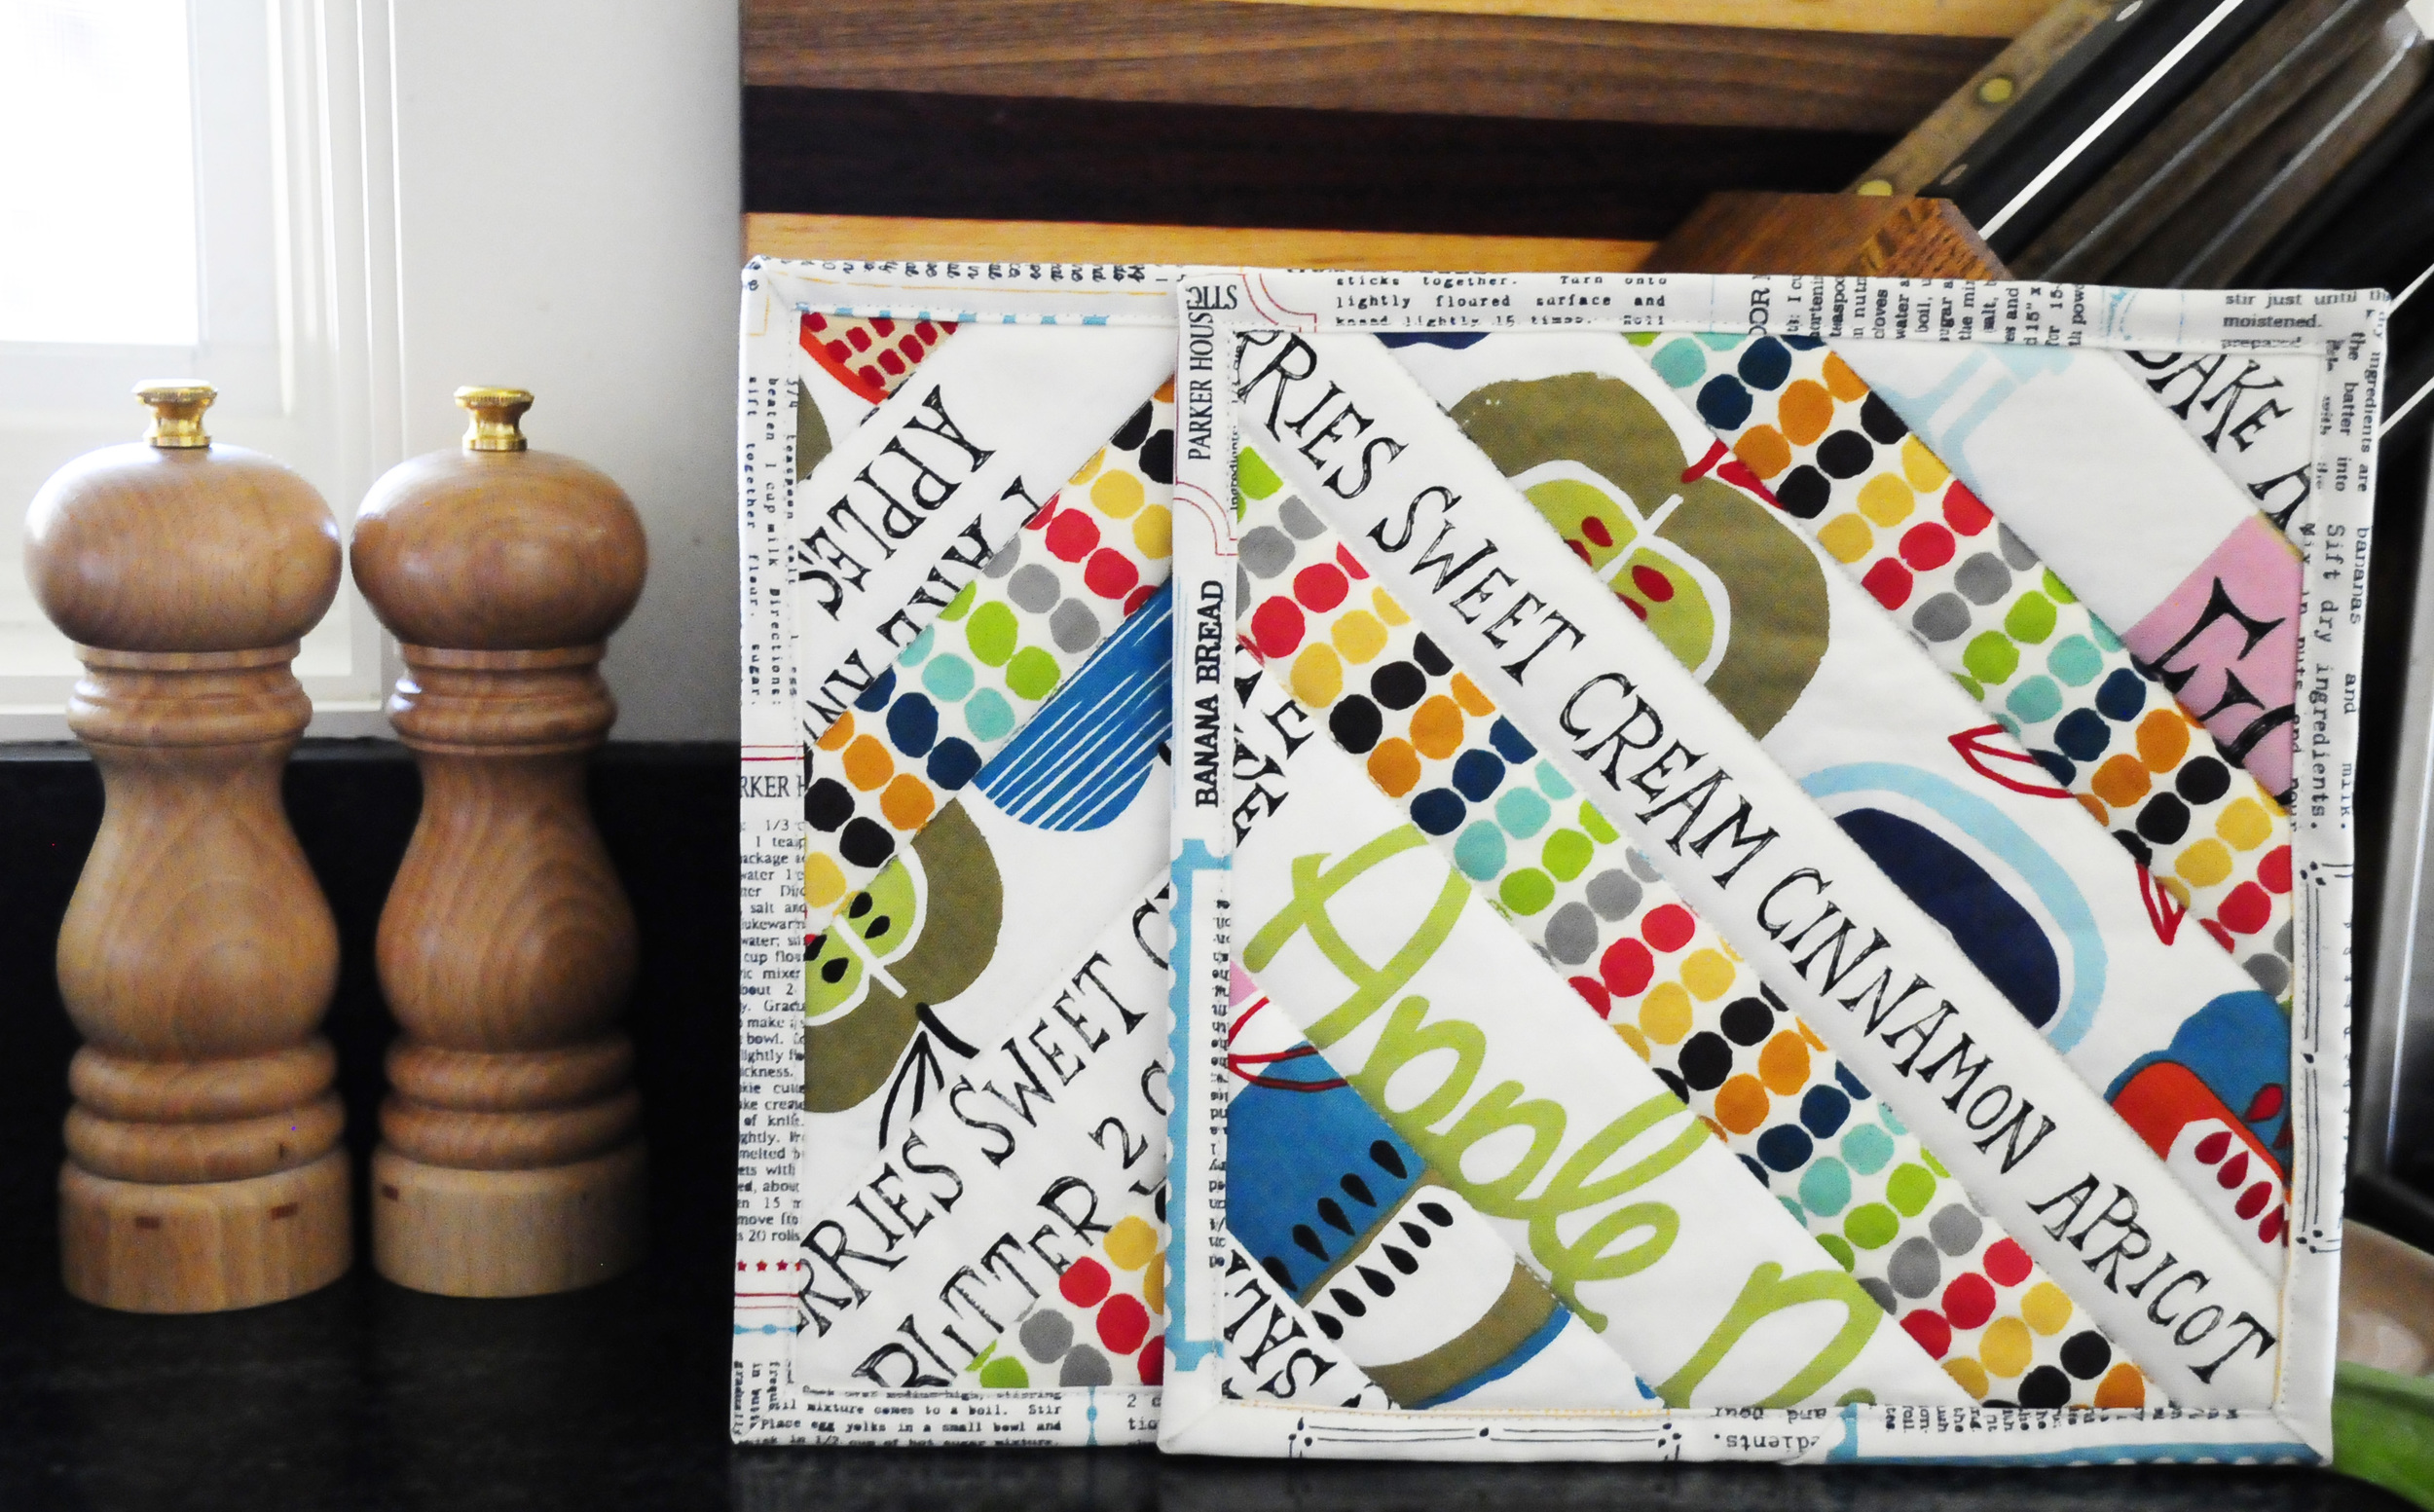
I had several people ask for a potholder tutorial, so here it is! Please ignore any funky curvy mat lines below due to my camera lens.
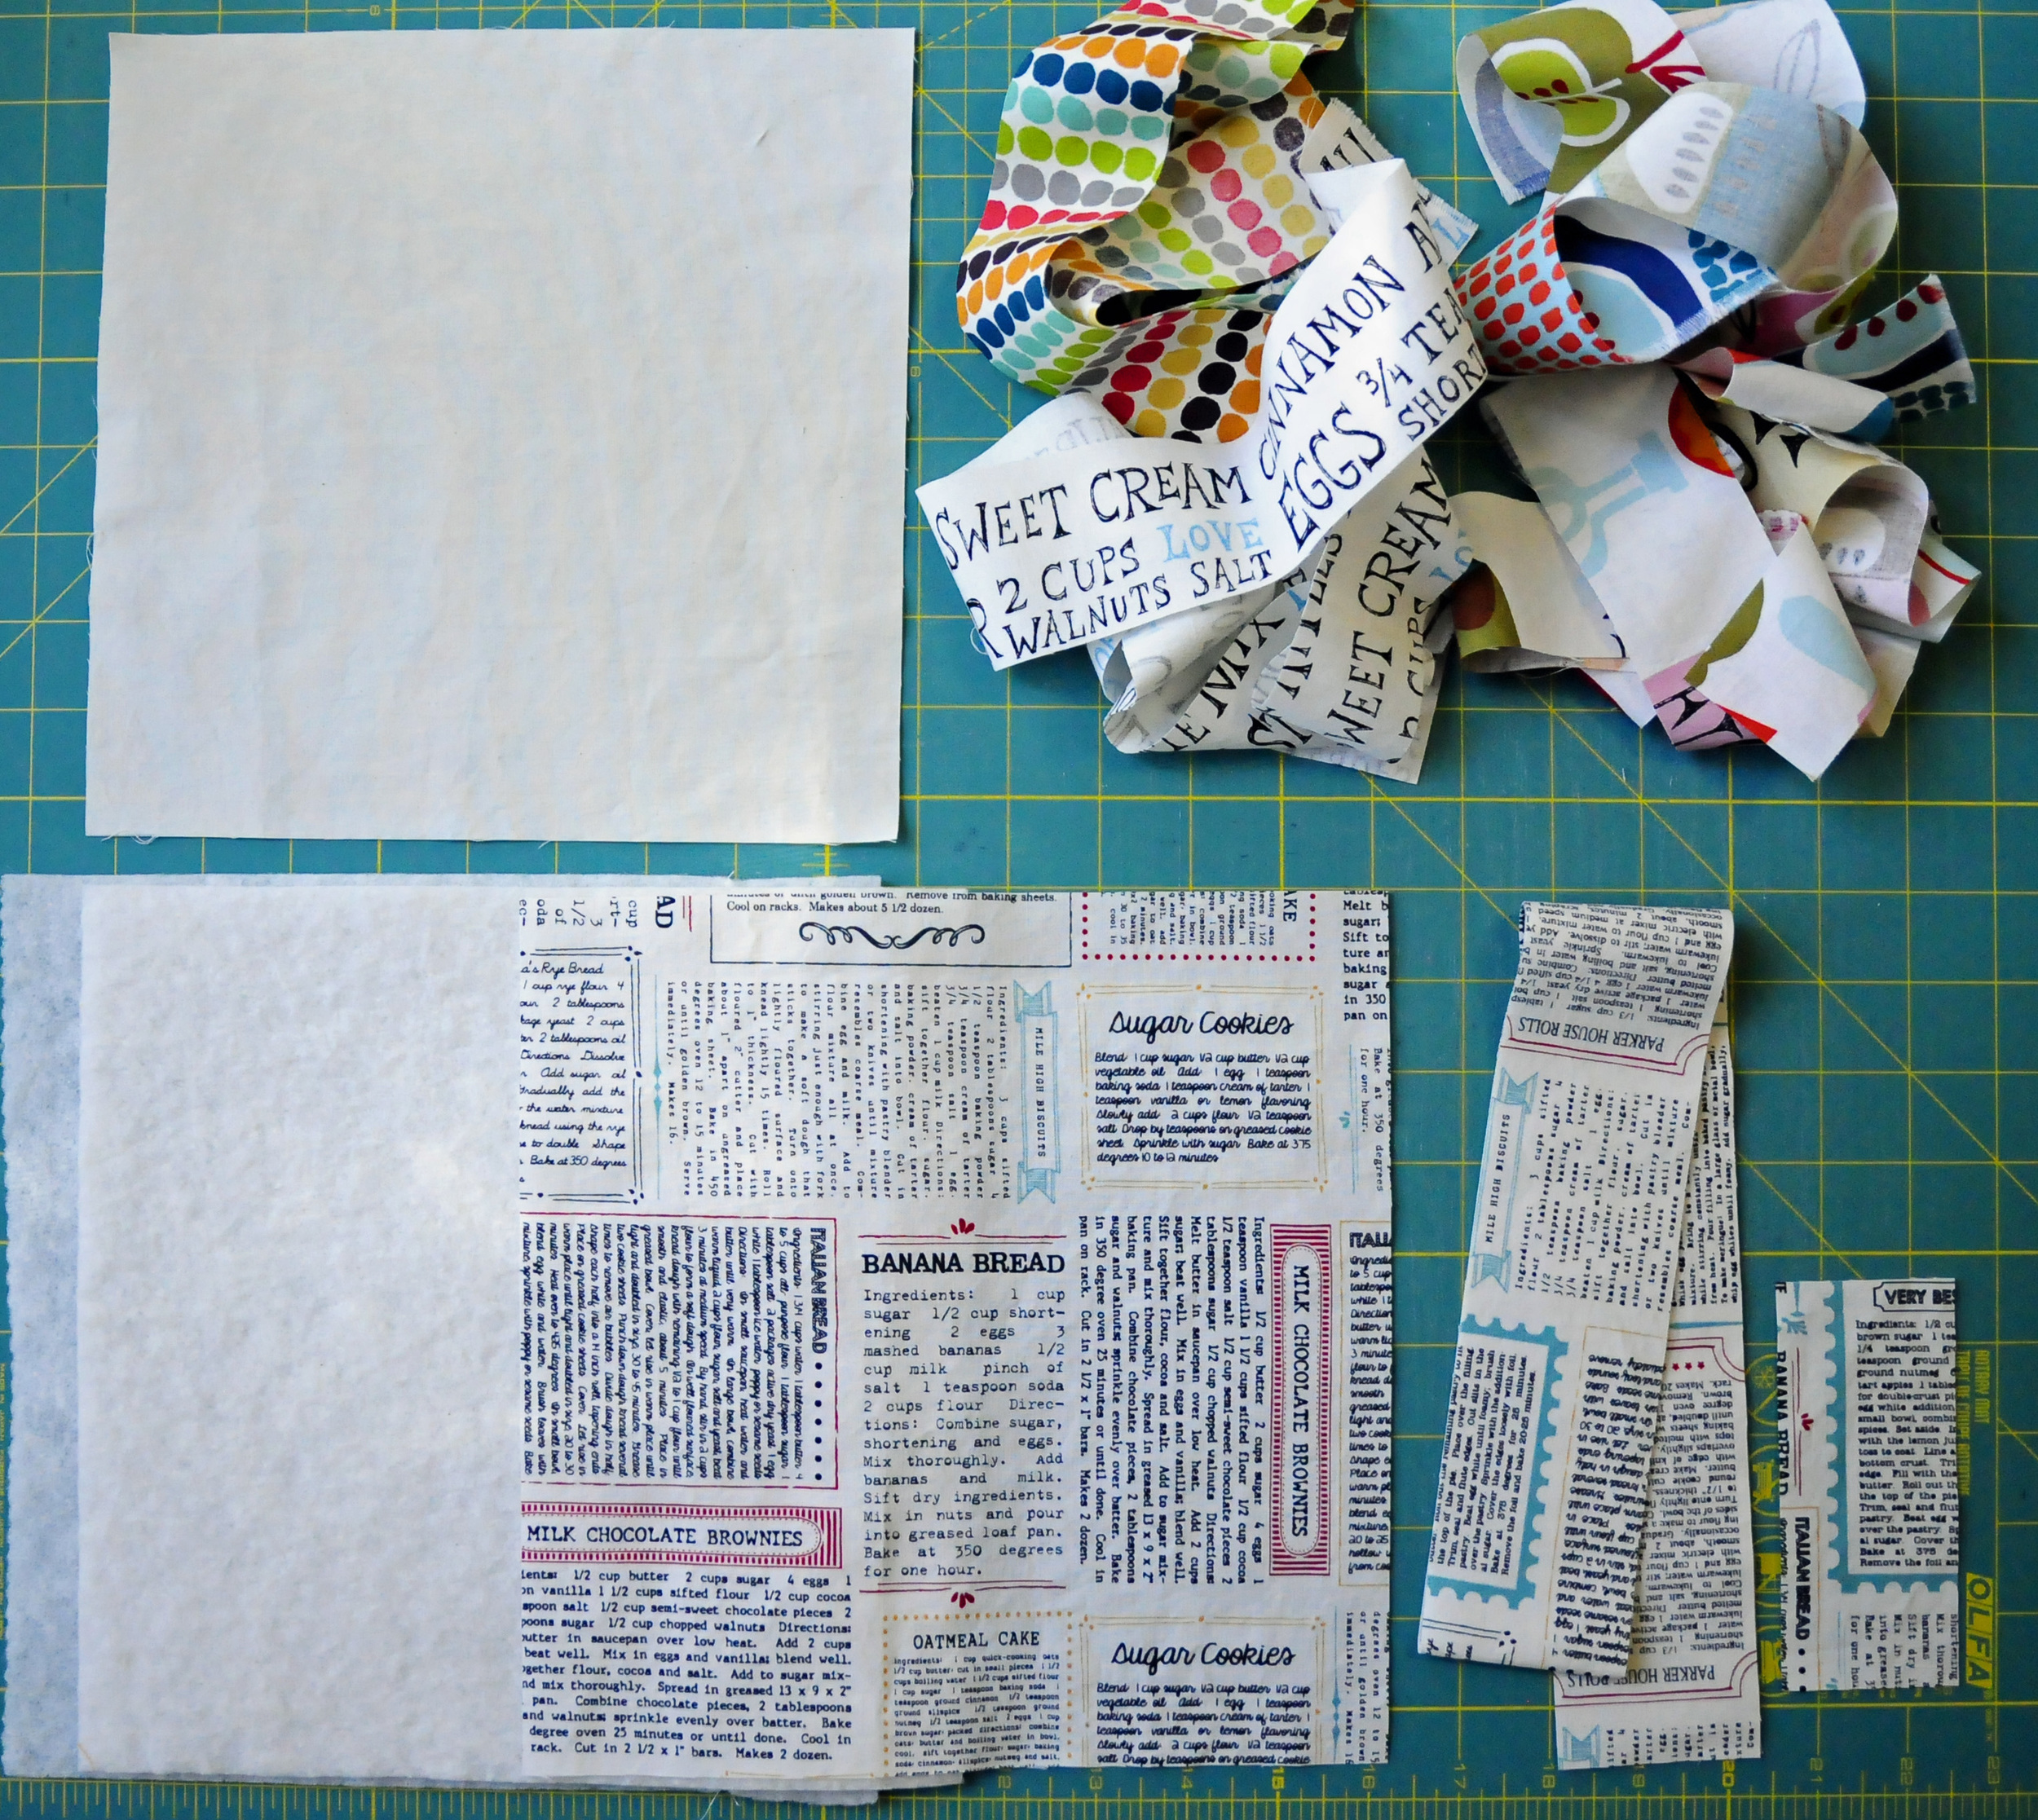
First, here's what you need for one potholder (finished size 8.25"):
- one piece of muslin, 9" x 9"
- a handful of strips cut to various widths (probably about 1.5" to 2", but I don't measure)
- 2 pieces of batting cut to 9.5" x 9.5" (or 1 piece of Insul-bright and 1 piece of regular batting)
- one backing piece, 9.5" x 9.5"
- binding, 2.25" x 40"
- loop piece, 2" x 4.5"
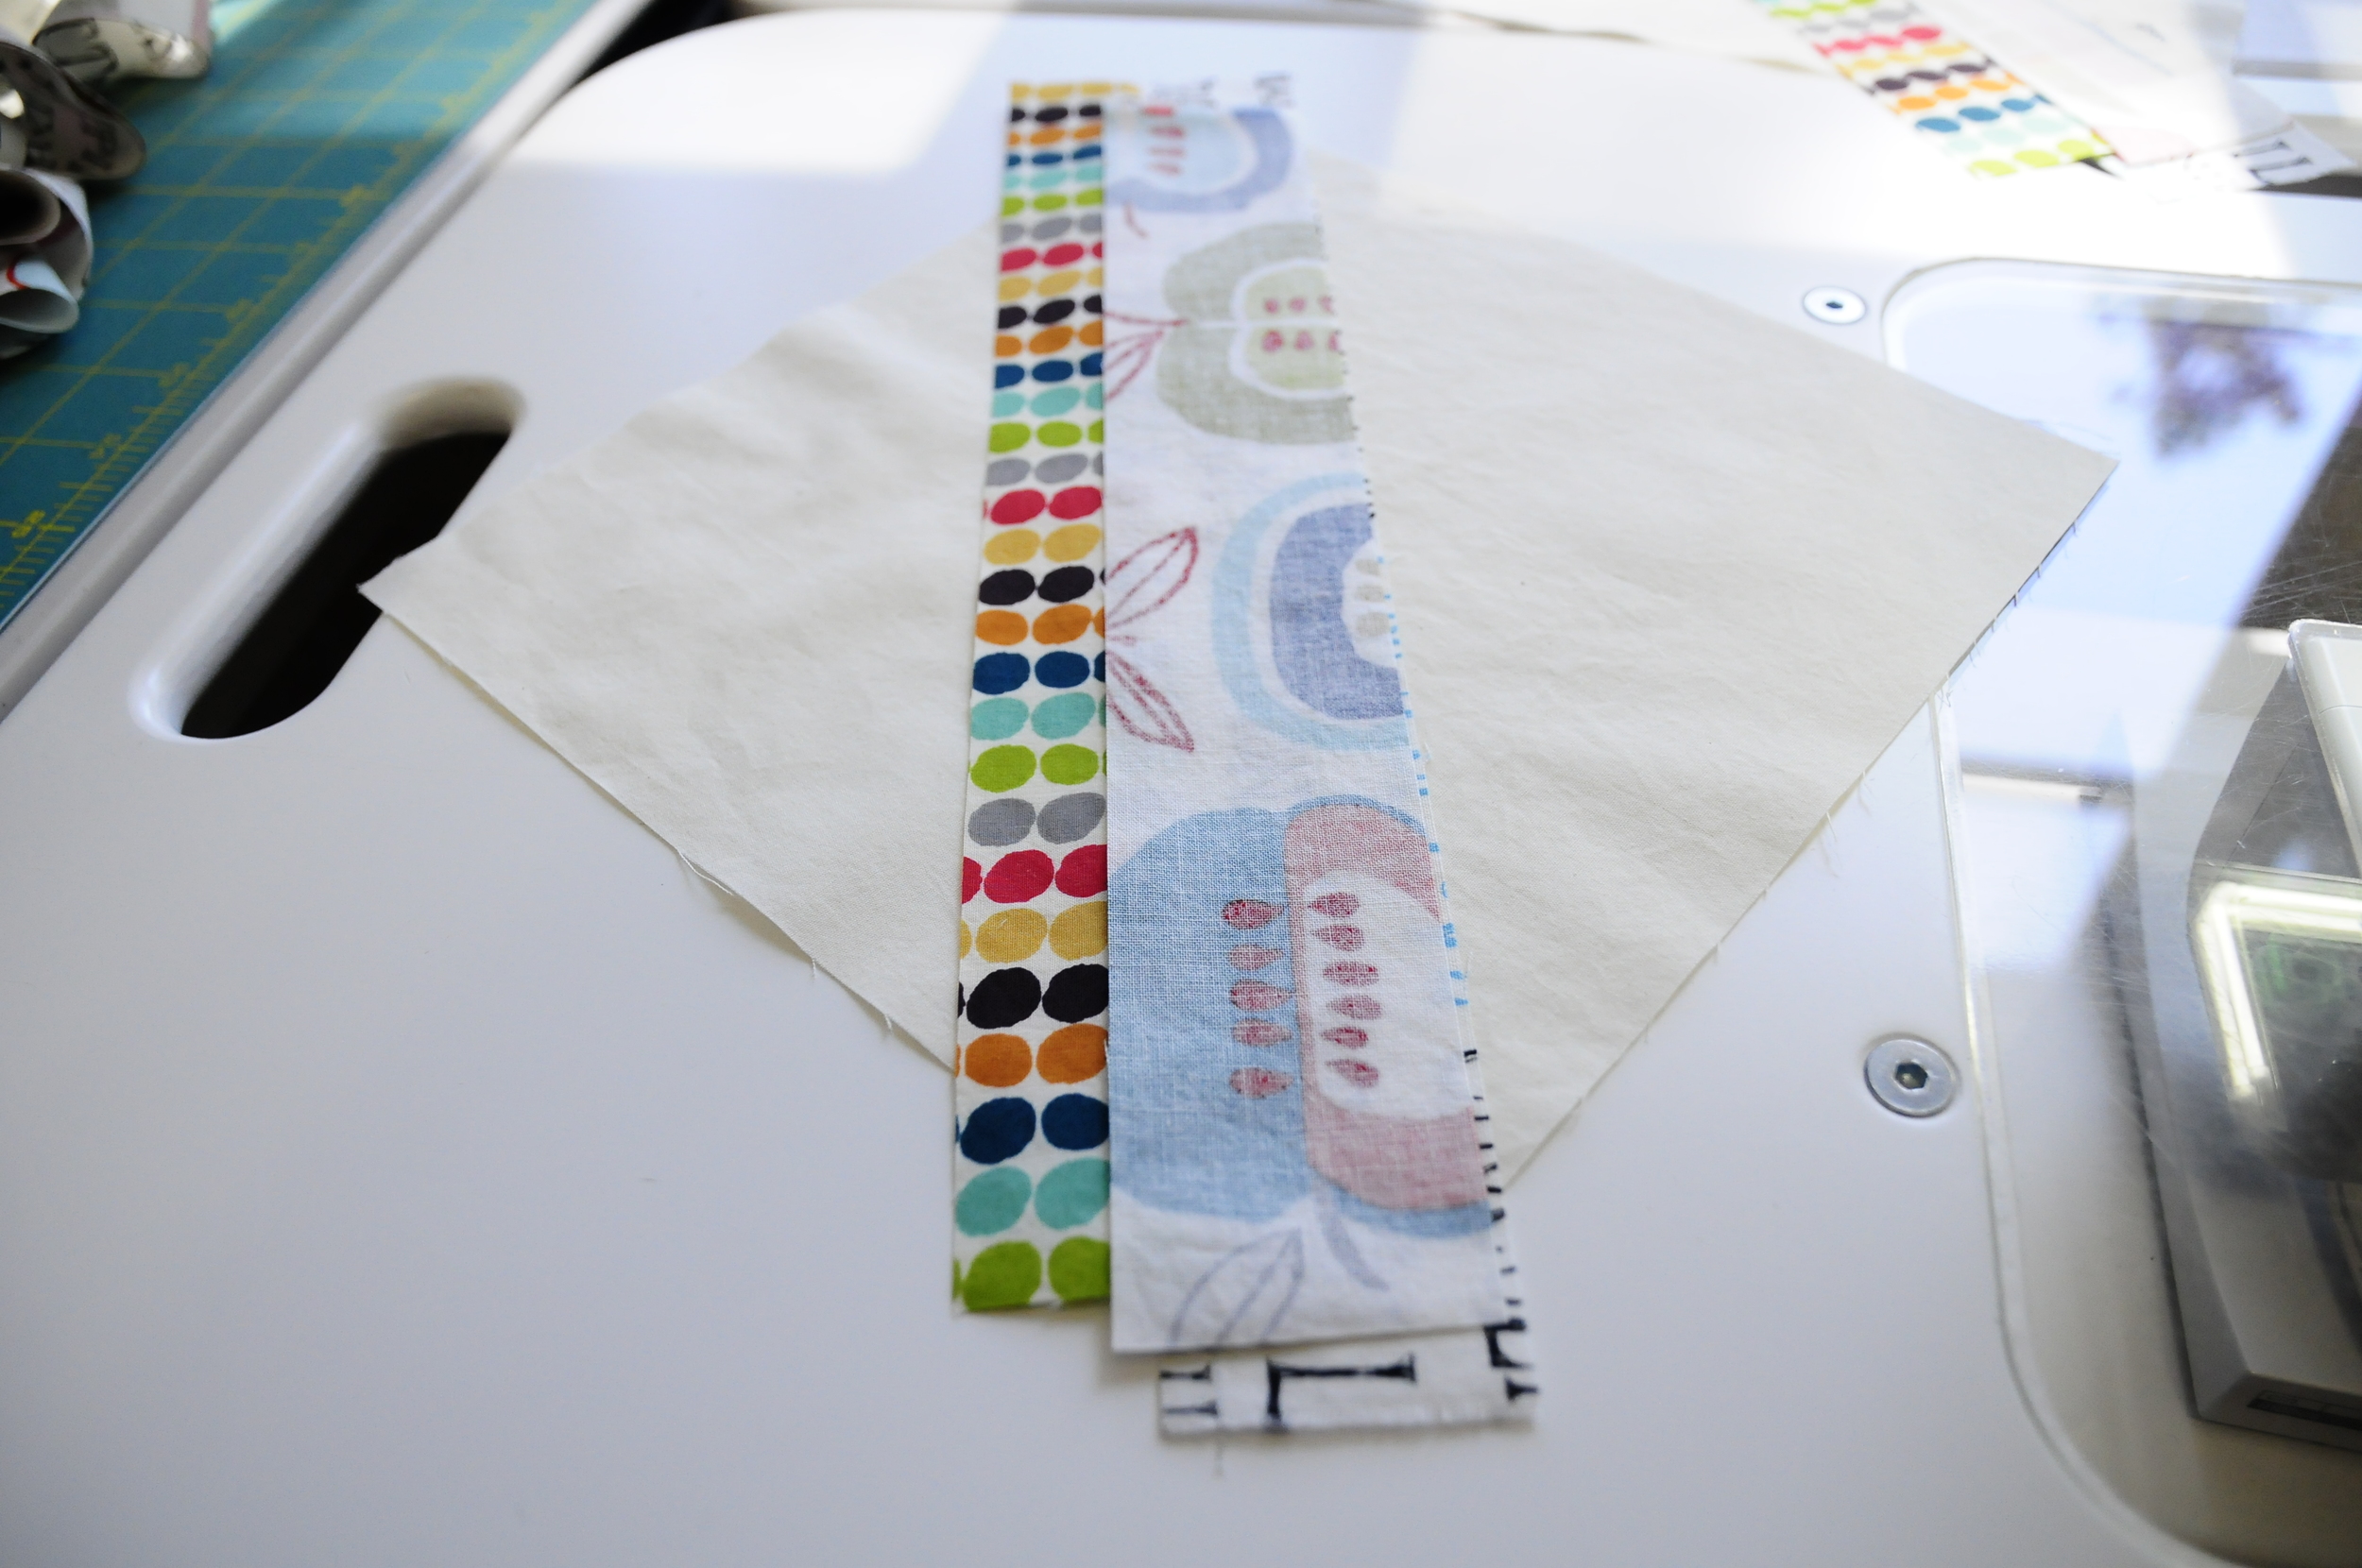
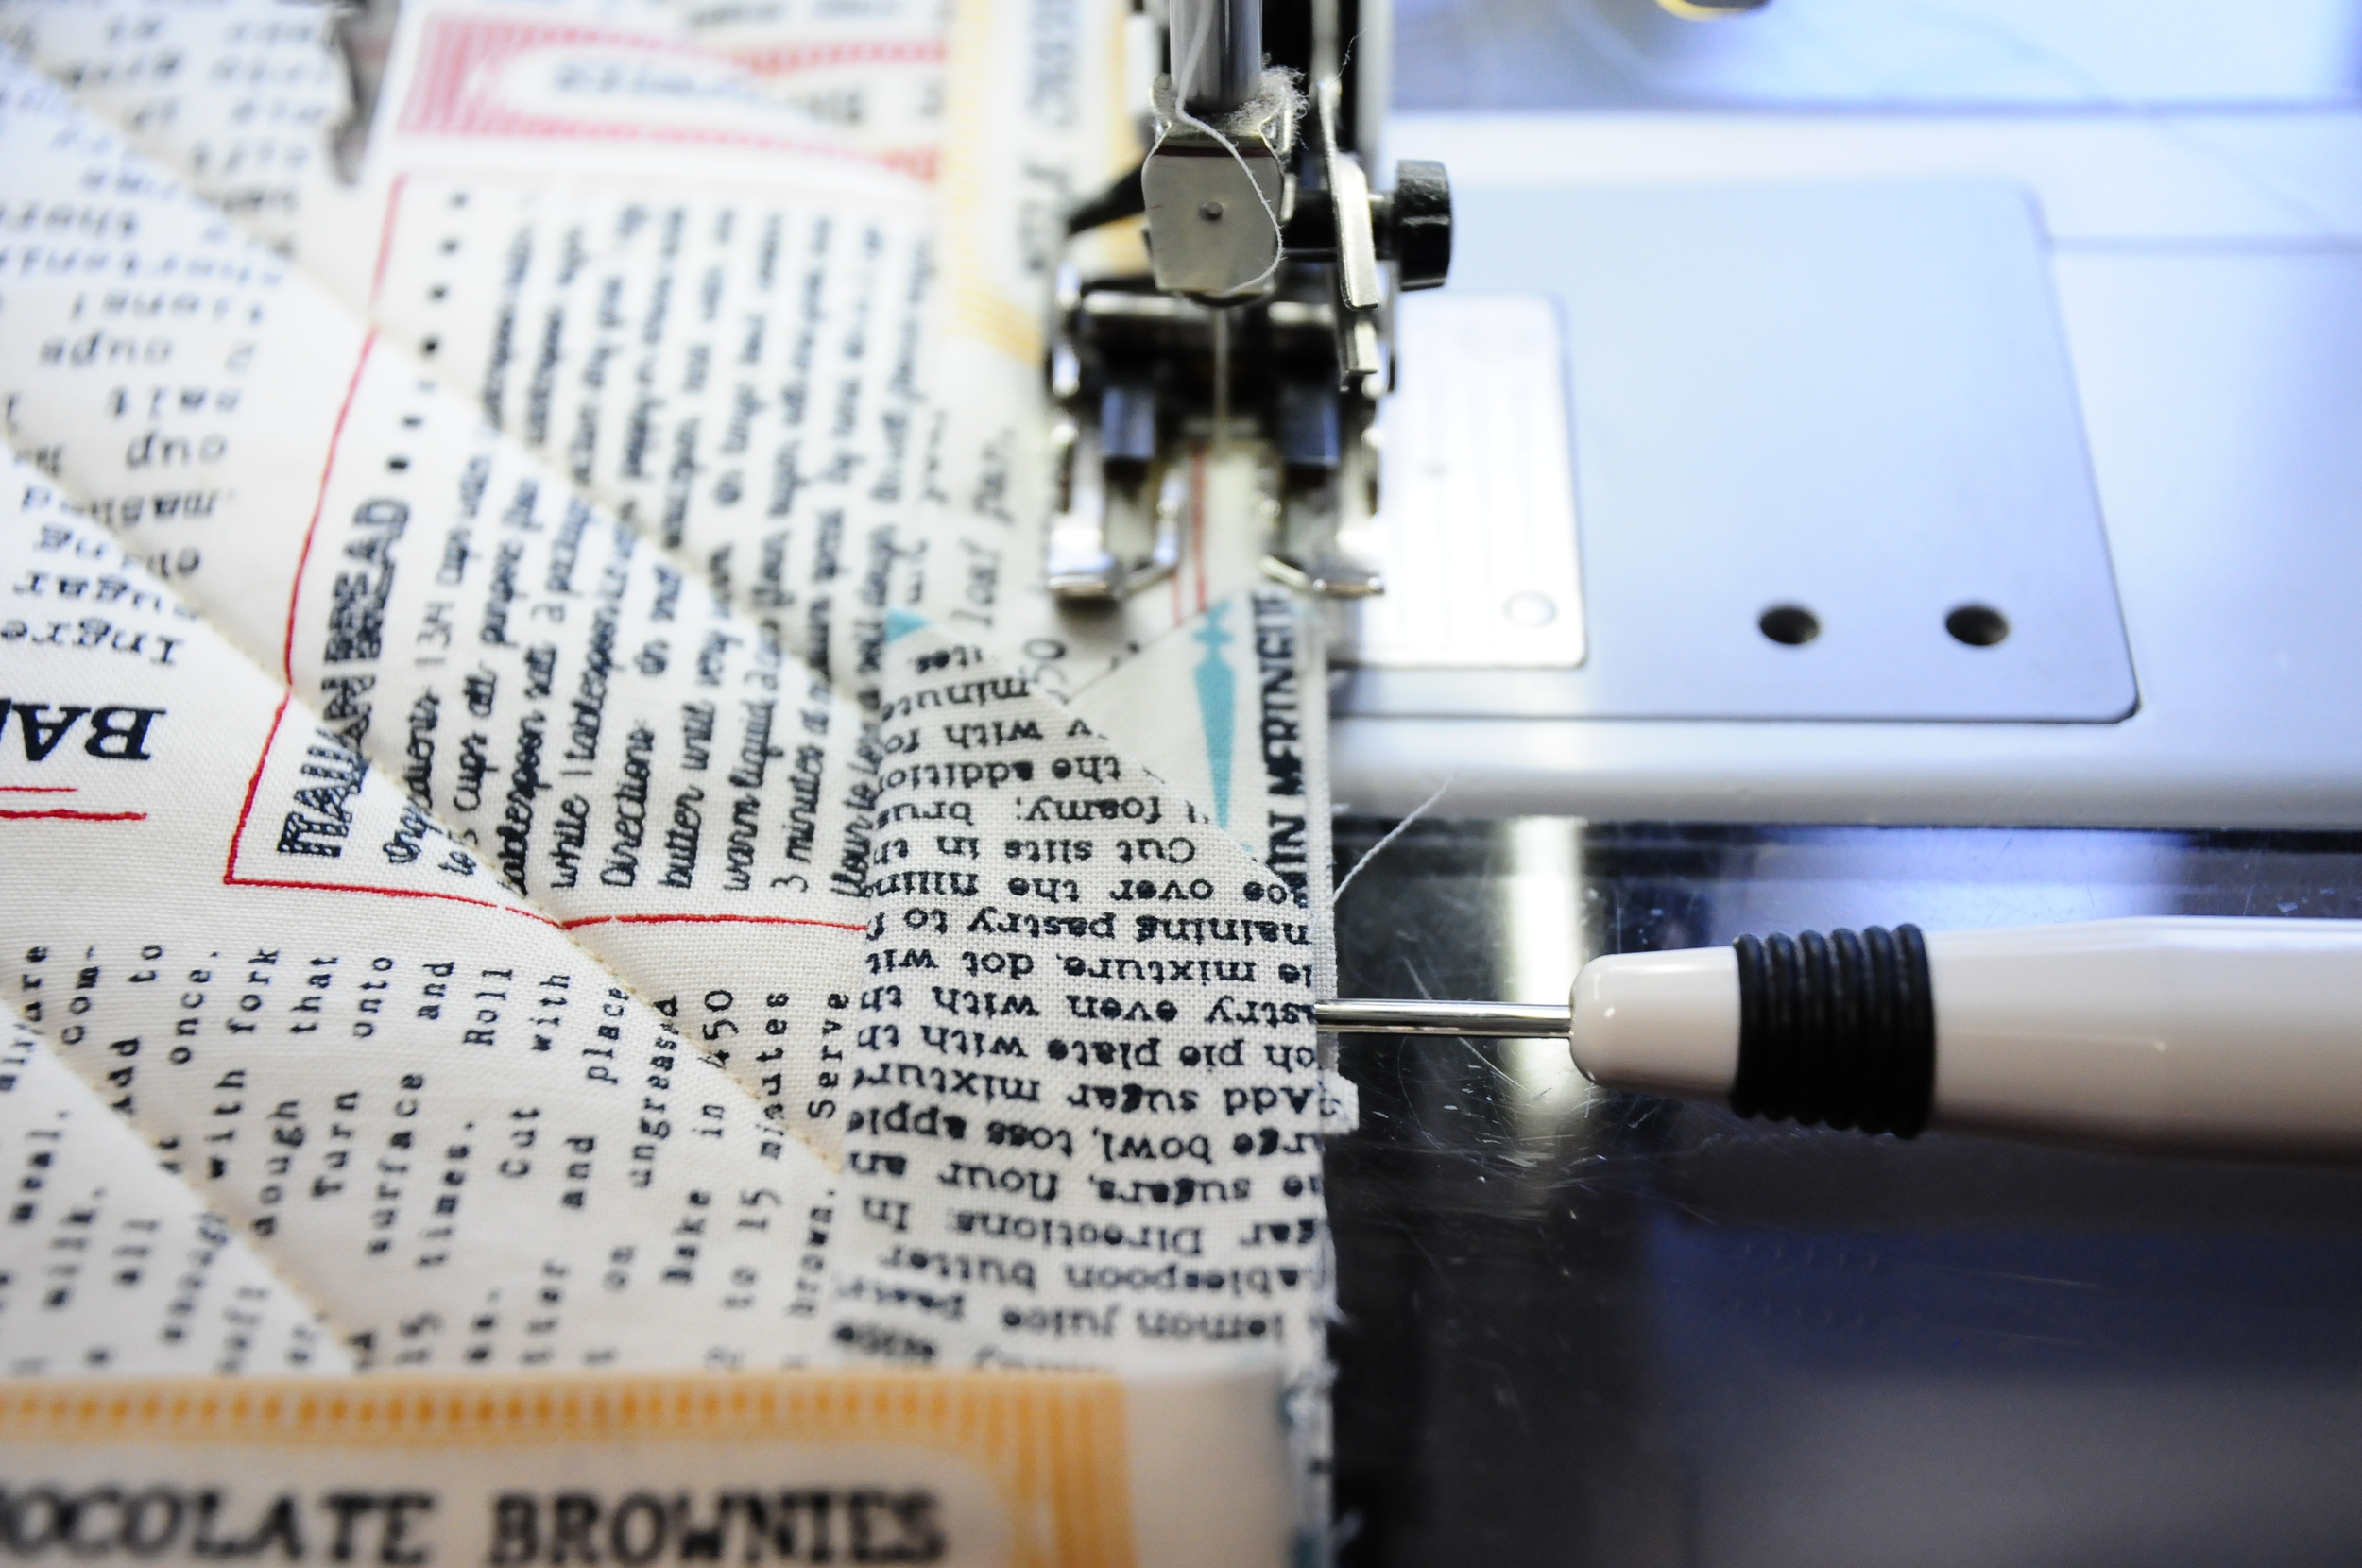
You'll be creating the string block by using a stitch and flip method on the piece of muslin. I like to start with one wider strip right side up, down the middle. Then add another strip wrong side up with the right edges aligned and sew it down. As with all my piecing, I turn my stitch length down to 2.00.


When that piece is sewn on, open up the strip and press it down. Add another strip the the left side of the middle the same way. Keep going until you've covered all the muslin.

In order to preserve as much fabric as possible, you can adjust the length of the pieces as you go (see the right side photo above). The corners of the strips should always go off the end of the muslin at least 1/4".
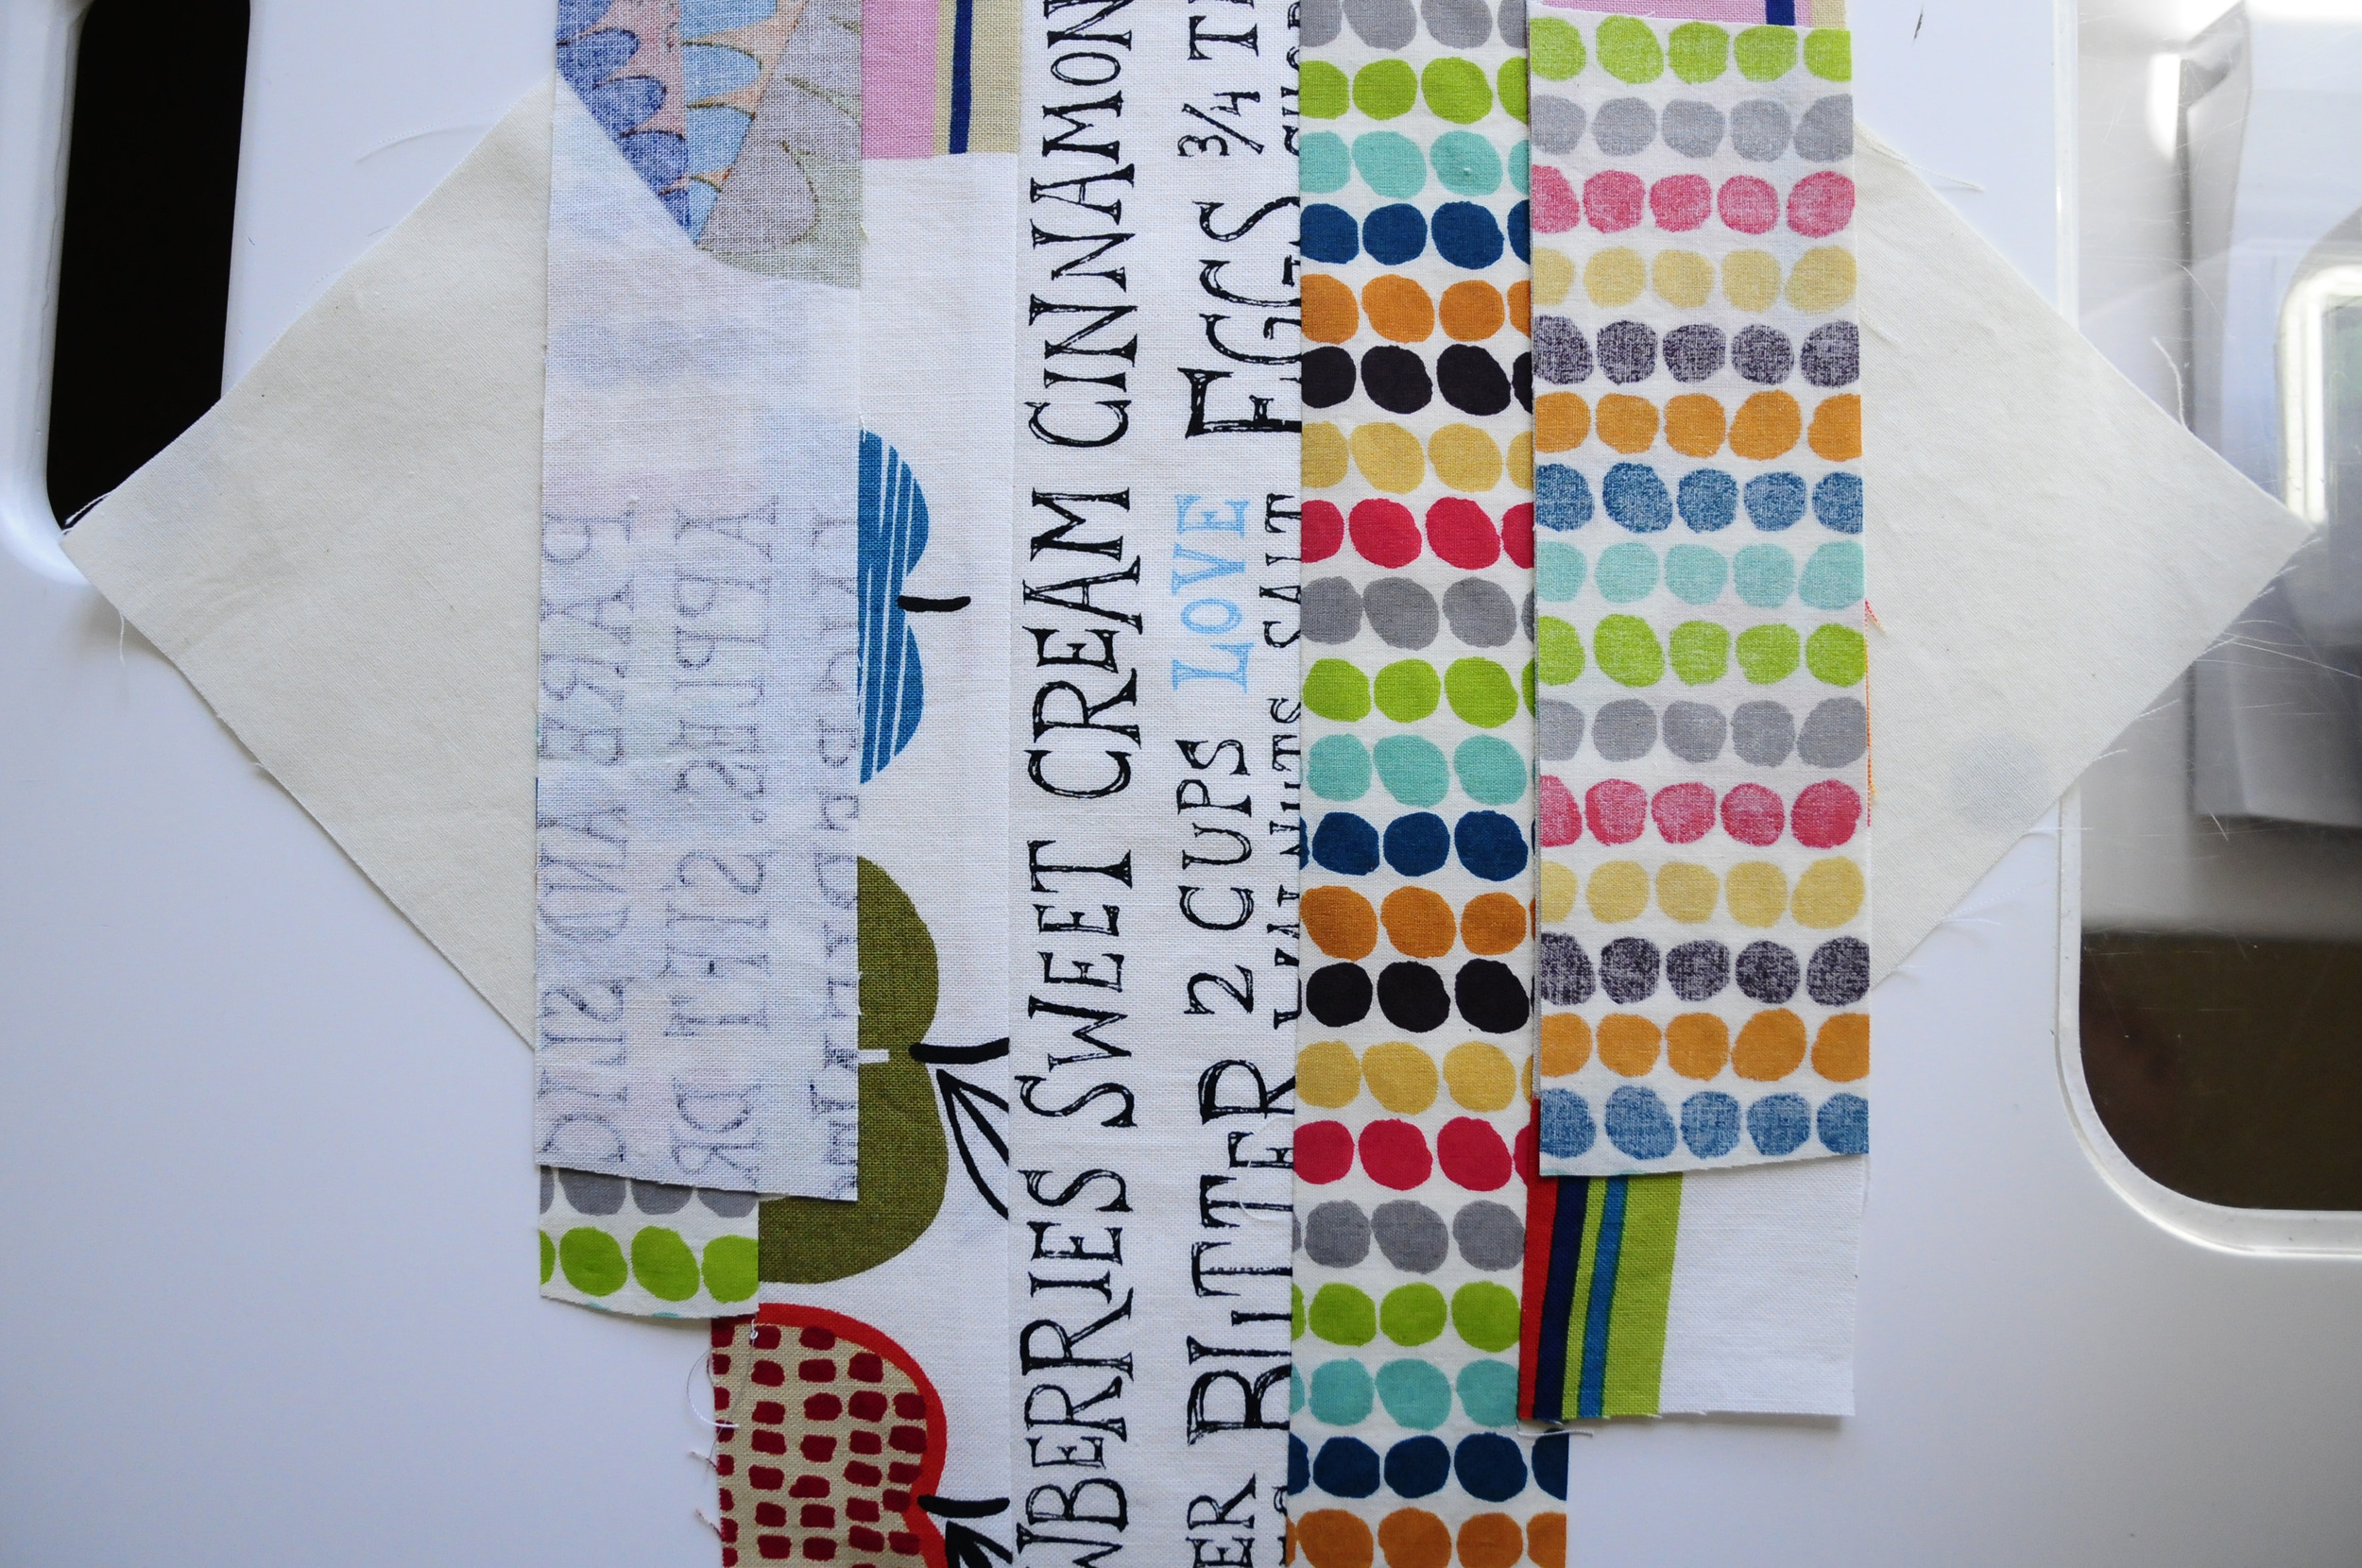

When you are done it should look like the photo on the right. You'll notice that little tiny corner of the muslin peeking out, if that happens, it's ok. I've added in a bit of extra on the muslin to account for things like that.

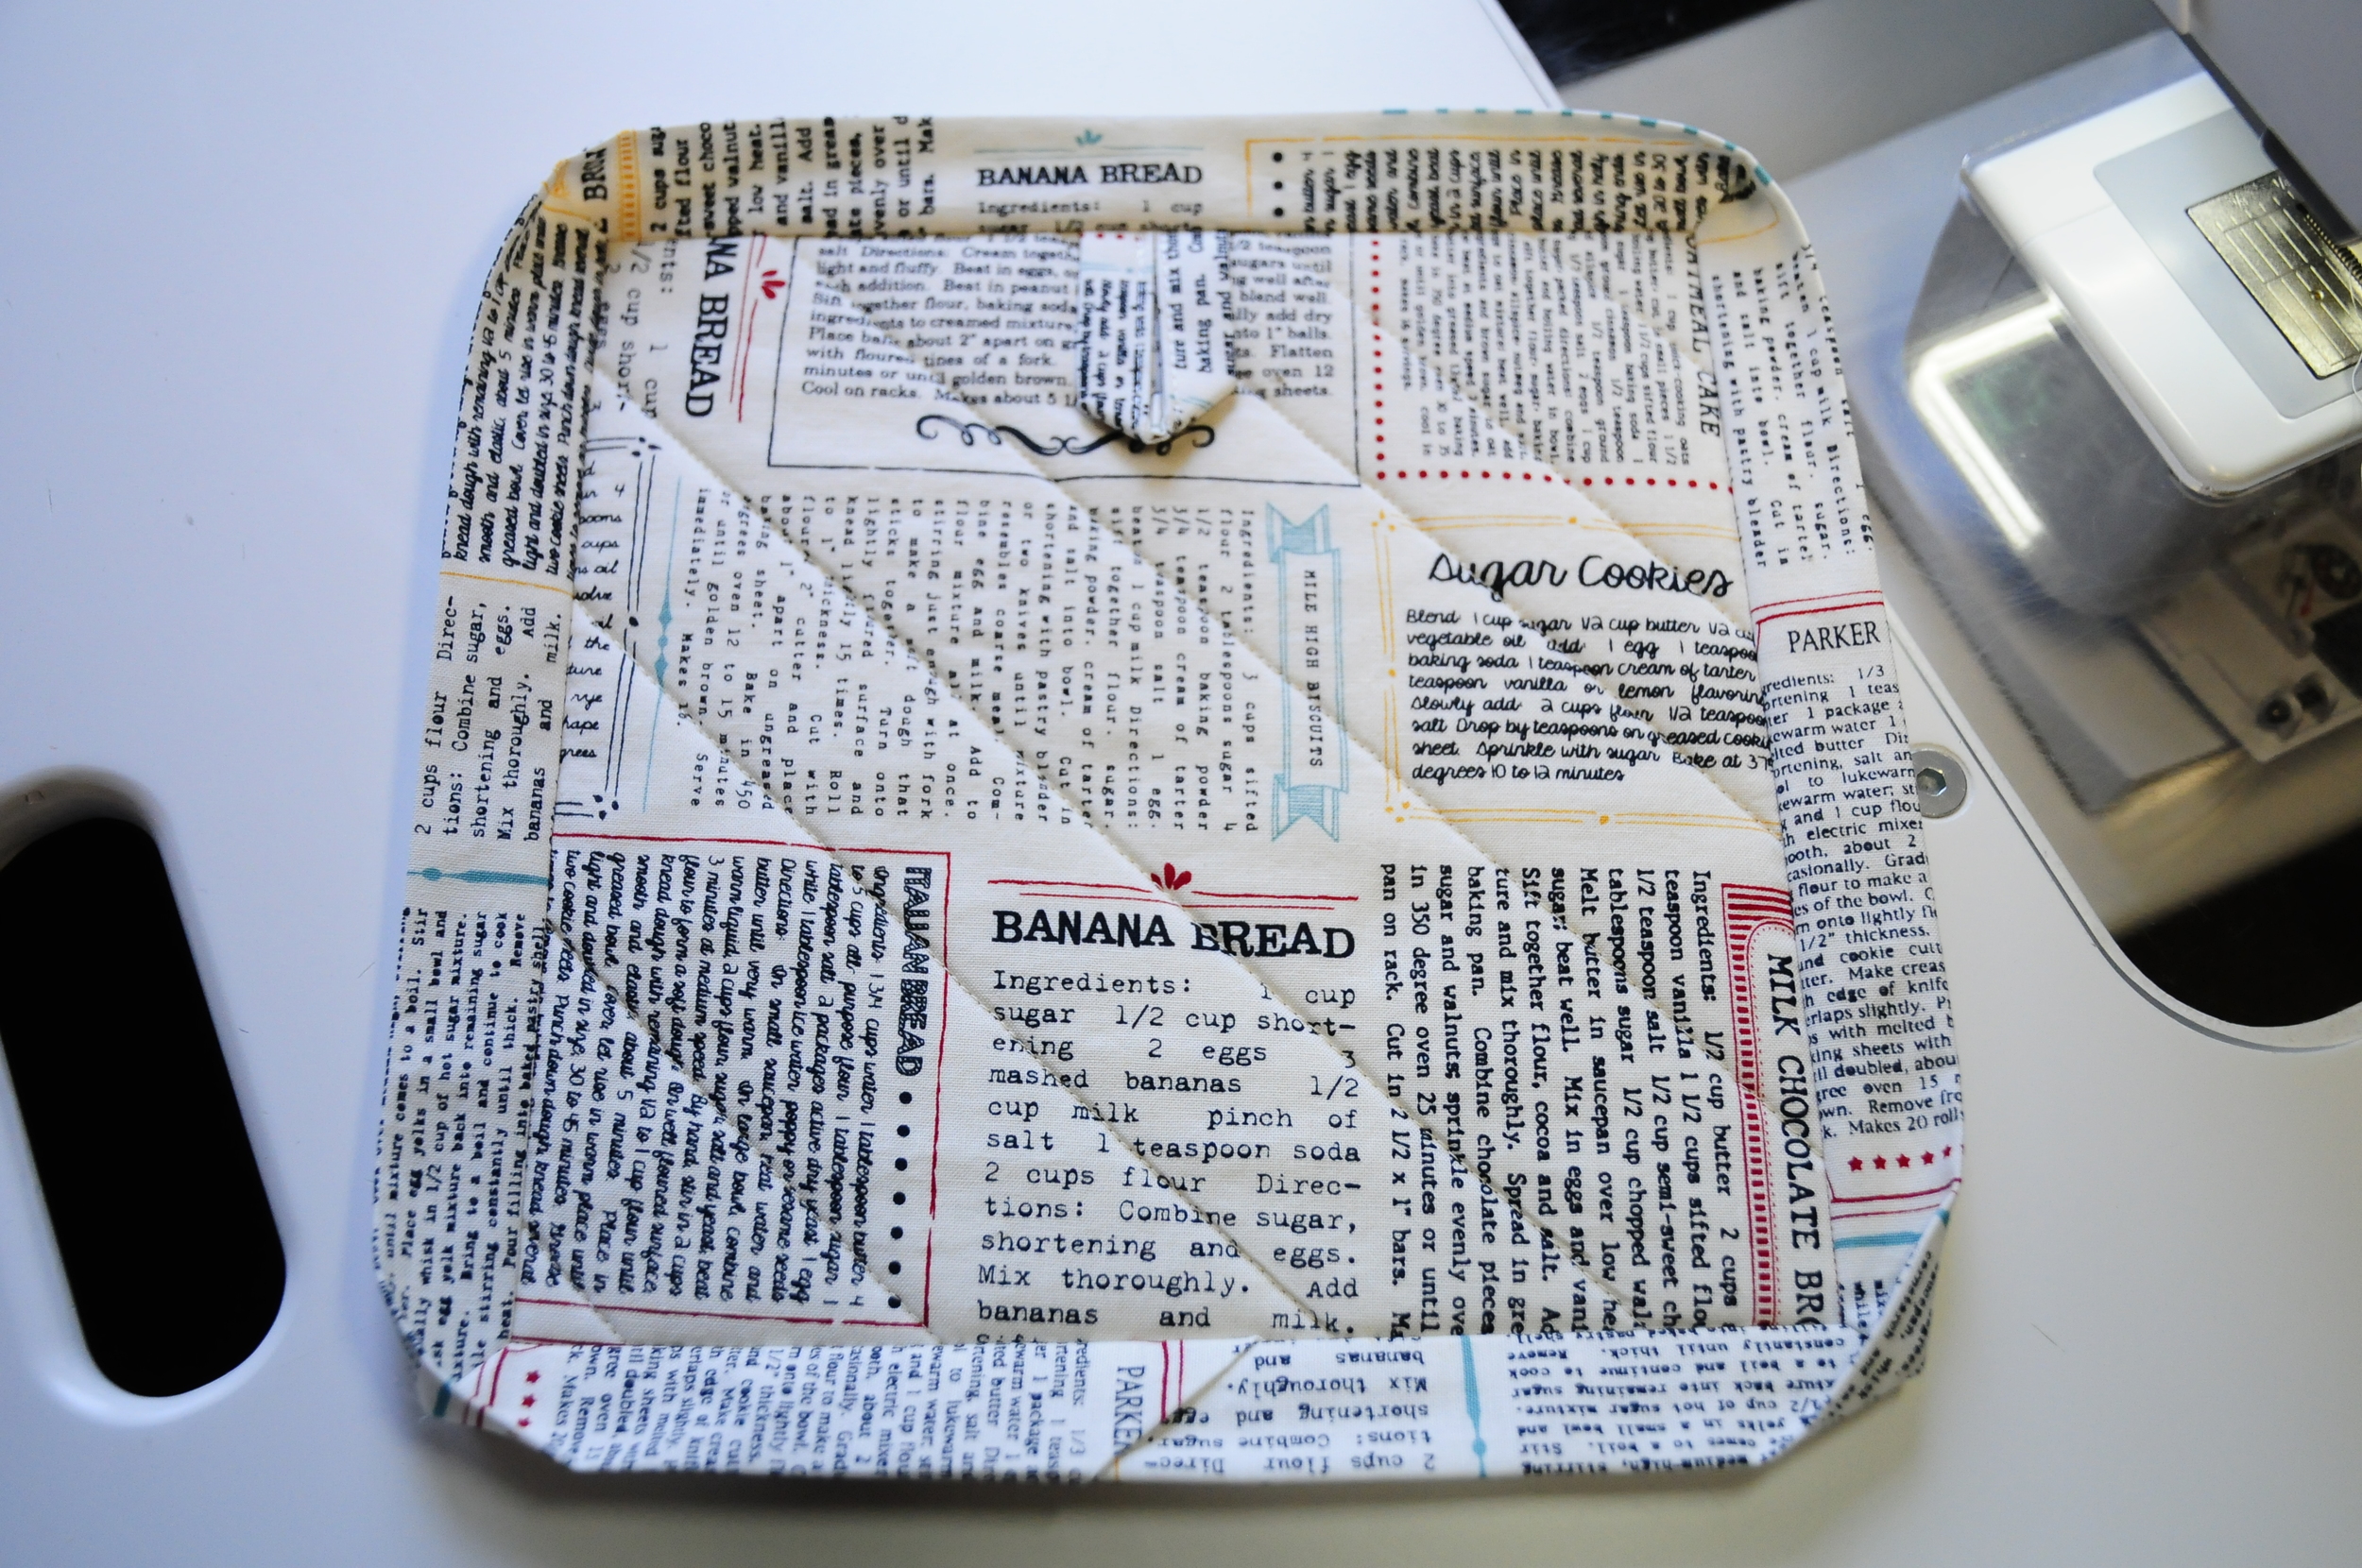
Flip over the block. You need to trim the block to 8.5", but also watch out for that little corner.


I like to use my 9.5" square ruler to trim the block. Here I am just lining it up so that I have that top right corner covered. Trim those two sides, then turn the block and finish trimming to 8.5".


Here it is looking nice and neat. When you are doing these blocks they look so messy until they are trimmed and all of sudden they look beautiful! Next, layer your top with the two pieces of batting and the backing piece. If you are using the Insul-bright, layer it this way: backing, Insul-bright, regular batting, string block.
Added bonus: These blocks are exactly what I used in all those community quilts!


You can of course do any kind of quilting you want. I did a super quick stitch in the ditch with the walking foot. For the quilting I change my stitch length to 3.00.


At this point the tutorial will also turn into a binding tutorial! This is the method I use for all my small pieces. That means any piece where the side where the binding ends meet is less than 12 inches or so. Of course, it could be used on any size piece if you like this method.
You might wonder why there are two photos that look alike above. On the left are the potholders right after quilting. They are a little puffed and wavy on the edges. On the right are the potholders after a good pressing with steam. I think this step is very important in any finishing. You'll get a much nicer binding result if you take the time to use your iron as you go along.

After pressing, trim the potholder to 8.25". Also, notice the edges here. When I was quilting I also stitched around the edge of the block (about 1/8" from the edge). This is also an important step for a nice finish. If you look closely you'll see a couple of spots where trimming the block actually trimmed off a little bit of the edge stitching. On a small piece like this, it's wouldn't worry about it. On a bigger quilt I would go back and add that edge stitching again.


Okay, so now the potholder is ready for the loop. I actually prefer my potholders to not have a loop since I keep mine in a drawer, but I know lots of people like to hang them up, so I discovered this cool method which creates an inconspicuous loop on the back. Take your 2" x 4.5" piece and press it lengthwise along the middle. Then press the two sides into the middle. Fold it over and top stitch along the open side.


Now, figure out which side is the top of your potholders and lay them out. Turn them over and place the loop in the middle of the top edge on the back of the potholder with the raw edges aligned. Baste in place.
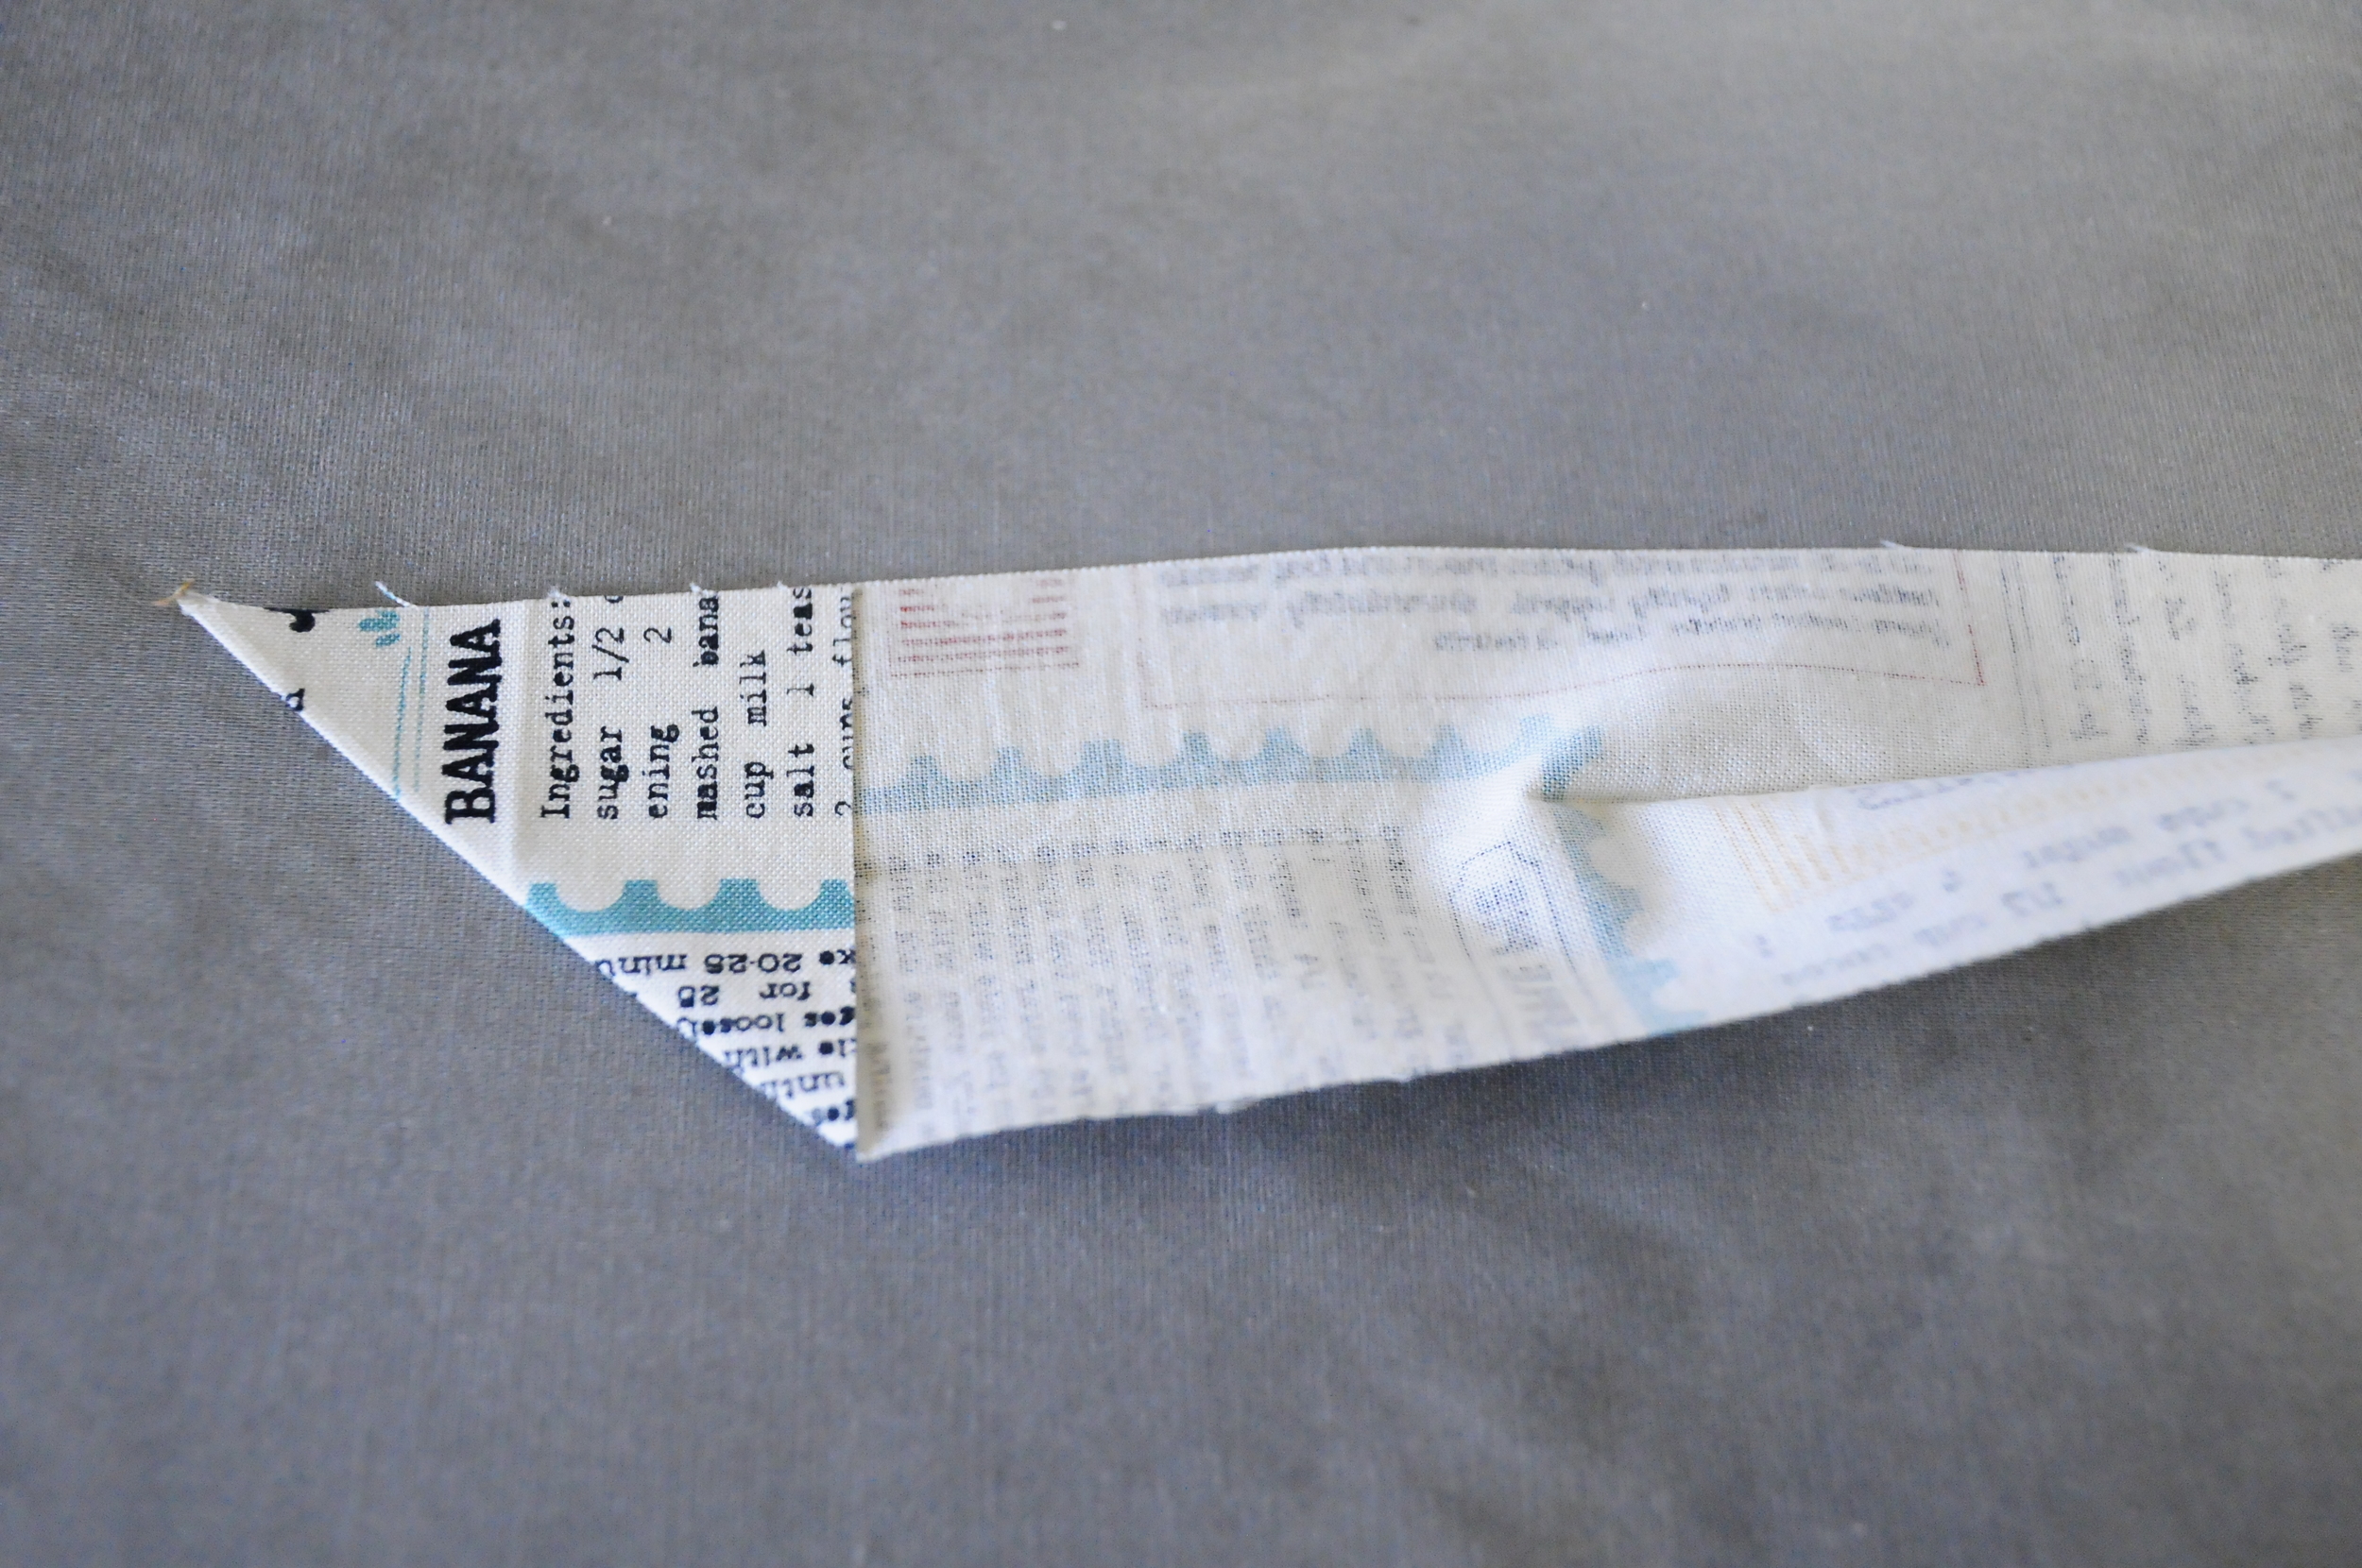
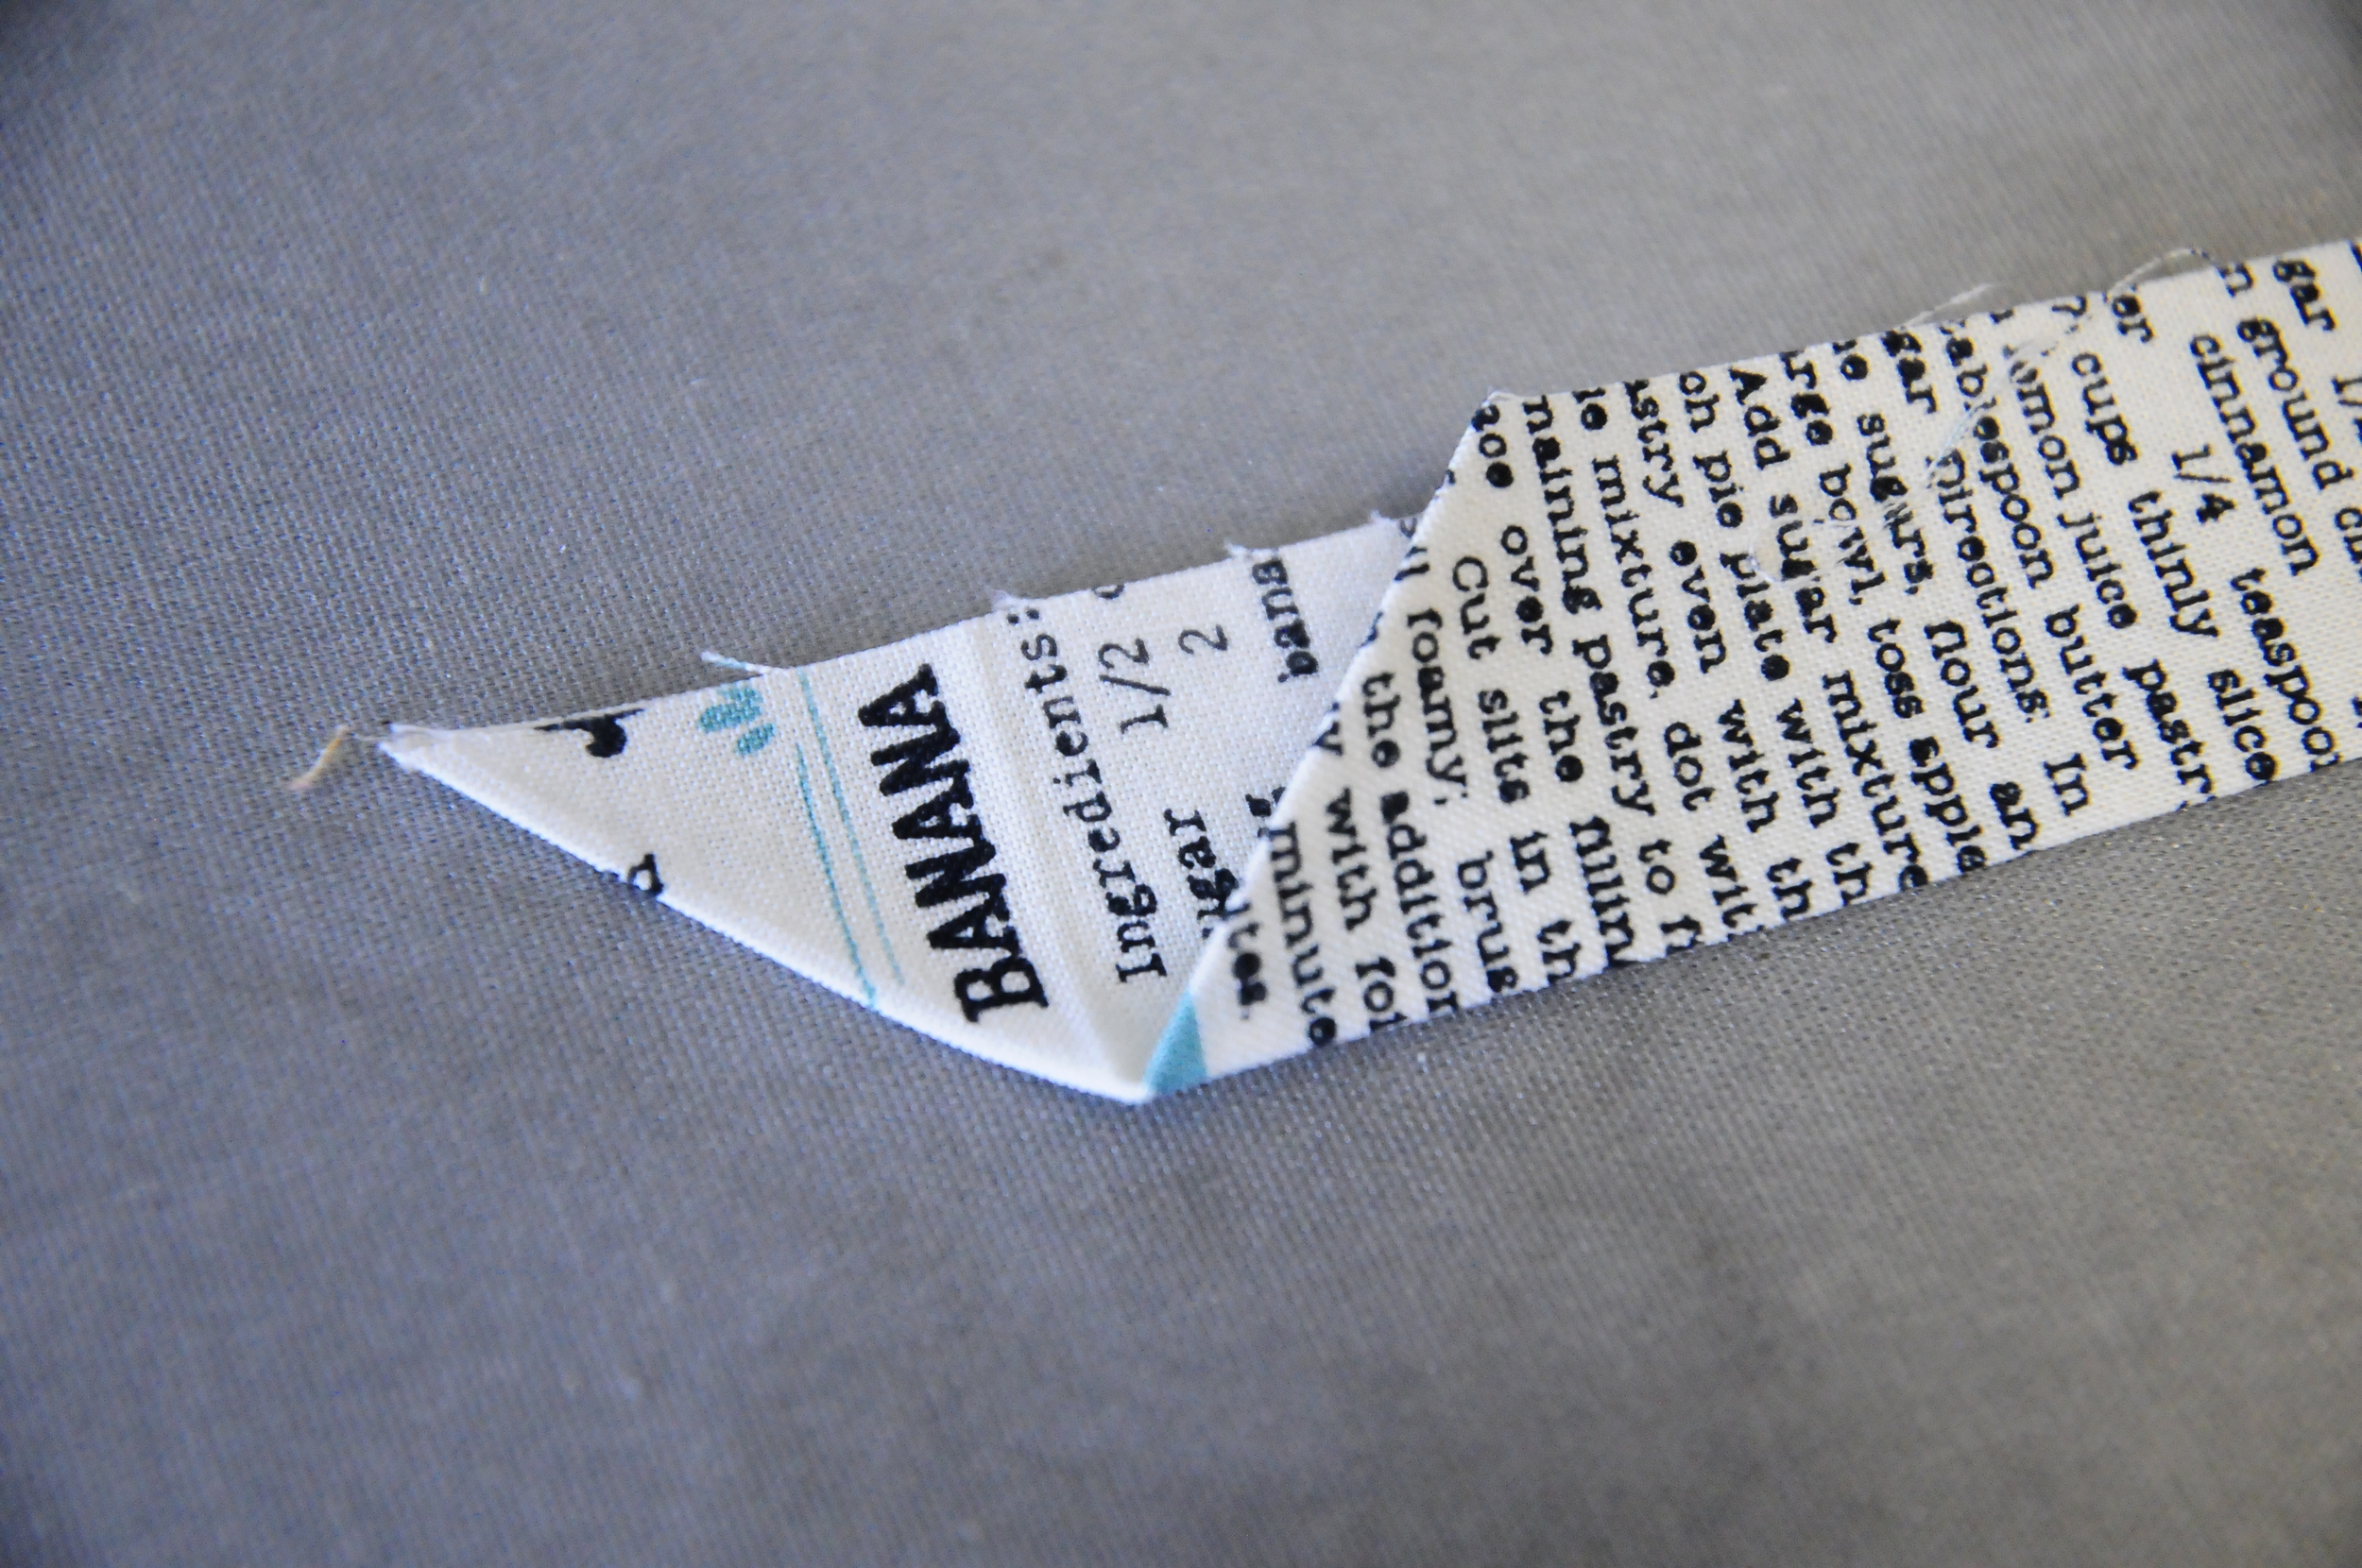
Prep your binding by pressing it in half lengthwise. Then open up at one end and fold over the corner as shown above left. Fold the lengthwise fold back into place. You've created a little pocket to accept the other end of the binding.


Place your binding piece with that little pocket on the backside of your potholder as seen above. The pocket needs to be placed so that it's just about in the middle of that side. Start sewing about 1.5 inches down from the end of the triangle (see photo above). You will stitch on the binding as usual, but this first side only gets that small amount of sewing before you turn the corner.
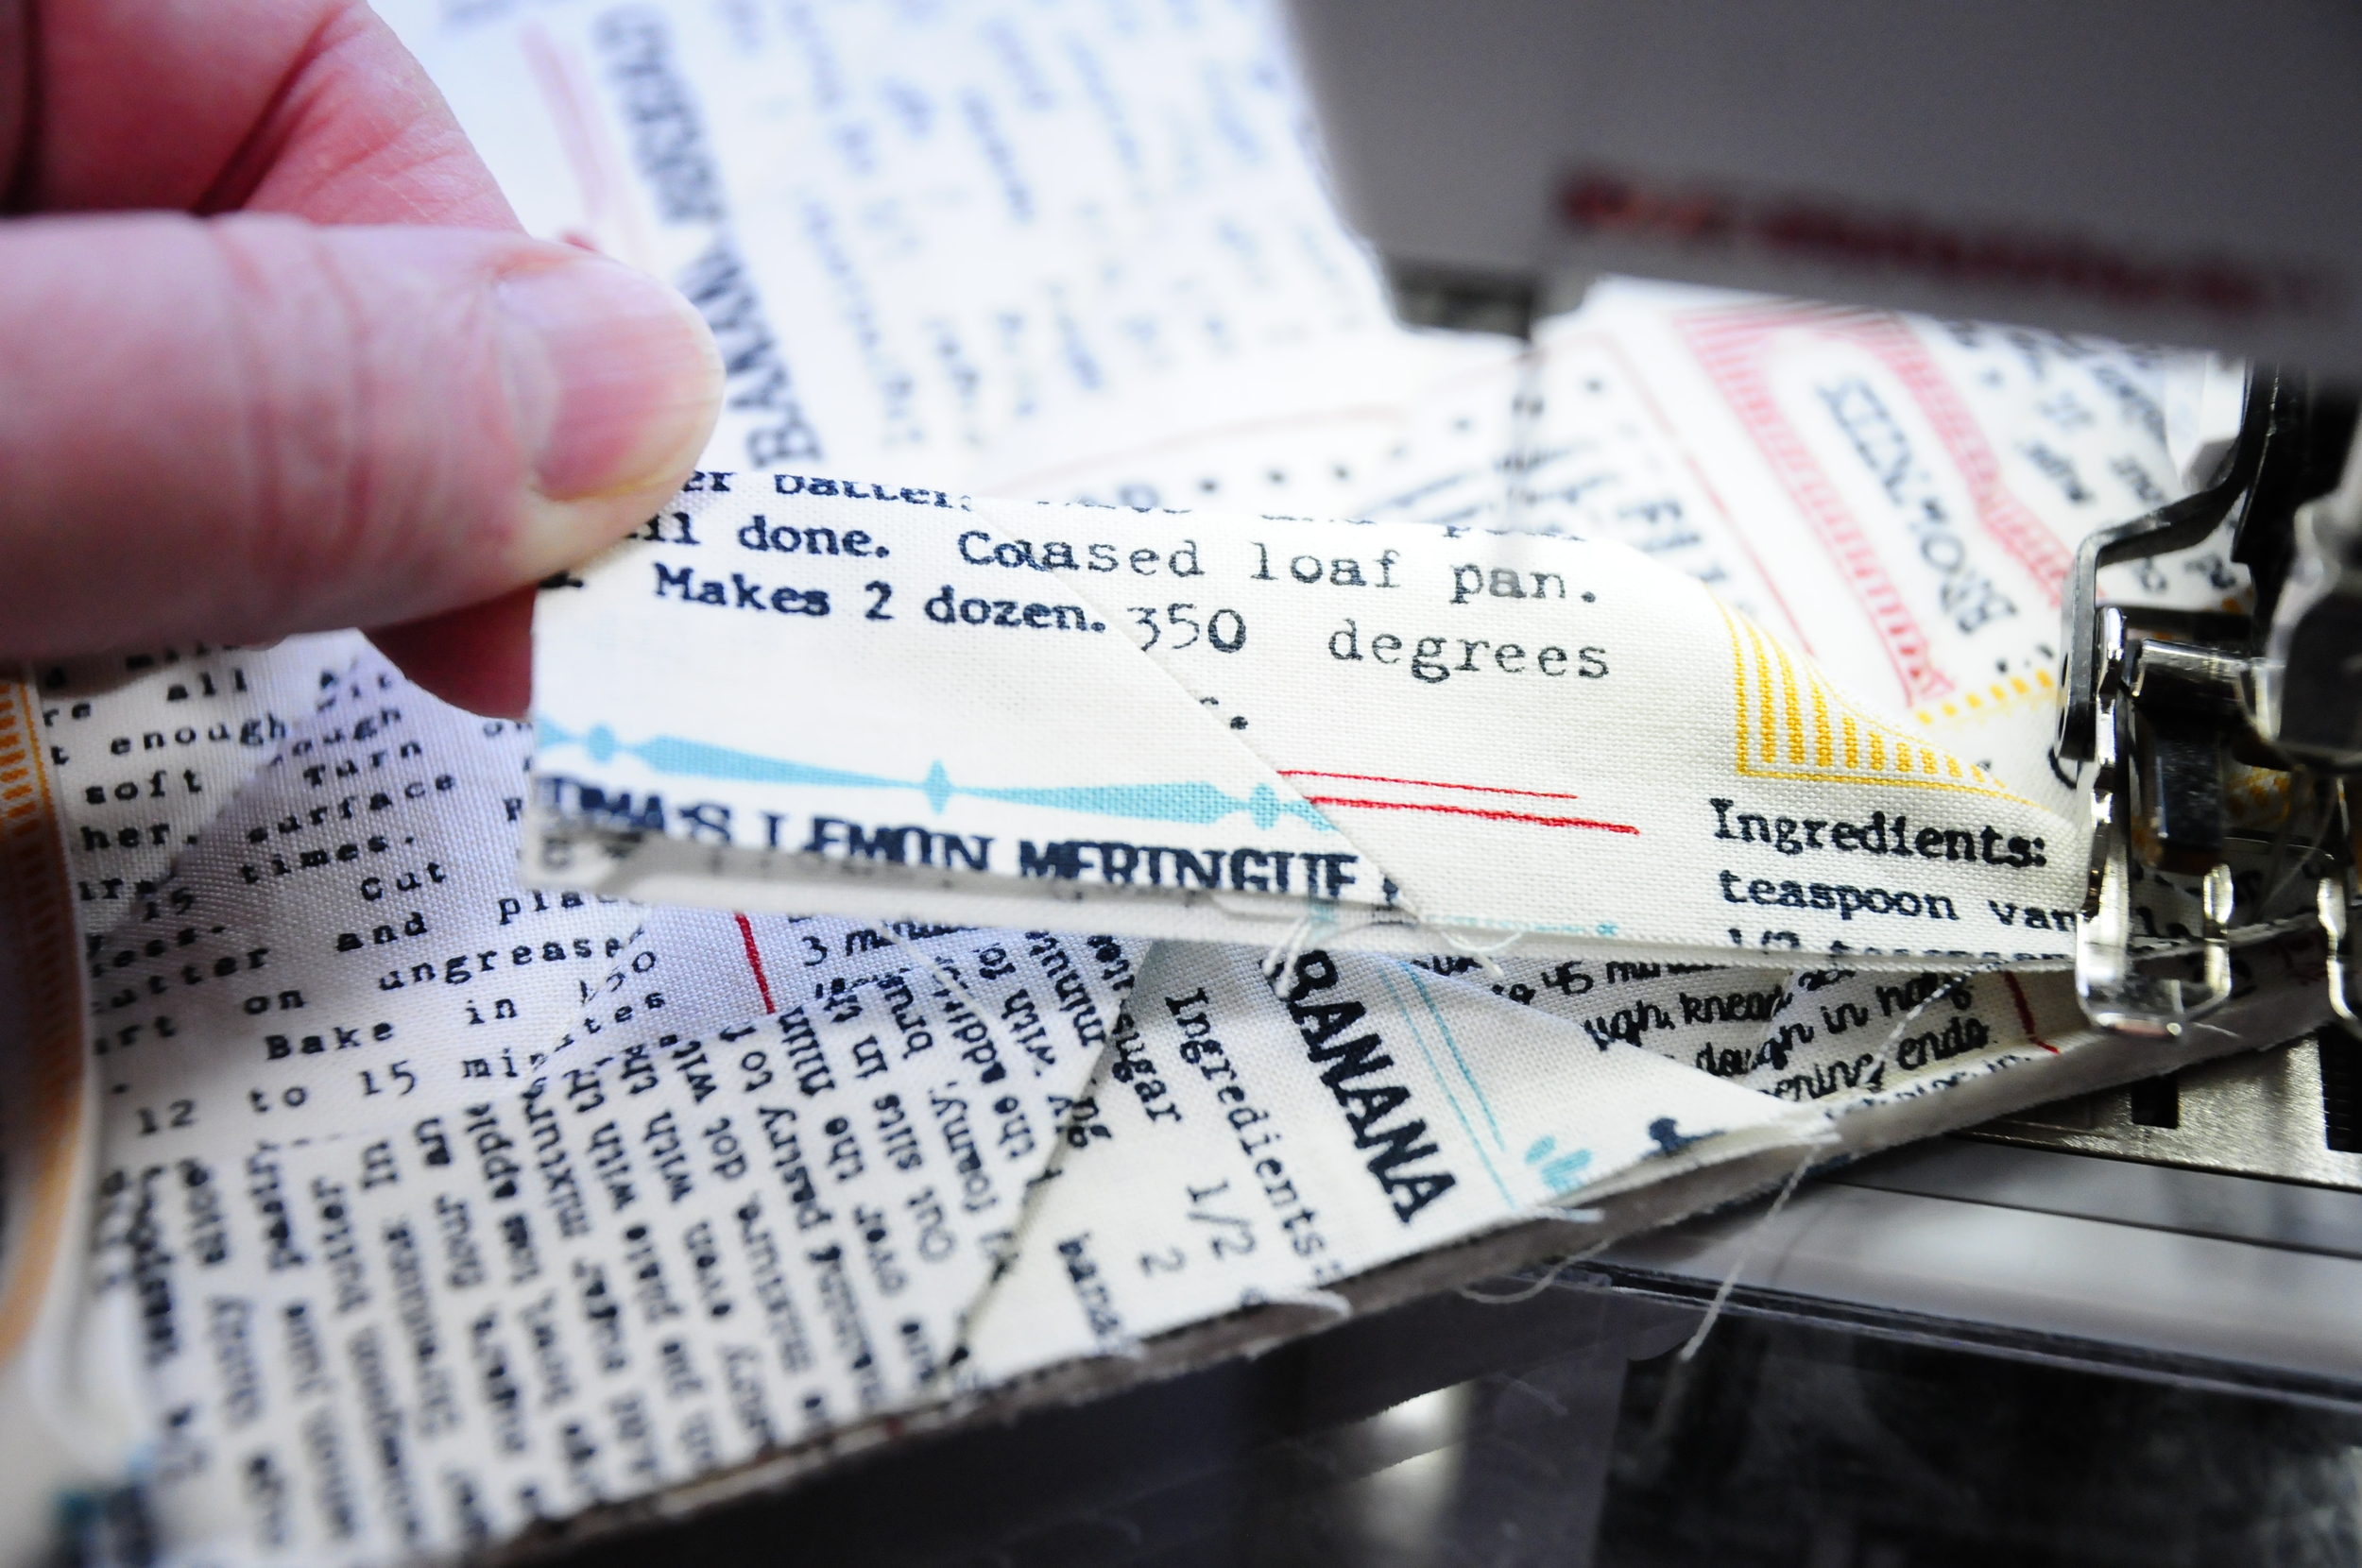
Stitch around all sides of the potholder, mitering your corners as you go. When you get to the beginning, stop and trim the end of the binding so that it is longer than the pocket. It should fit in there without catching on the beginning stitching of the binding.
I like to use my seam ripper to tuck that end in before completing the stitching.

As you can see above, the binding was placed right over the basted on loop.

Now's the time to get your iron going again. I do this on every single binding I do and it makes a beautiful finish. Press the binding outwards and get the tip of the iron right into the miters.

Then pick up the potholder and pop the binding on the corners to the other side and iron the edges all over to the right side, pressing your mitered corners as you go. When you do this you make binding a cinch whether you are binding by hand or machine.
Here's a little aside (and possibly a rant): I am always astonished when I see that people with dozens of binding clips going around a quilt. There's absolutely no need for so many clips! I can do a hand stitched binding with three clips when I take the time to press it all first. I use three clips and just move the current one to the end of the line as I go. Try it!

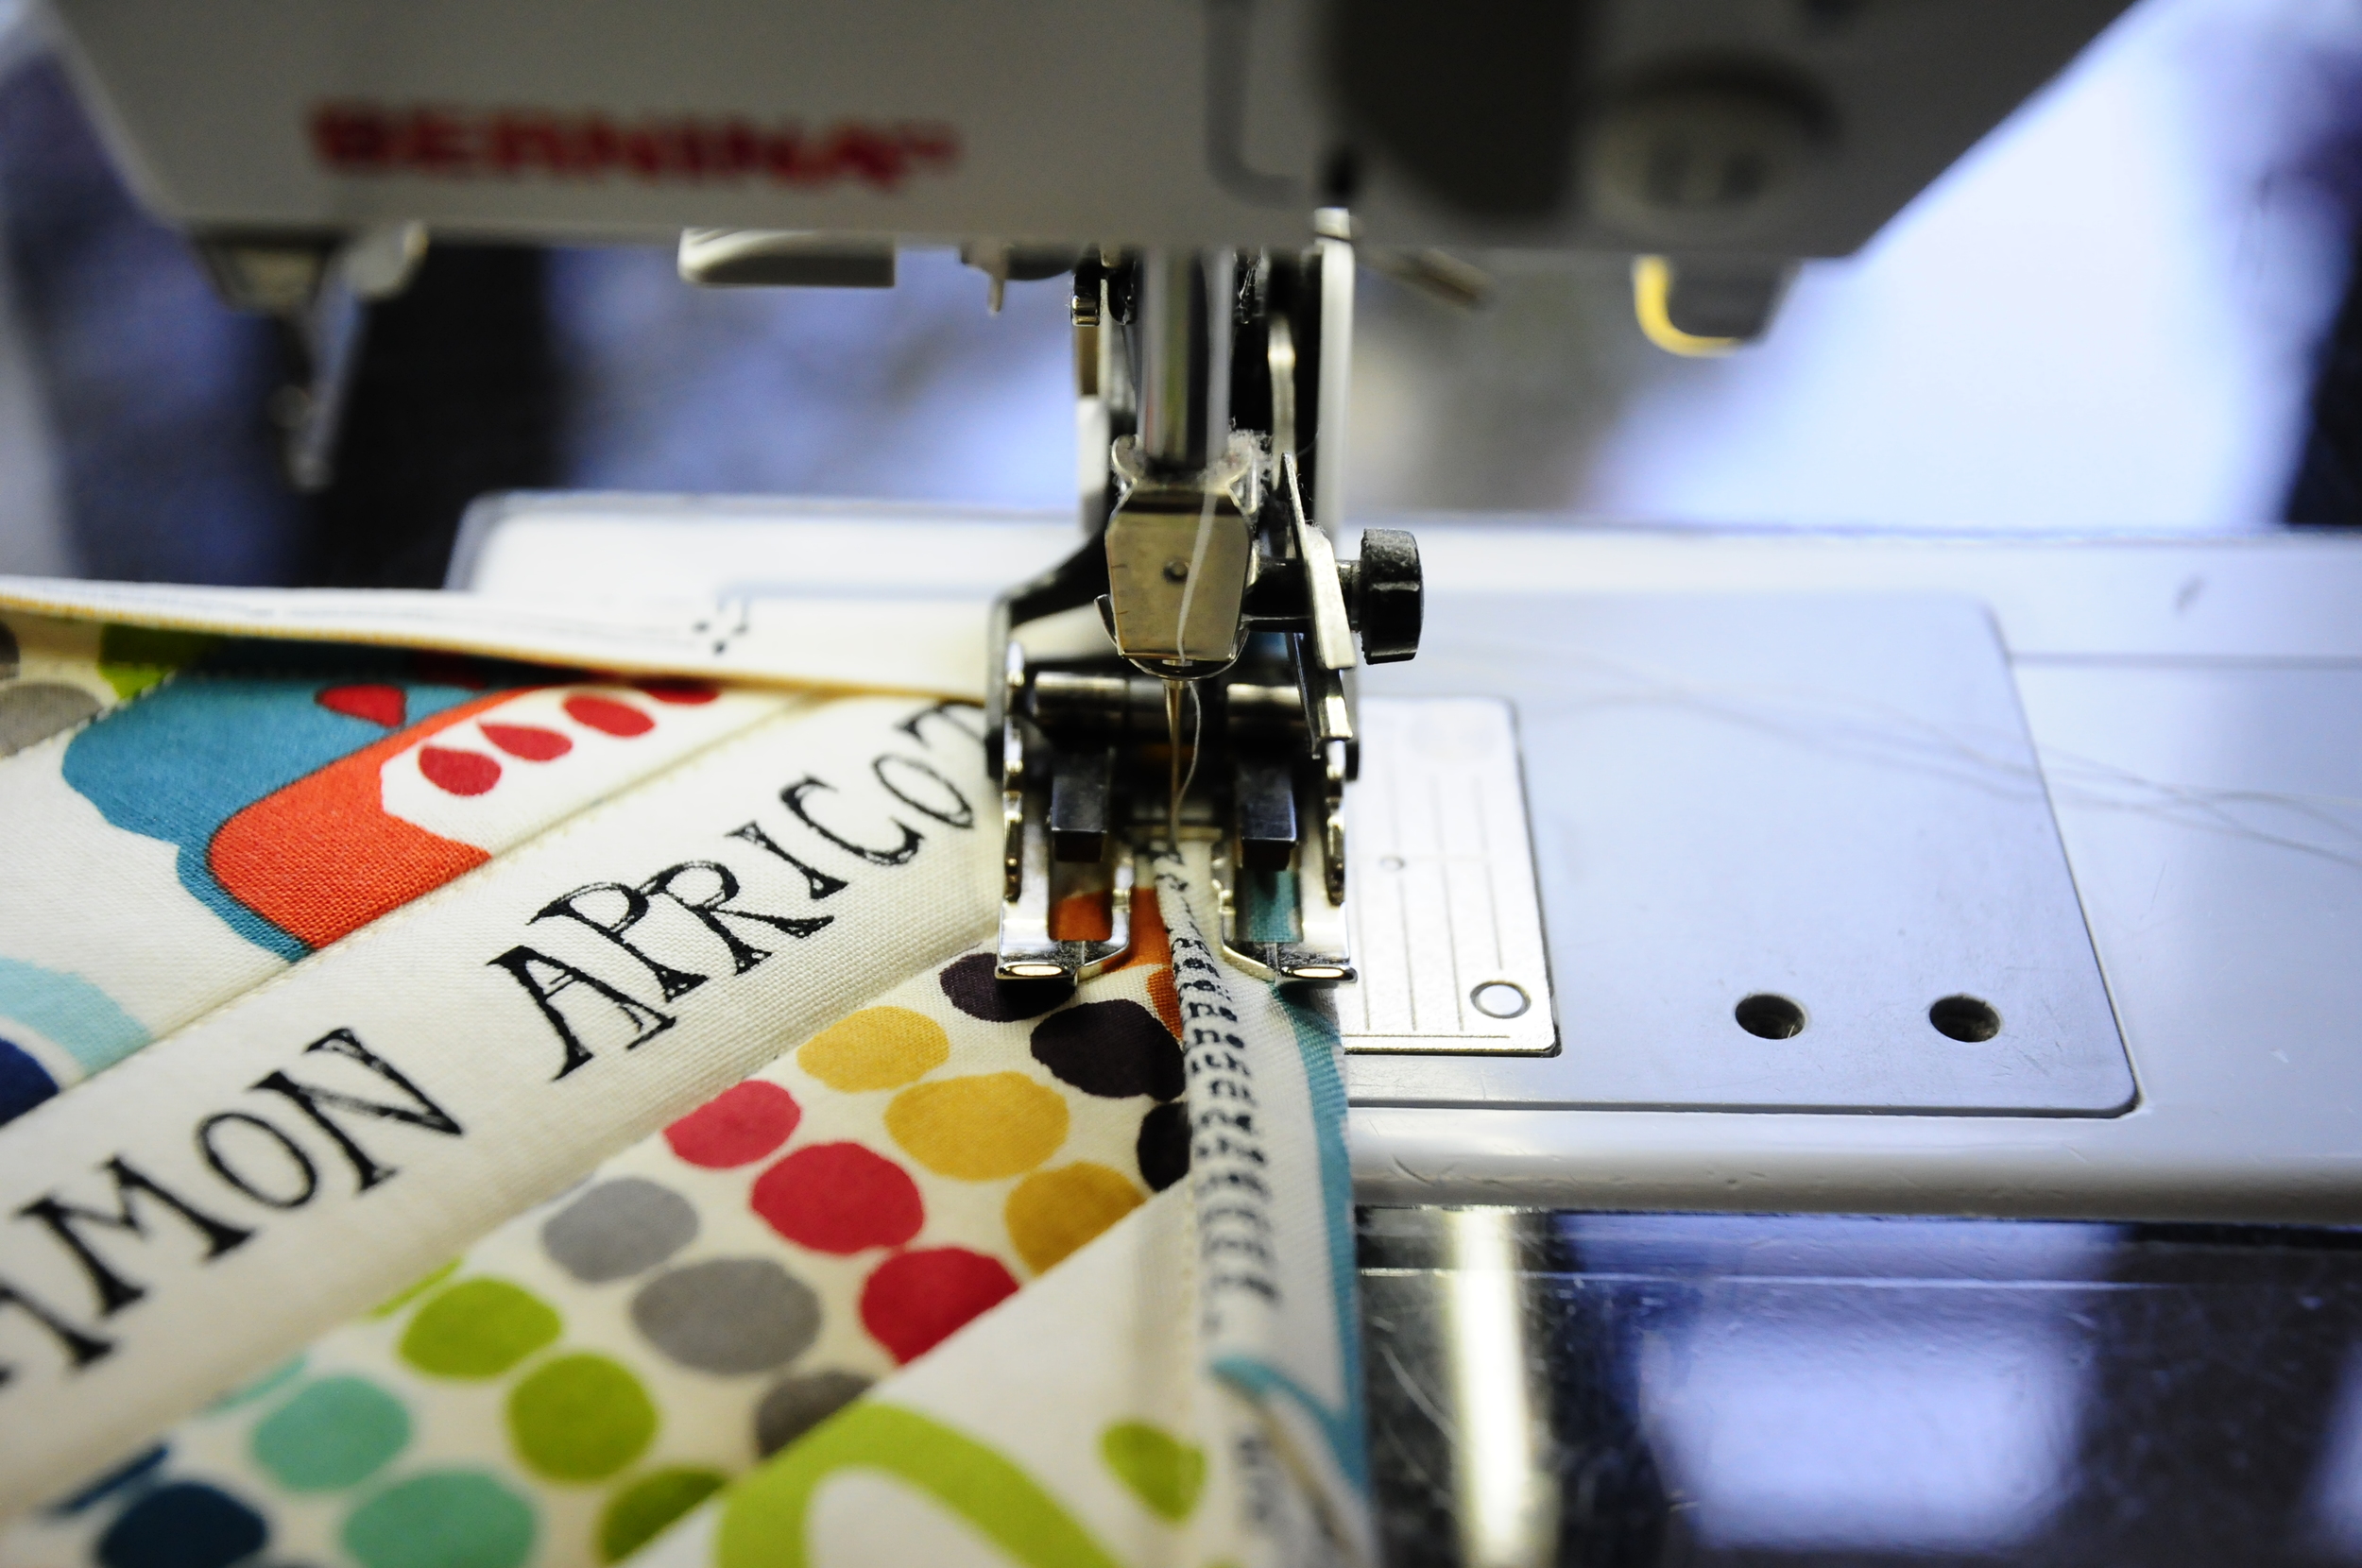
So, here you are! You are almost done. Now you just need to top stitch the binding edge on the front of the potholder. By the way, this method is what I use on every community quilt I do. If you are spending hours hand stitching a binding on a community quilt, you are not using your time wisely. Try this on the next one! Just remember to stitch the binding to the back of the quilt to start! I still make that mistake sometimes.

Anyway, here you go. You don't need to pin or anything, just turn down your speed if needed and use a regular stitch length (2.40 on my machine). Use your fingers to help the binding stay folded. Pressing makes this a breeze and saves time. I don't use pins or clips when I machine stitch a binding no matter the size of the quilt!

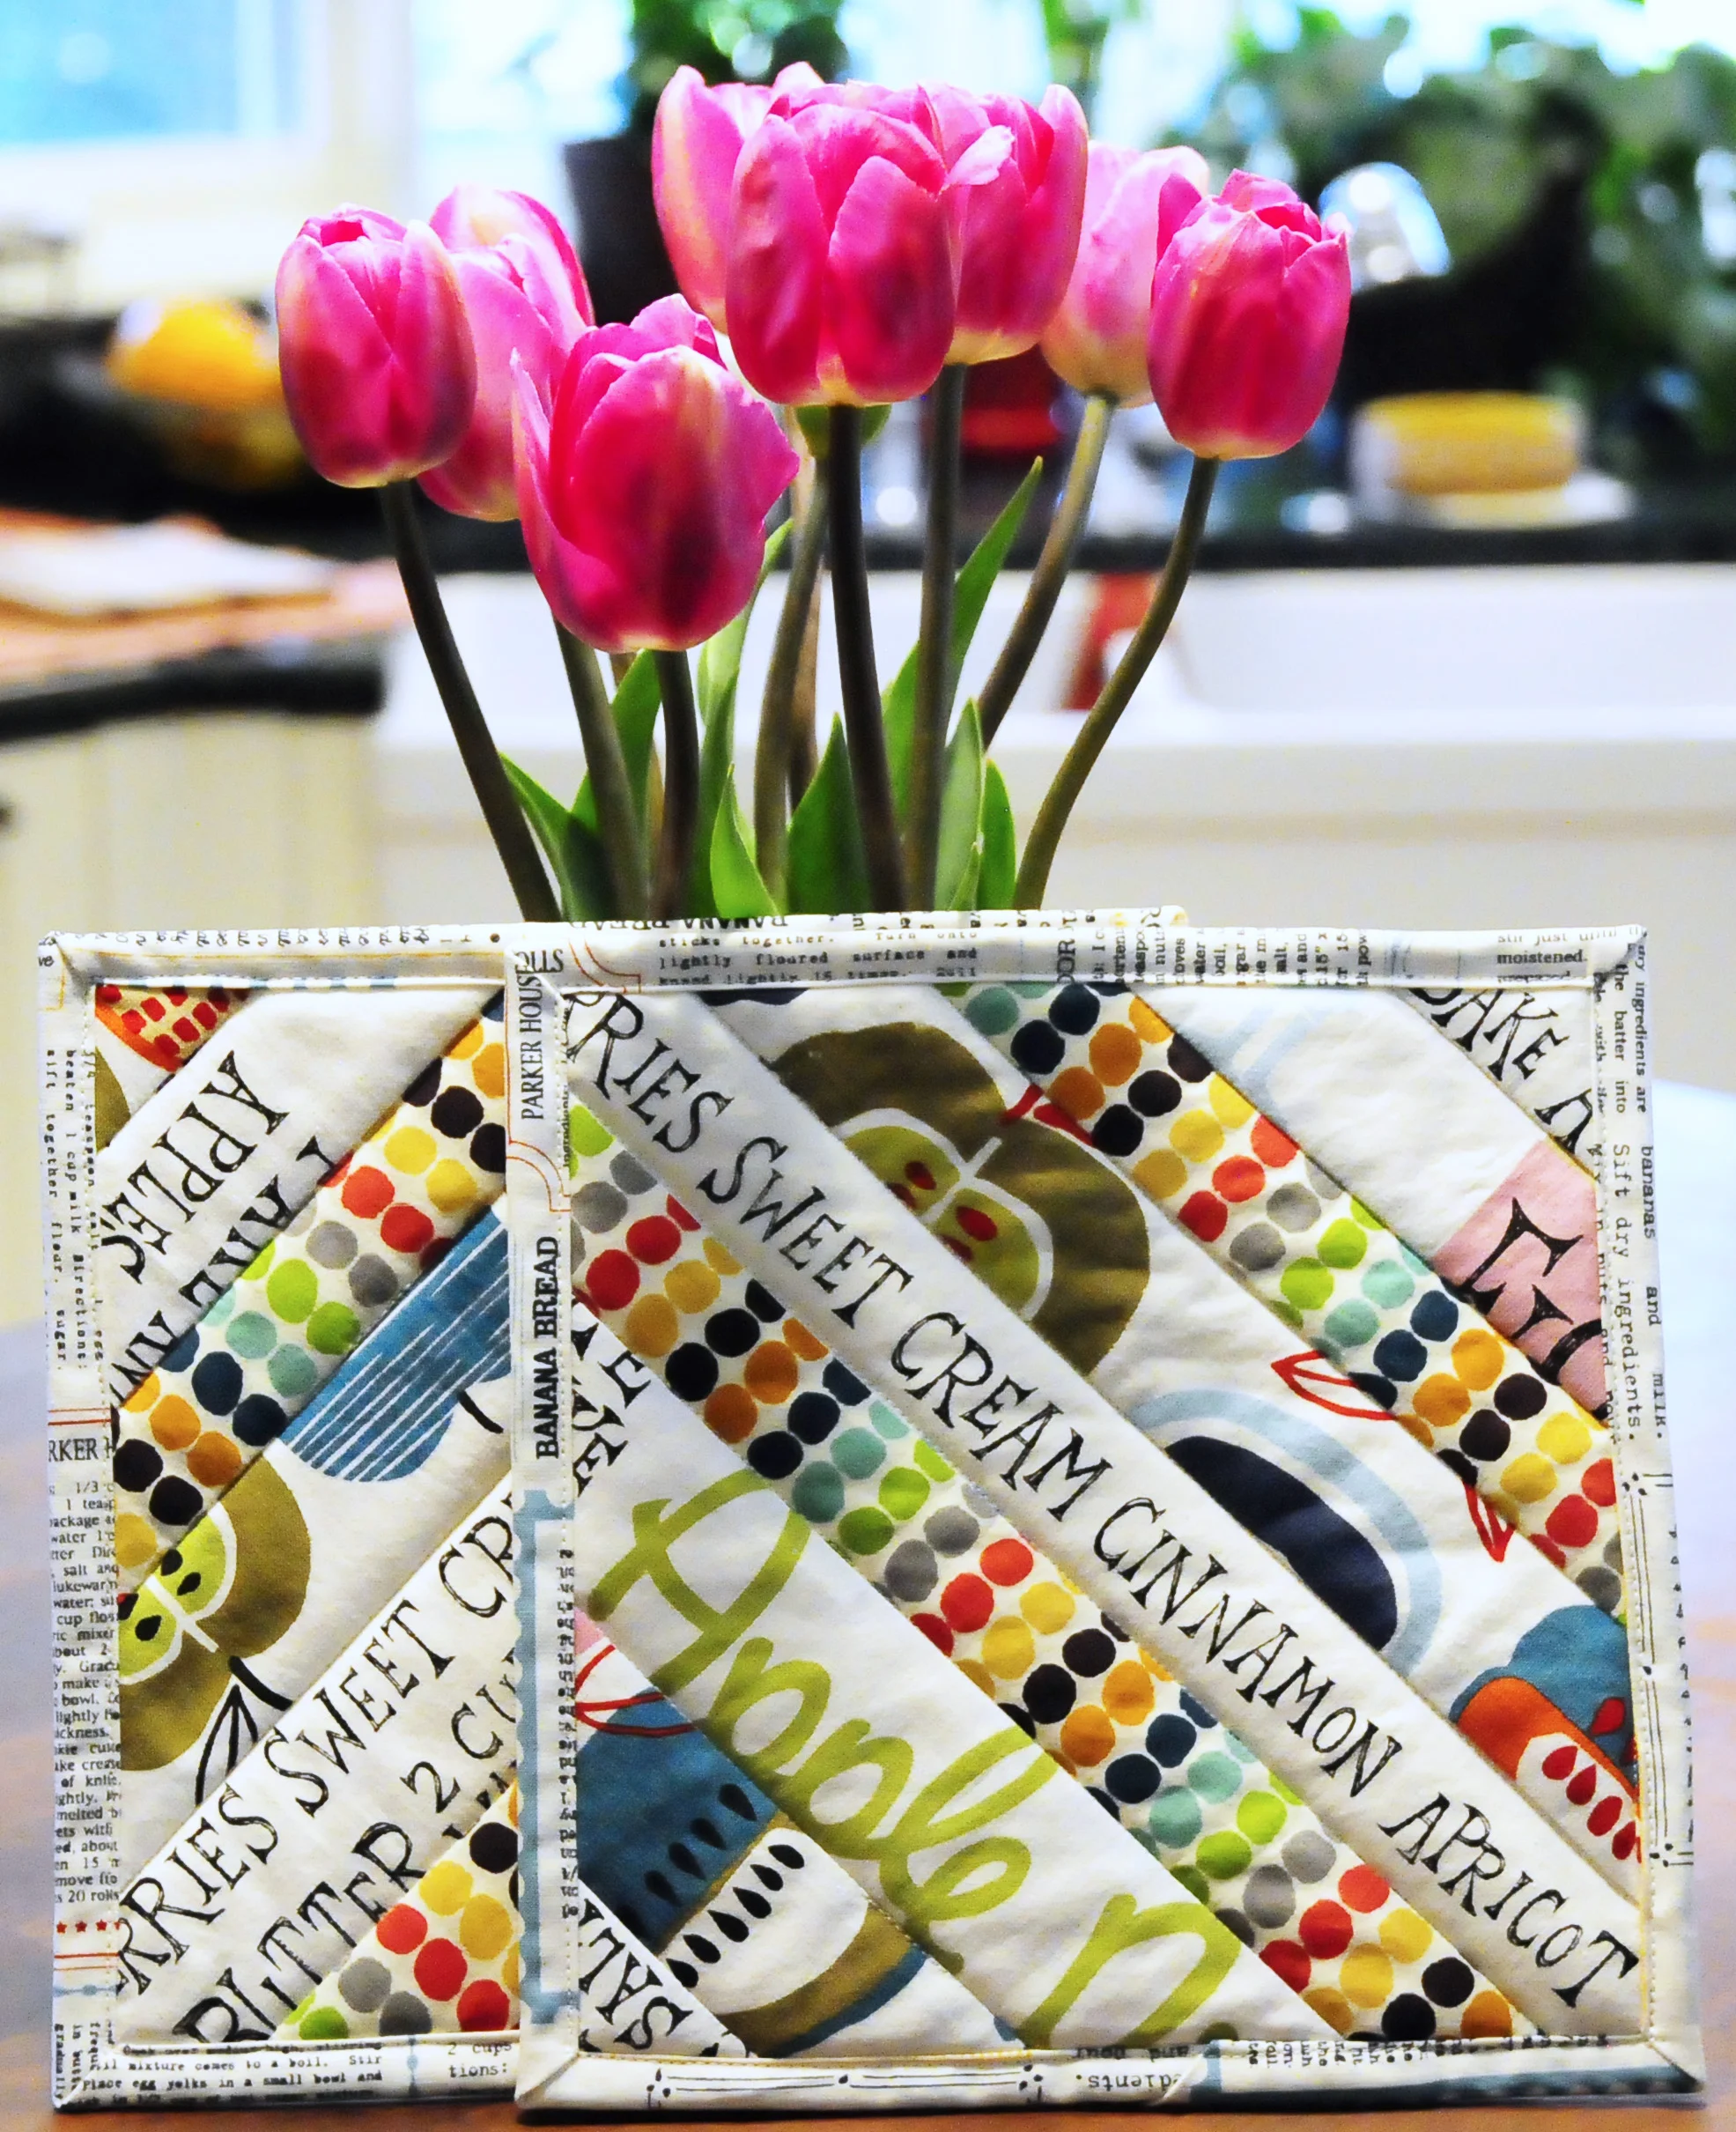
Ta da! You are done and ready to take them to the kitchen or gift them to some lucky someone!

See how that loop is well hidden on the back. Easy to use if needed or keep folded back if not.