
Below you will find my original Button Back Pillow Tutorial from my old blog, Knit One Quilt Too, first published on June 10, 2007. I am republishing today and adding the Tutorials link in the category list. Check it out!
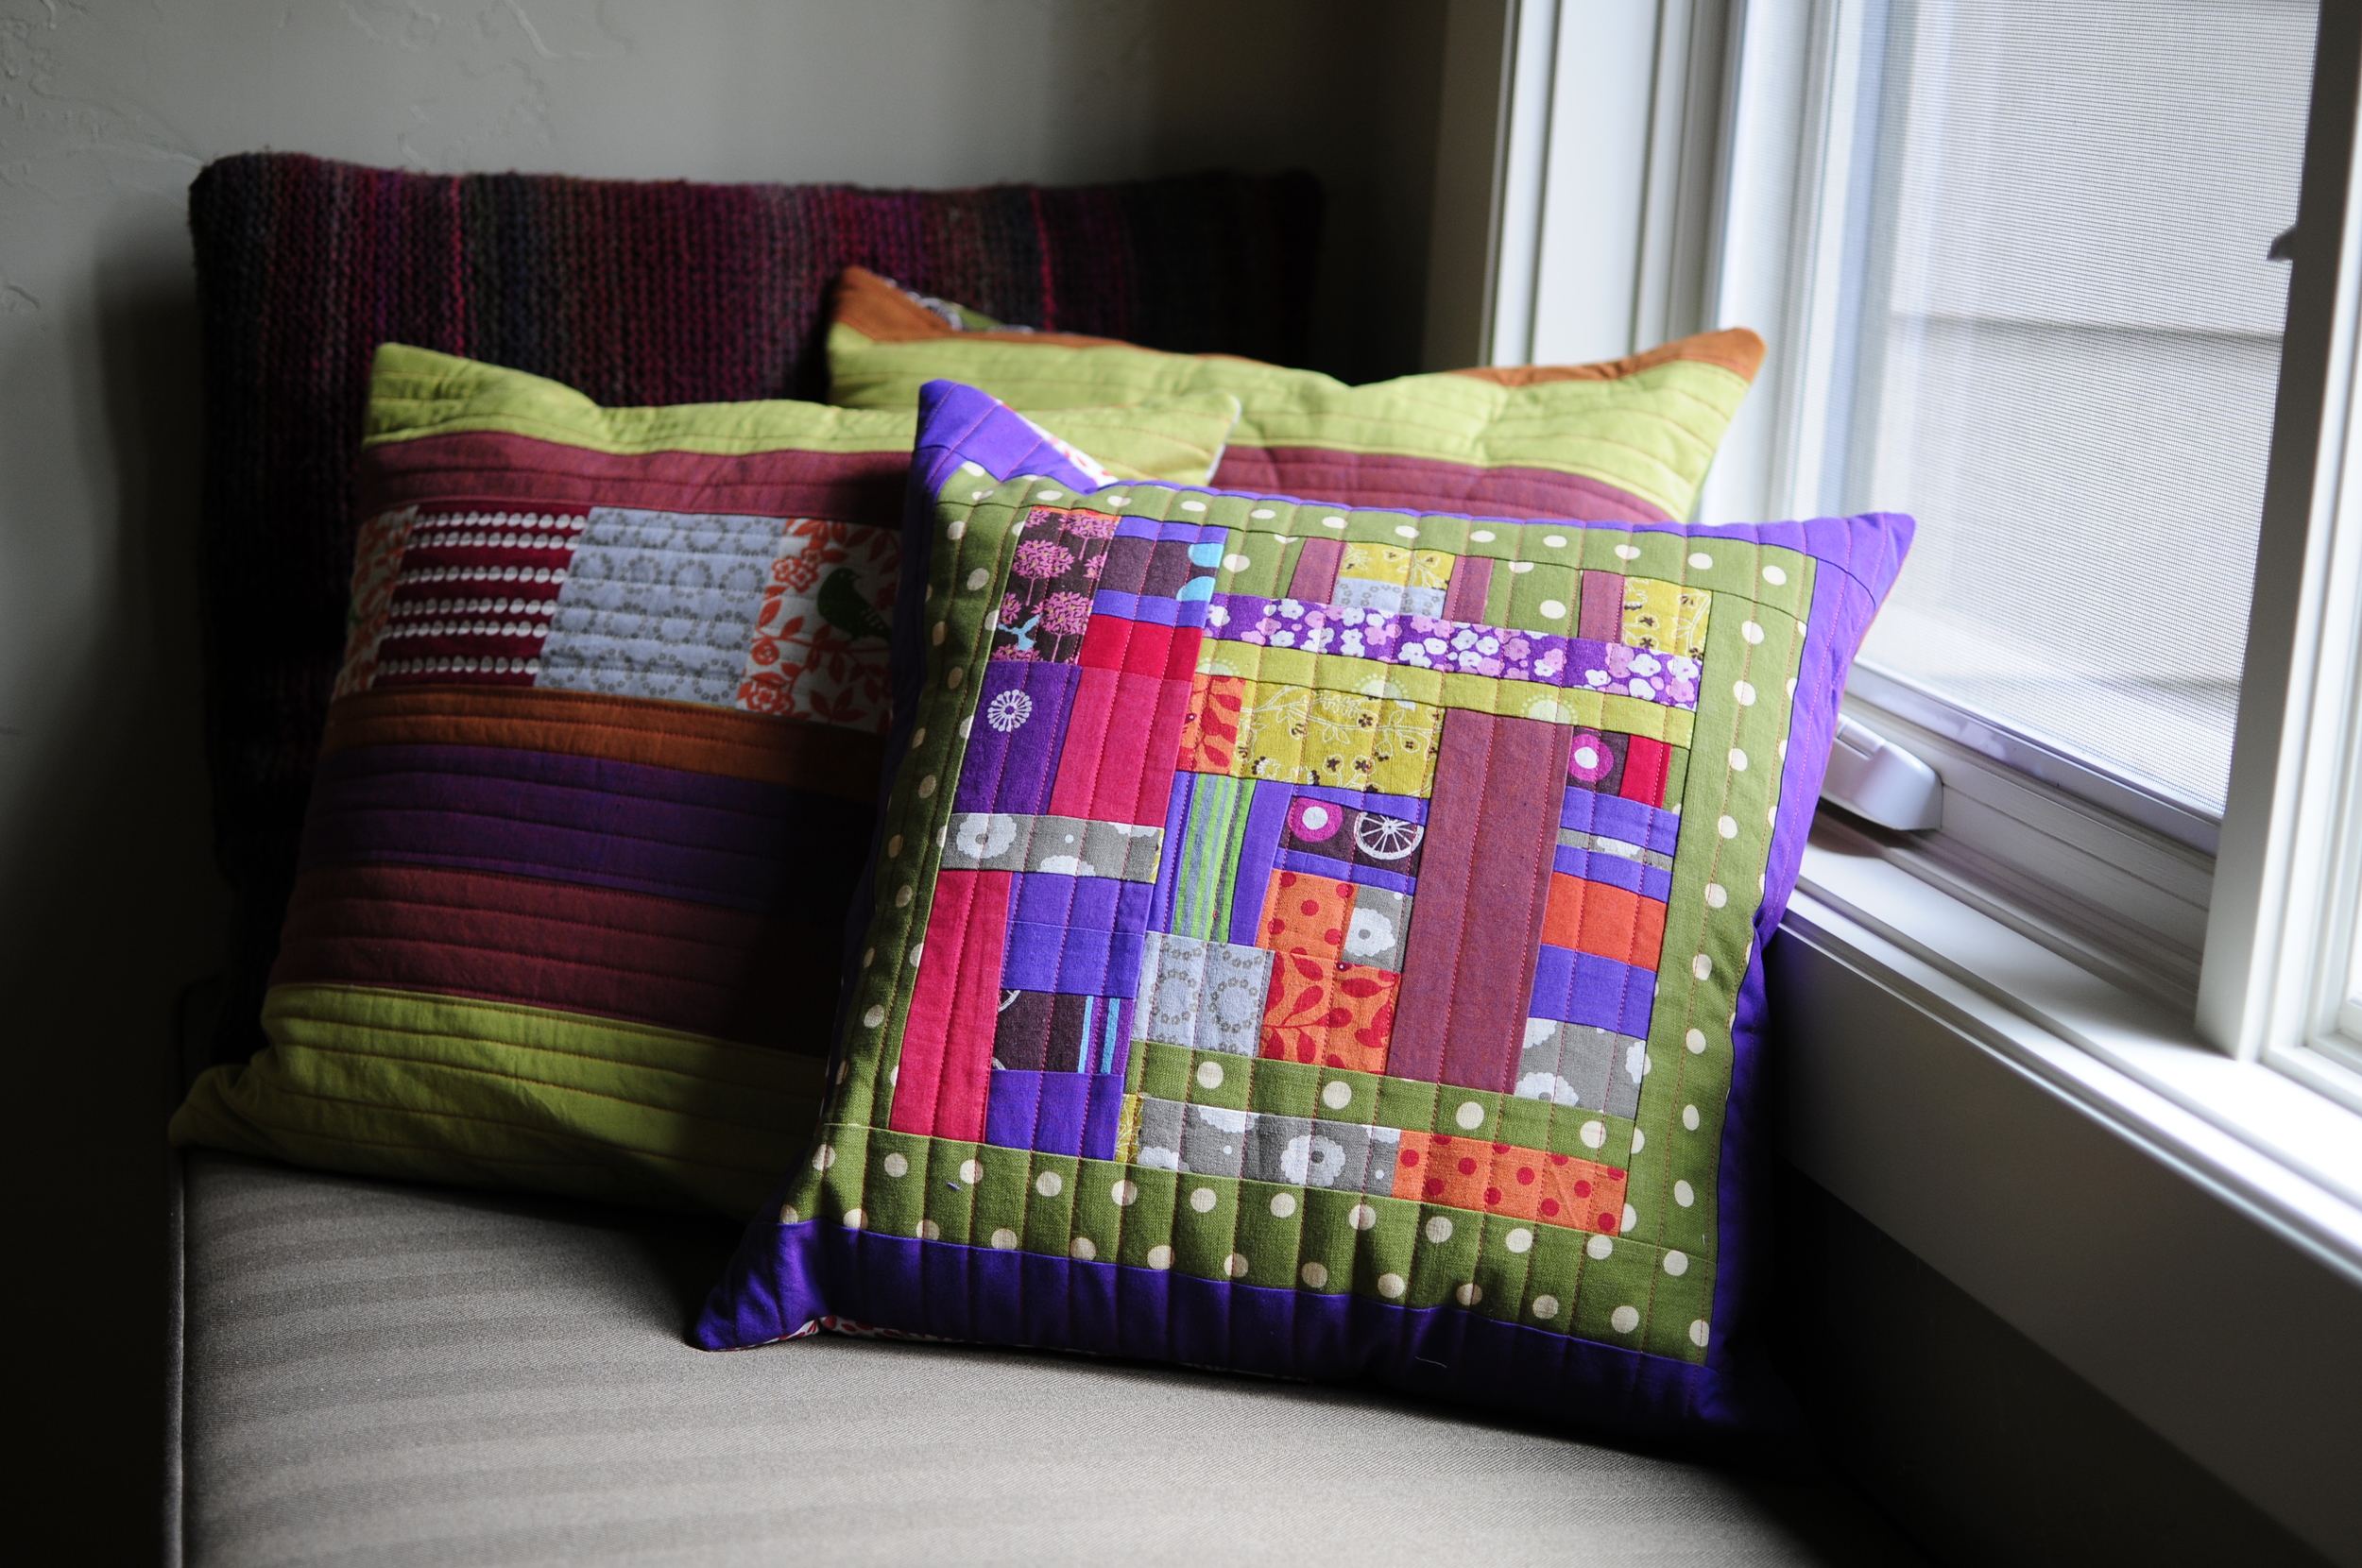
I had been meaning to make new pillows to replace the original ones ever since we moved to our new house in 2011. My husband kept asking for those new pillows I kept saying I would make.
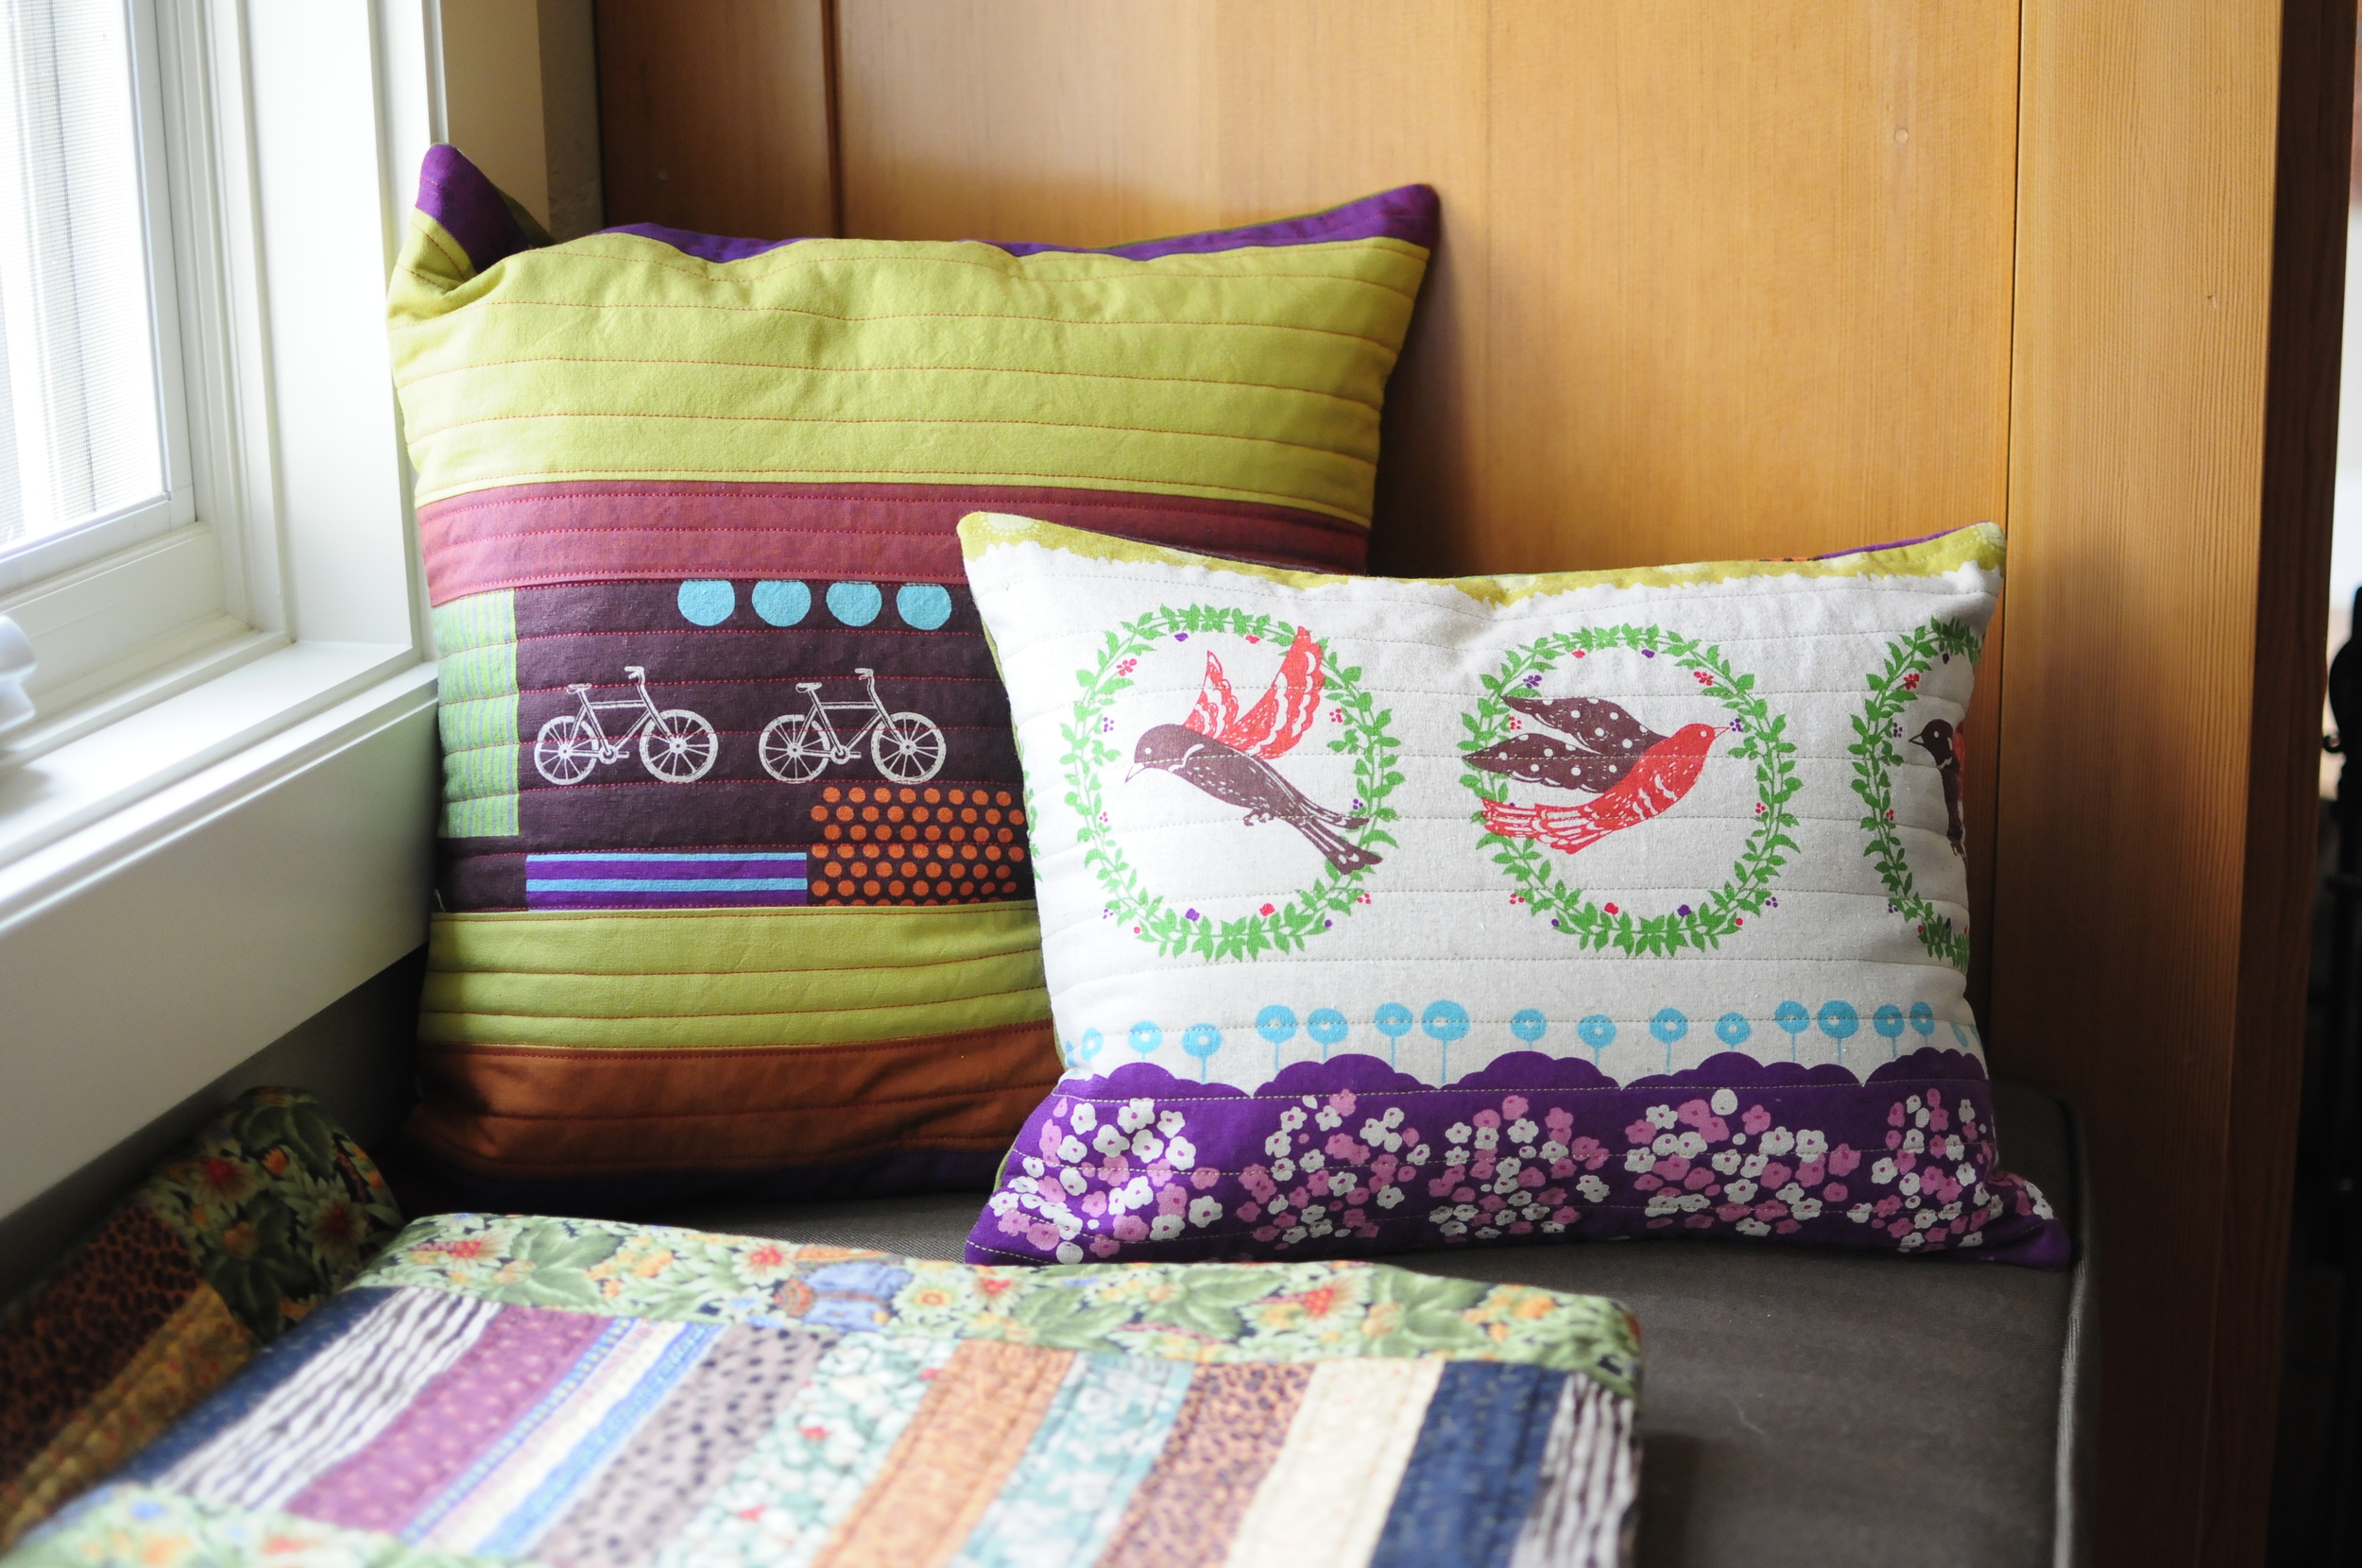
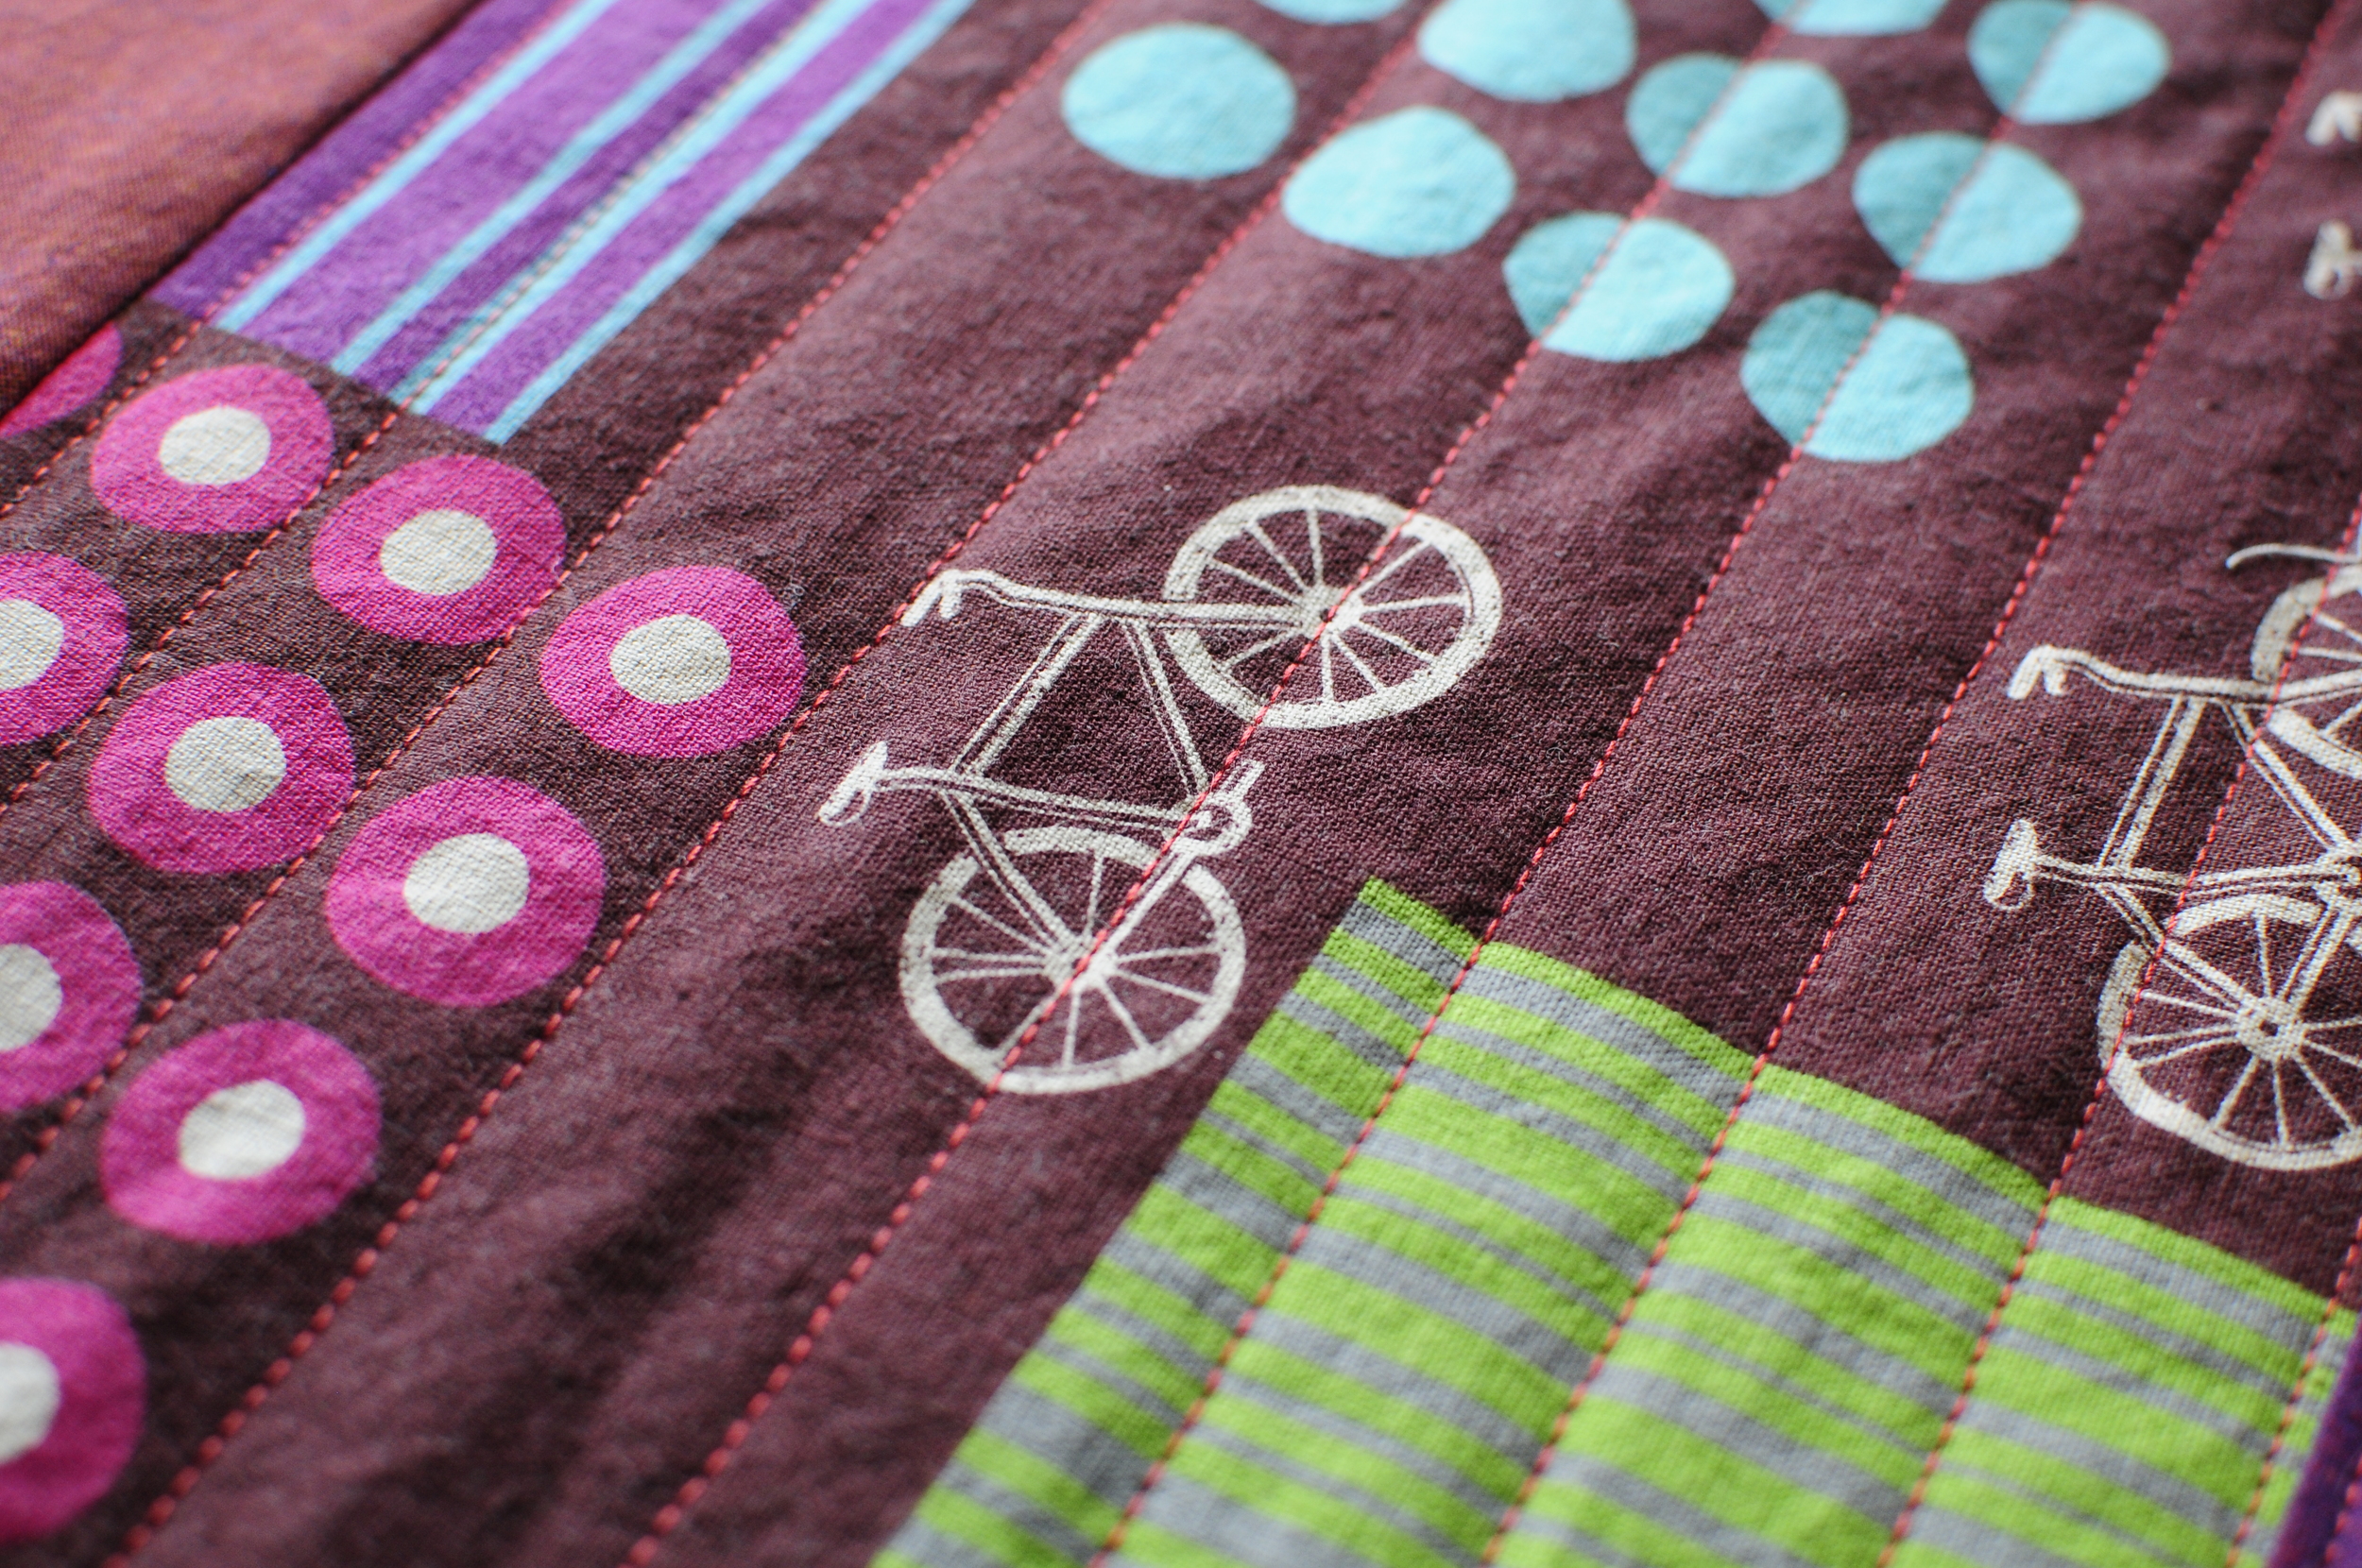
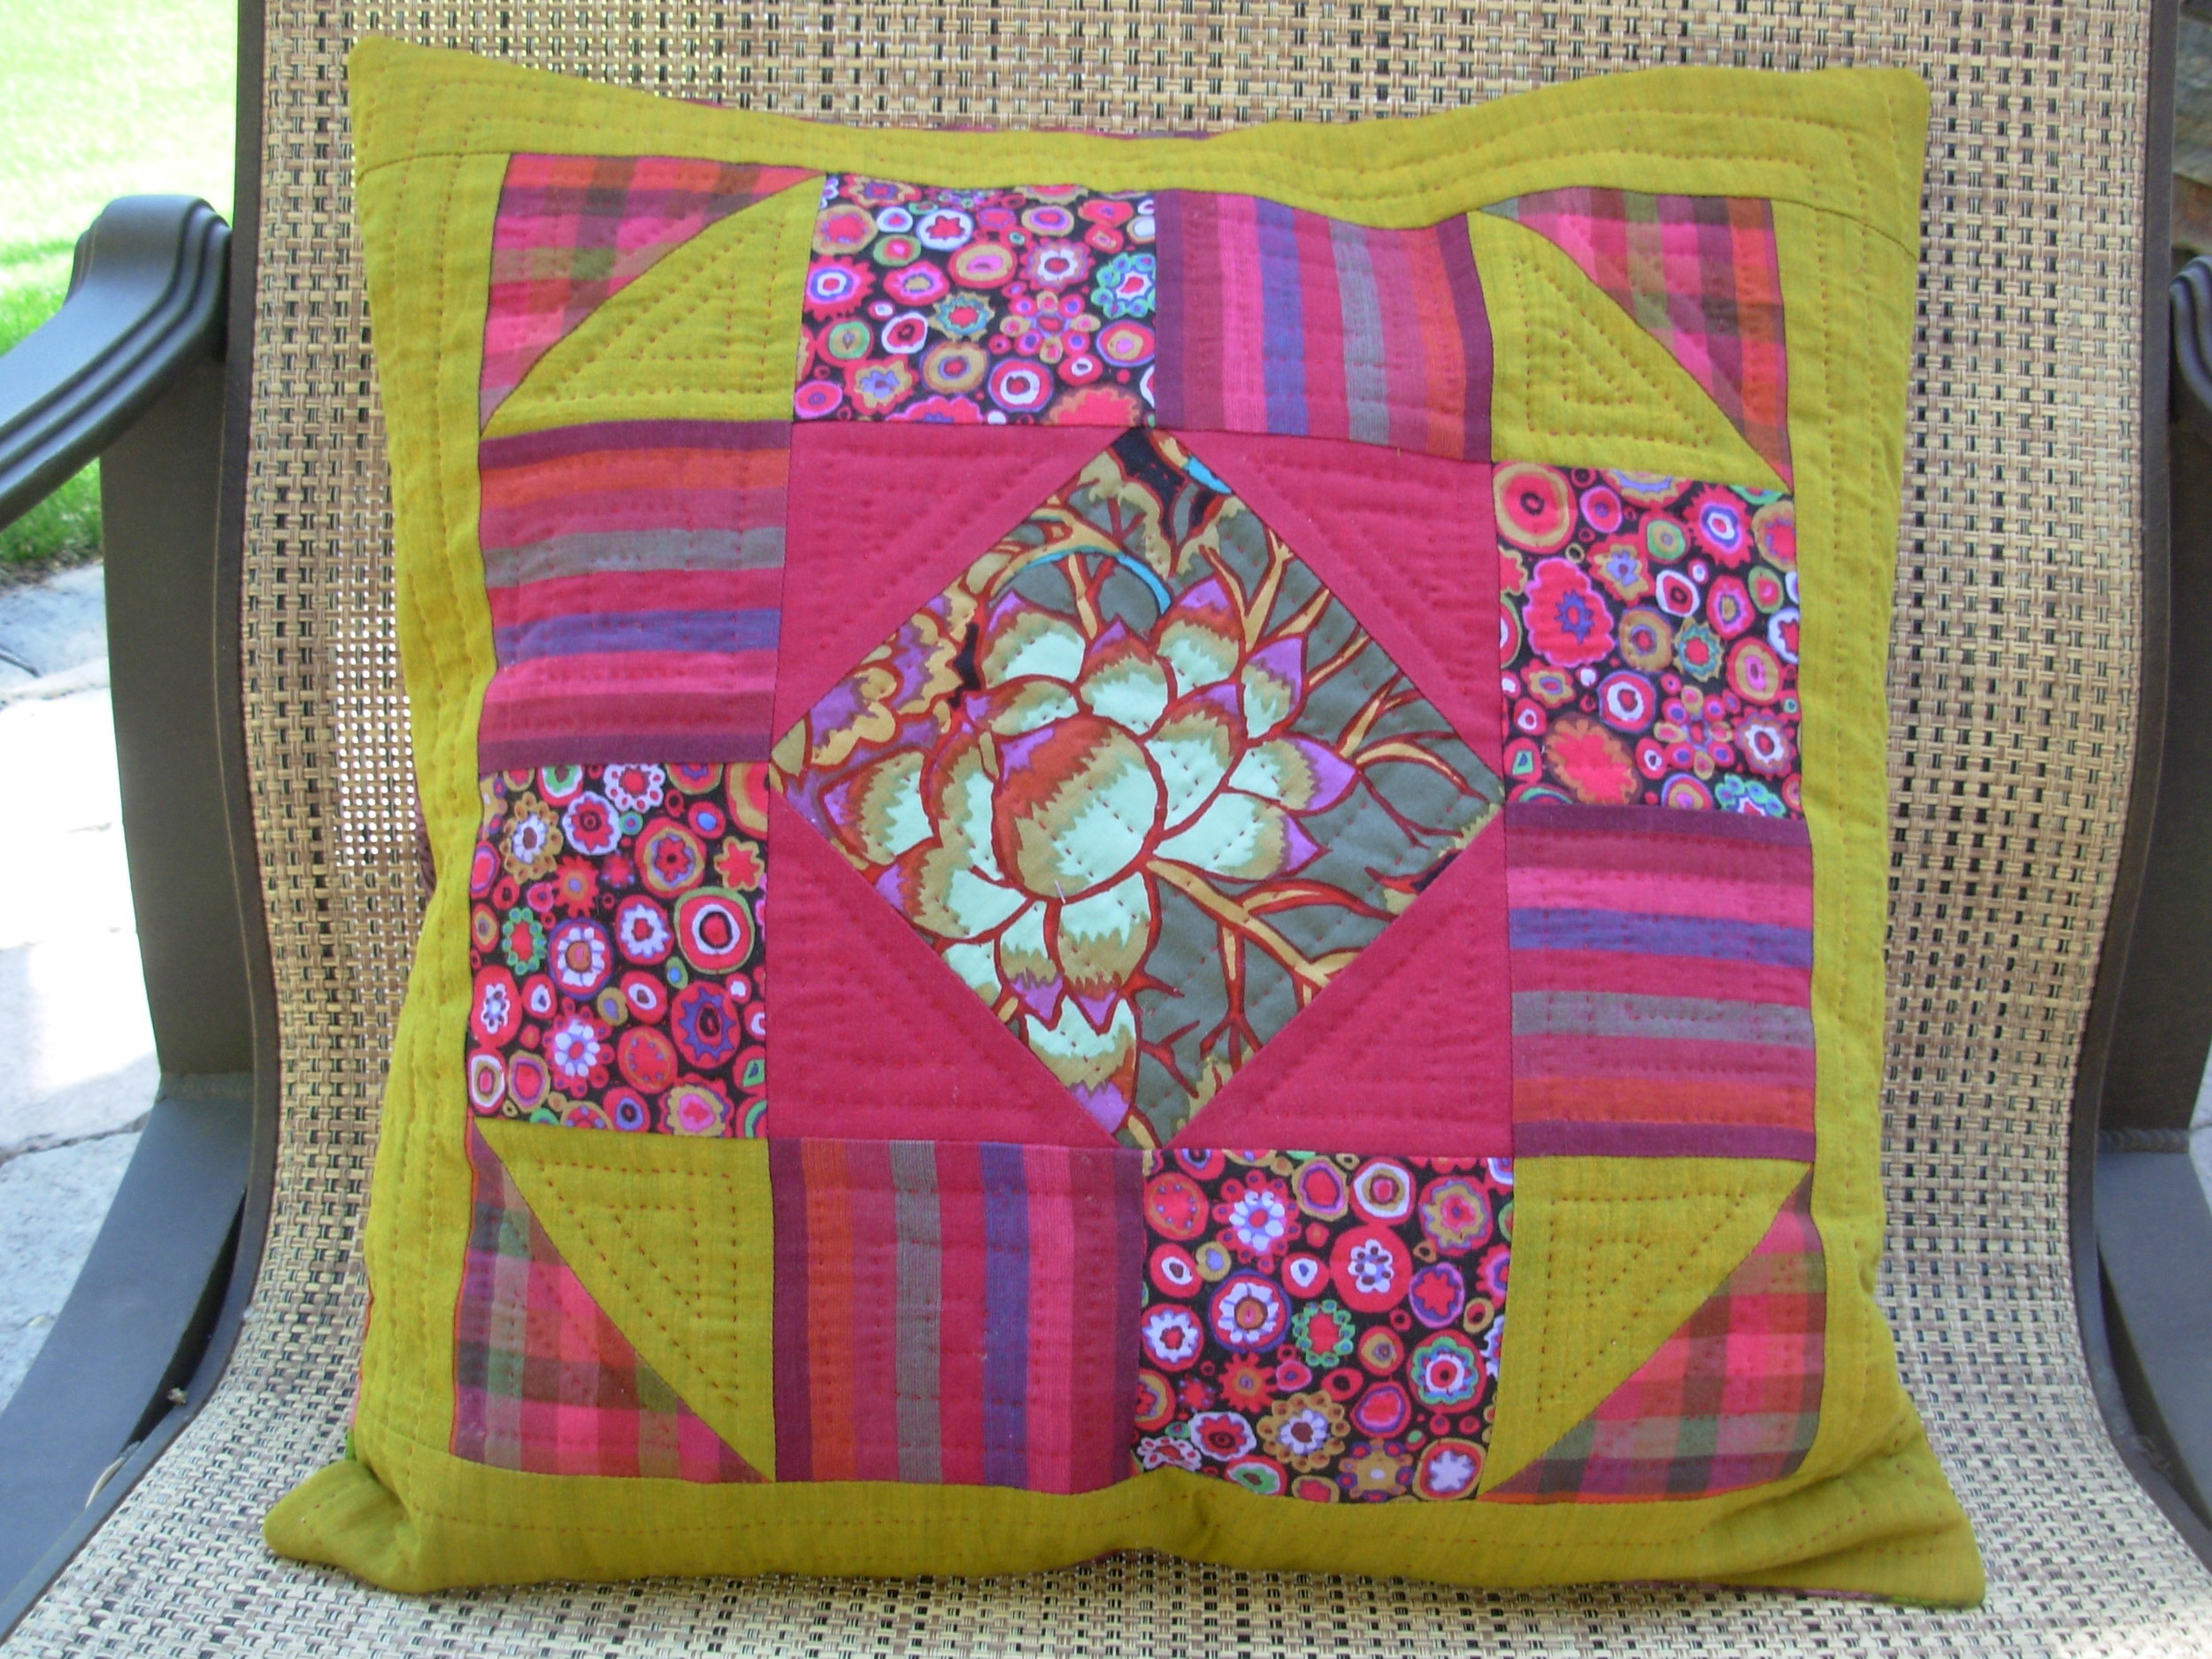
Well, here they are! I was lucky that I had a few pieces of Kokka and Echino cotton/linen blend prints in my stash. These are decorator weight fabrics that are a better choice for pillows that get lots of use.
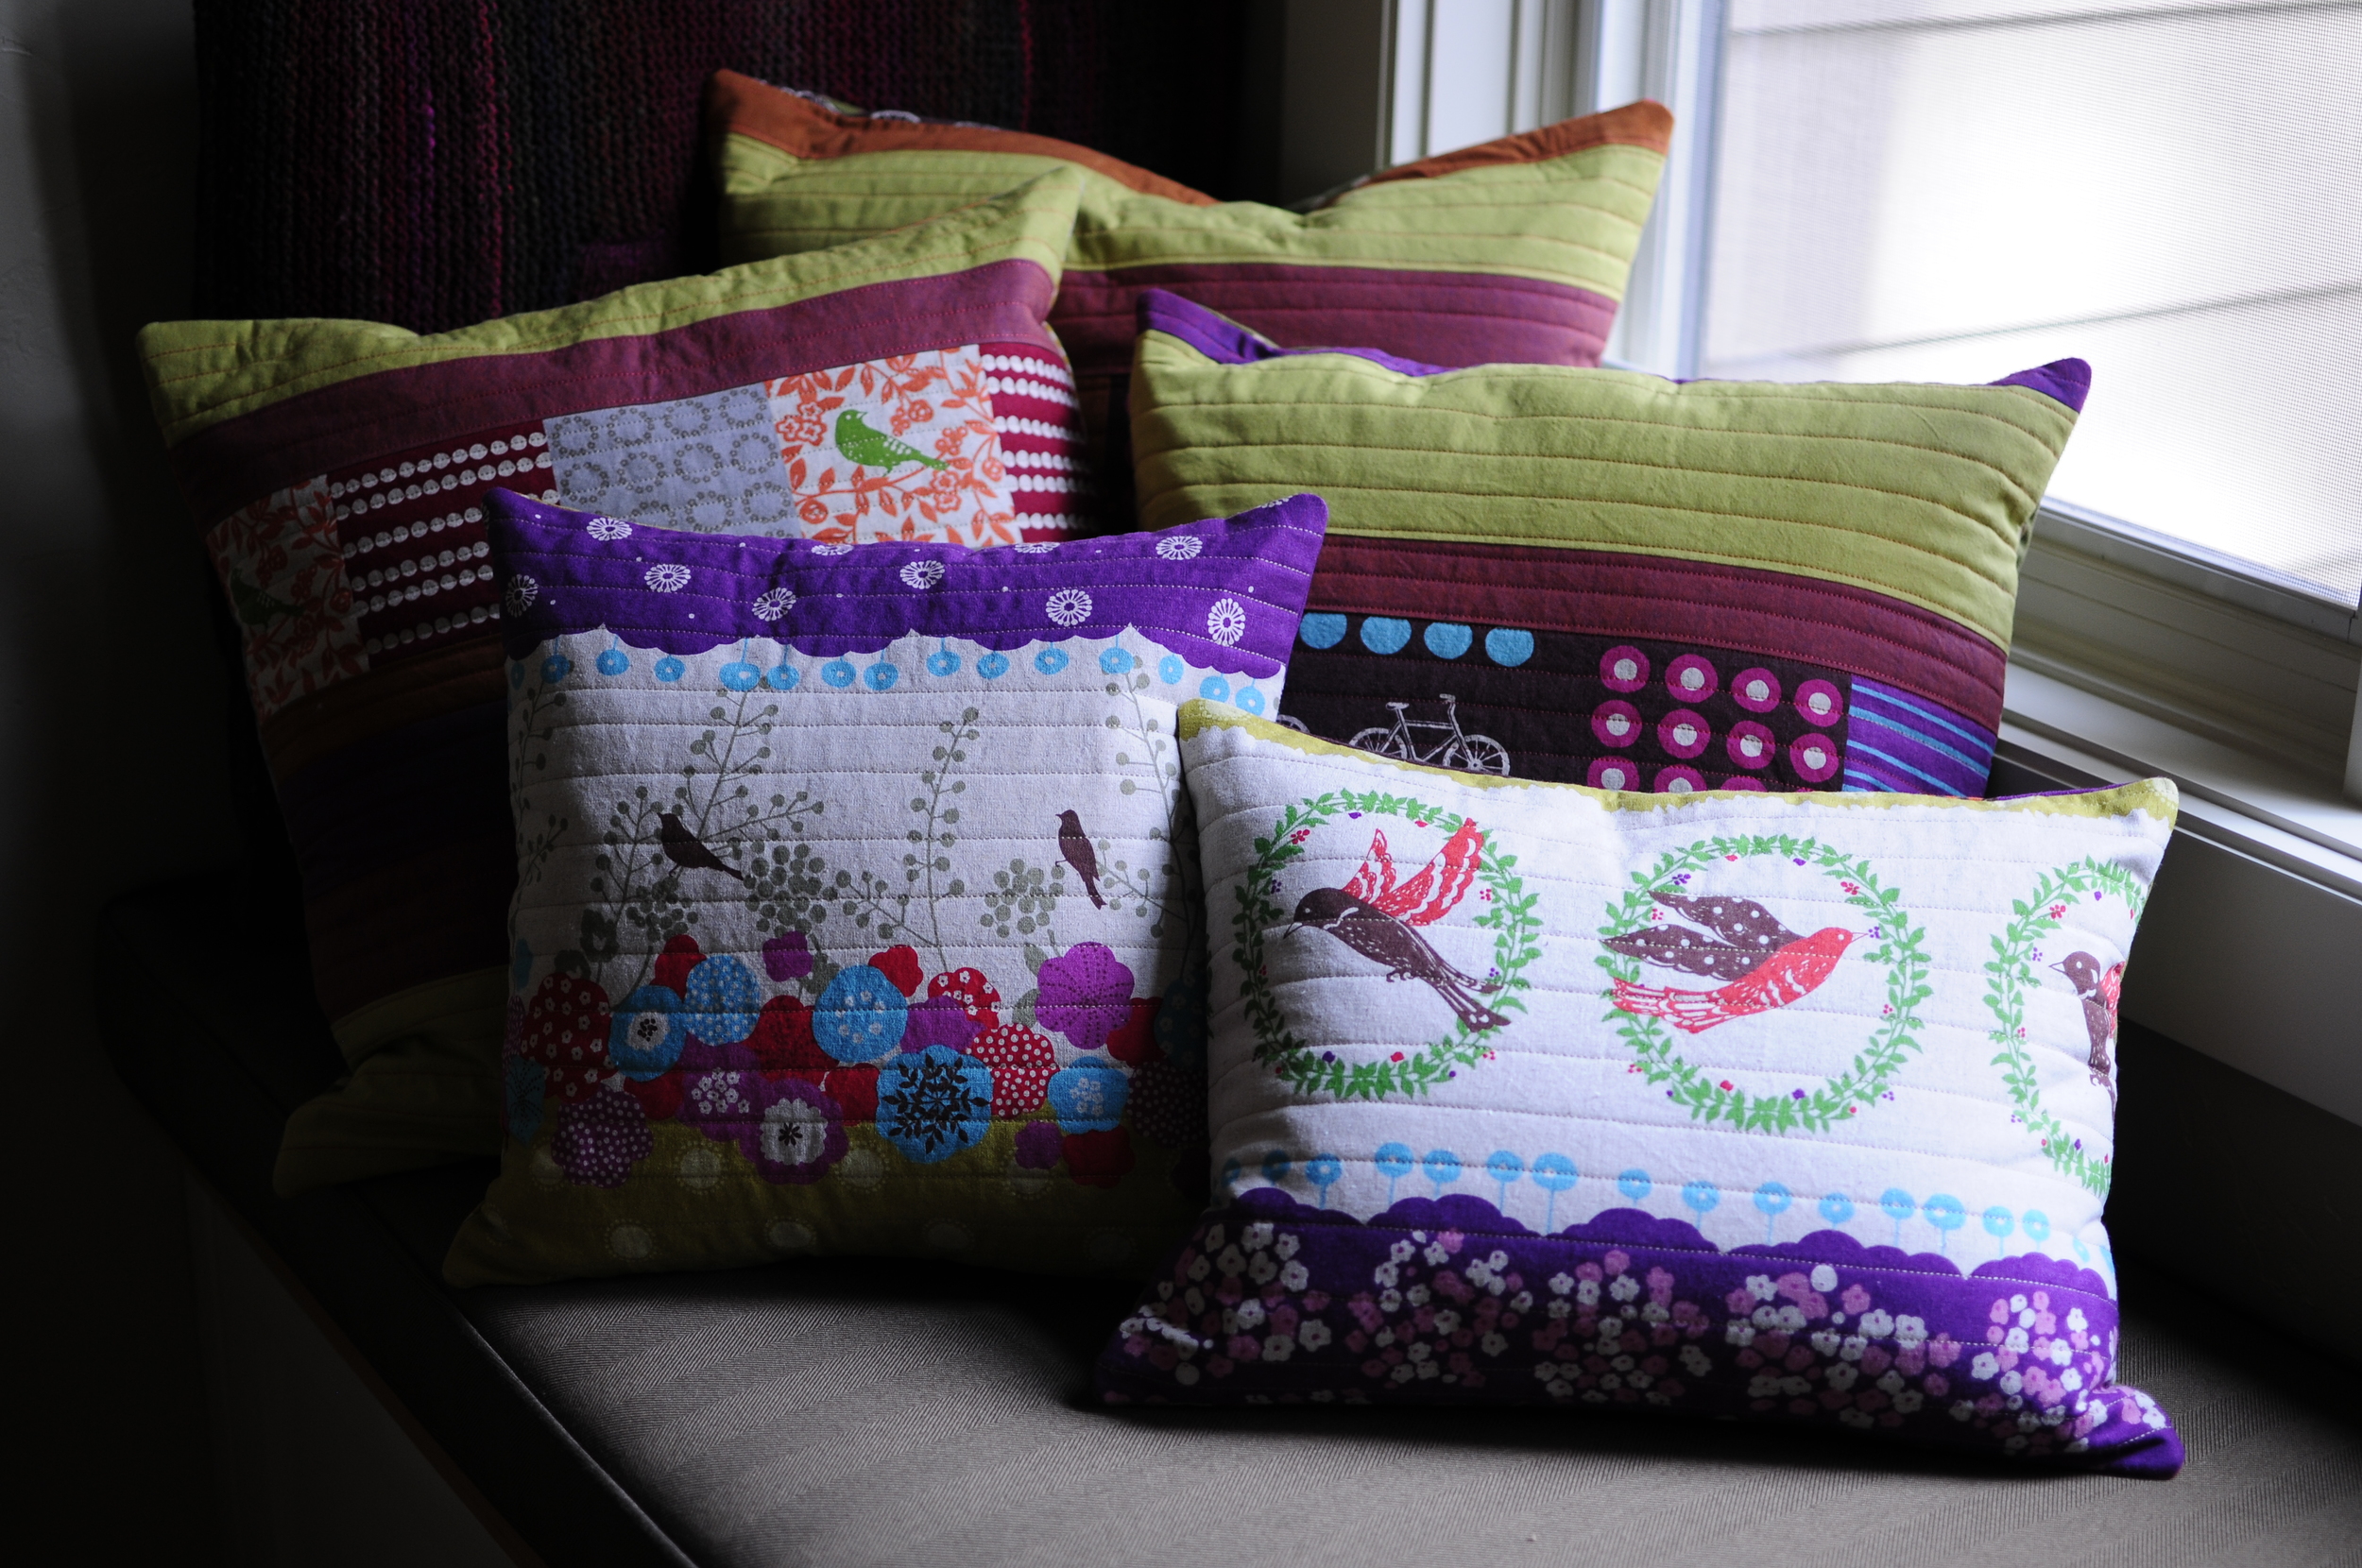
I ended up making 6 pillows of various sizes, so I've added new dimensions for the various pillow sizes at the bottom of this page.
The sixth pillow came about because I just couldn't leave the little pieces alone. Now the window seat is a well stocked and very comfy reading nook.

Modern Button Back Pillow Tutorial
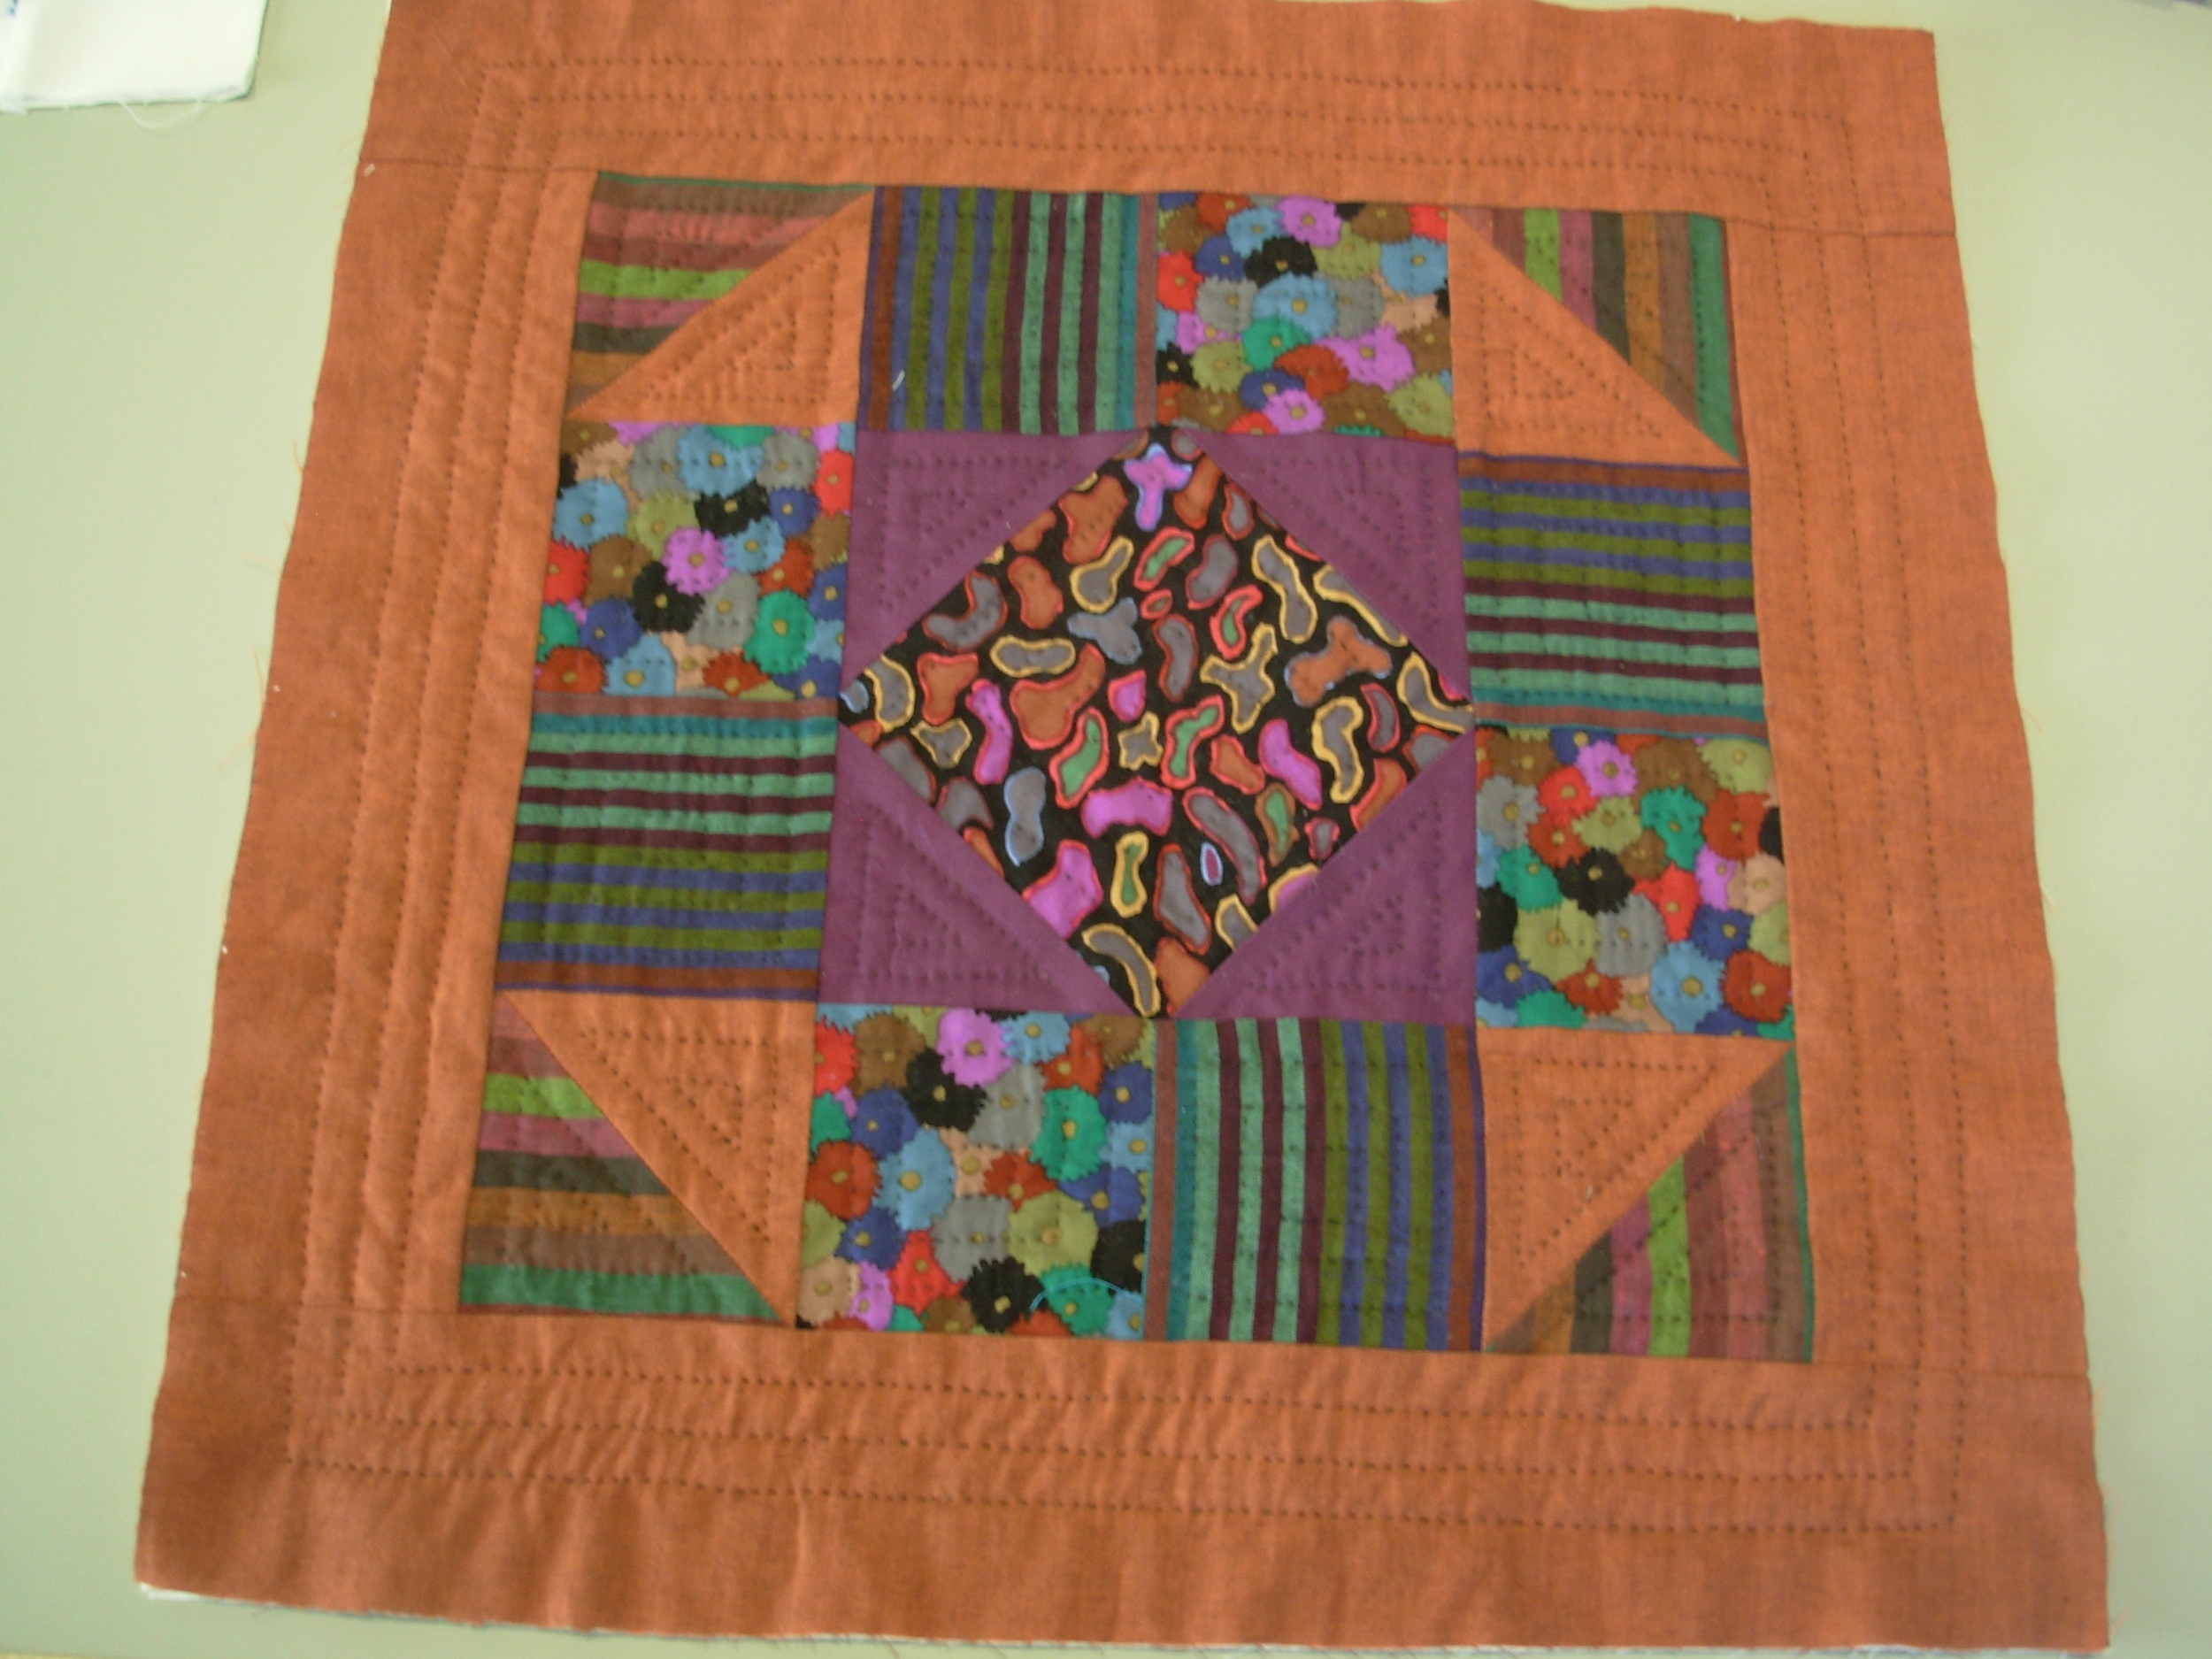
There are probably lots of ways to do this, but this is my favorite. These are 16" pillows and the block pattern is from the book, Fat Quarters are Beautiful. In the book the pillows are not quilted. I wanted them quilted and wanted them bigger so I took the 12" block and added borders to make the whole top about 18". I layered it with batting and muslin and quilted free hand. After I did the quilting I trimmed the top down to 17" so I would have a 1/2" seam allowance. Please excuse the photo quality here. These are older and taken before I knew what I know now!
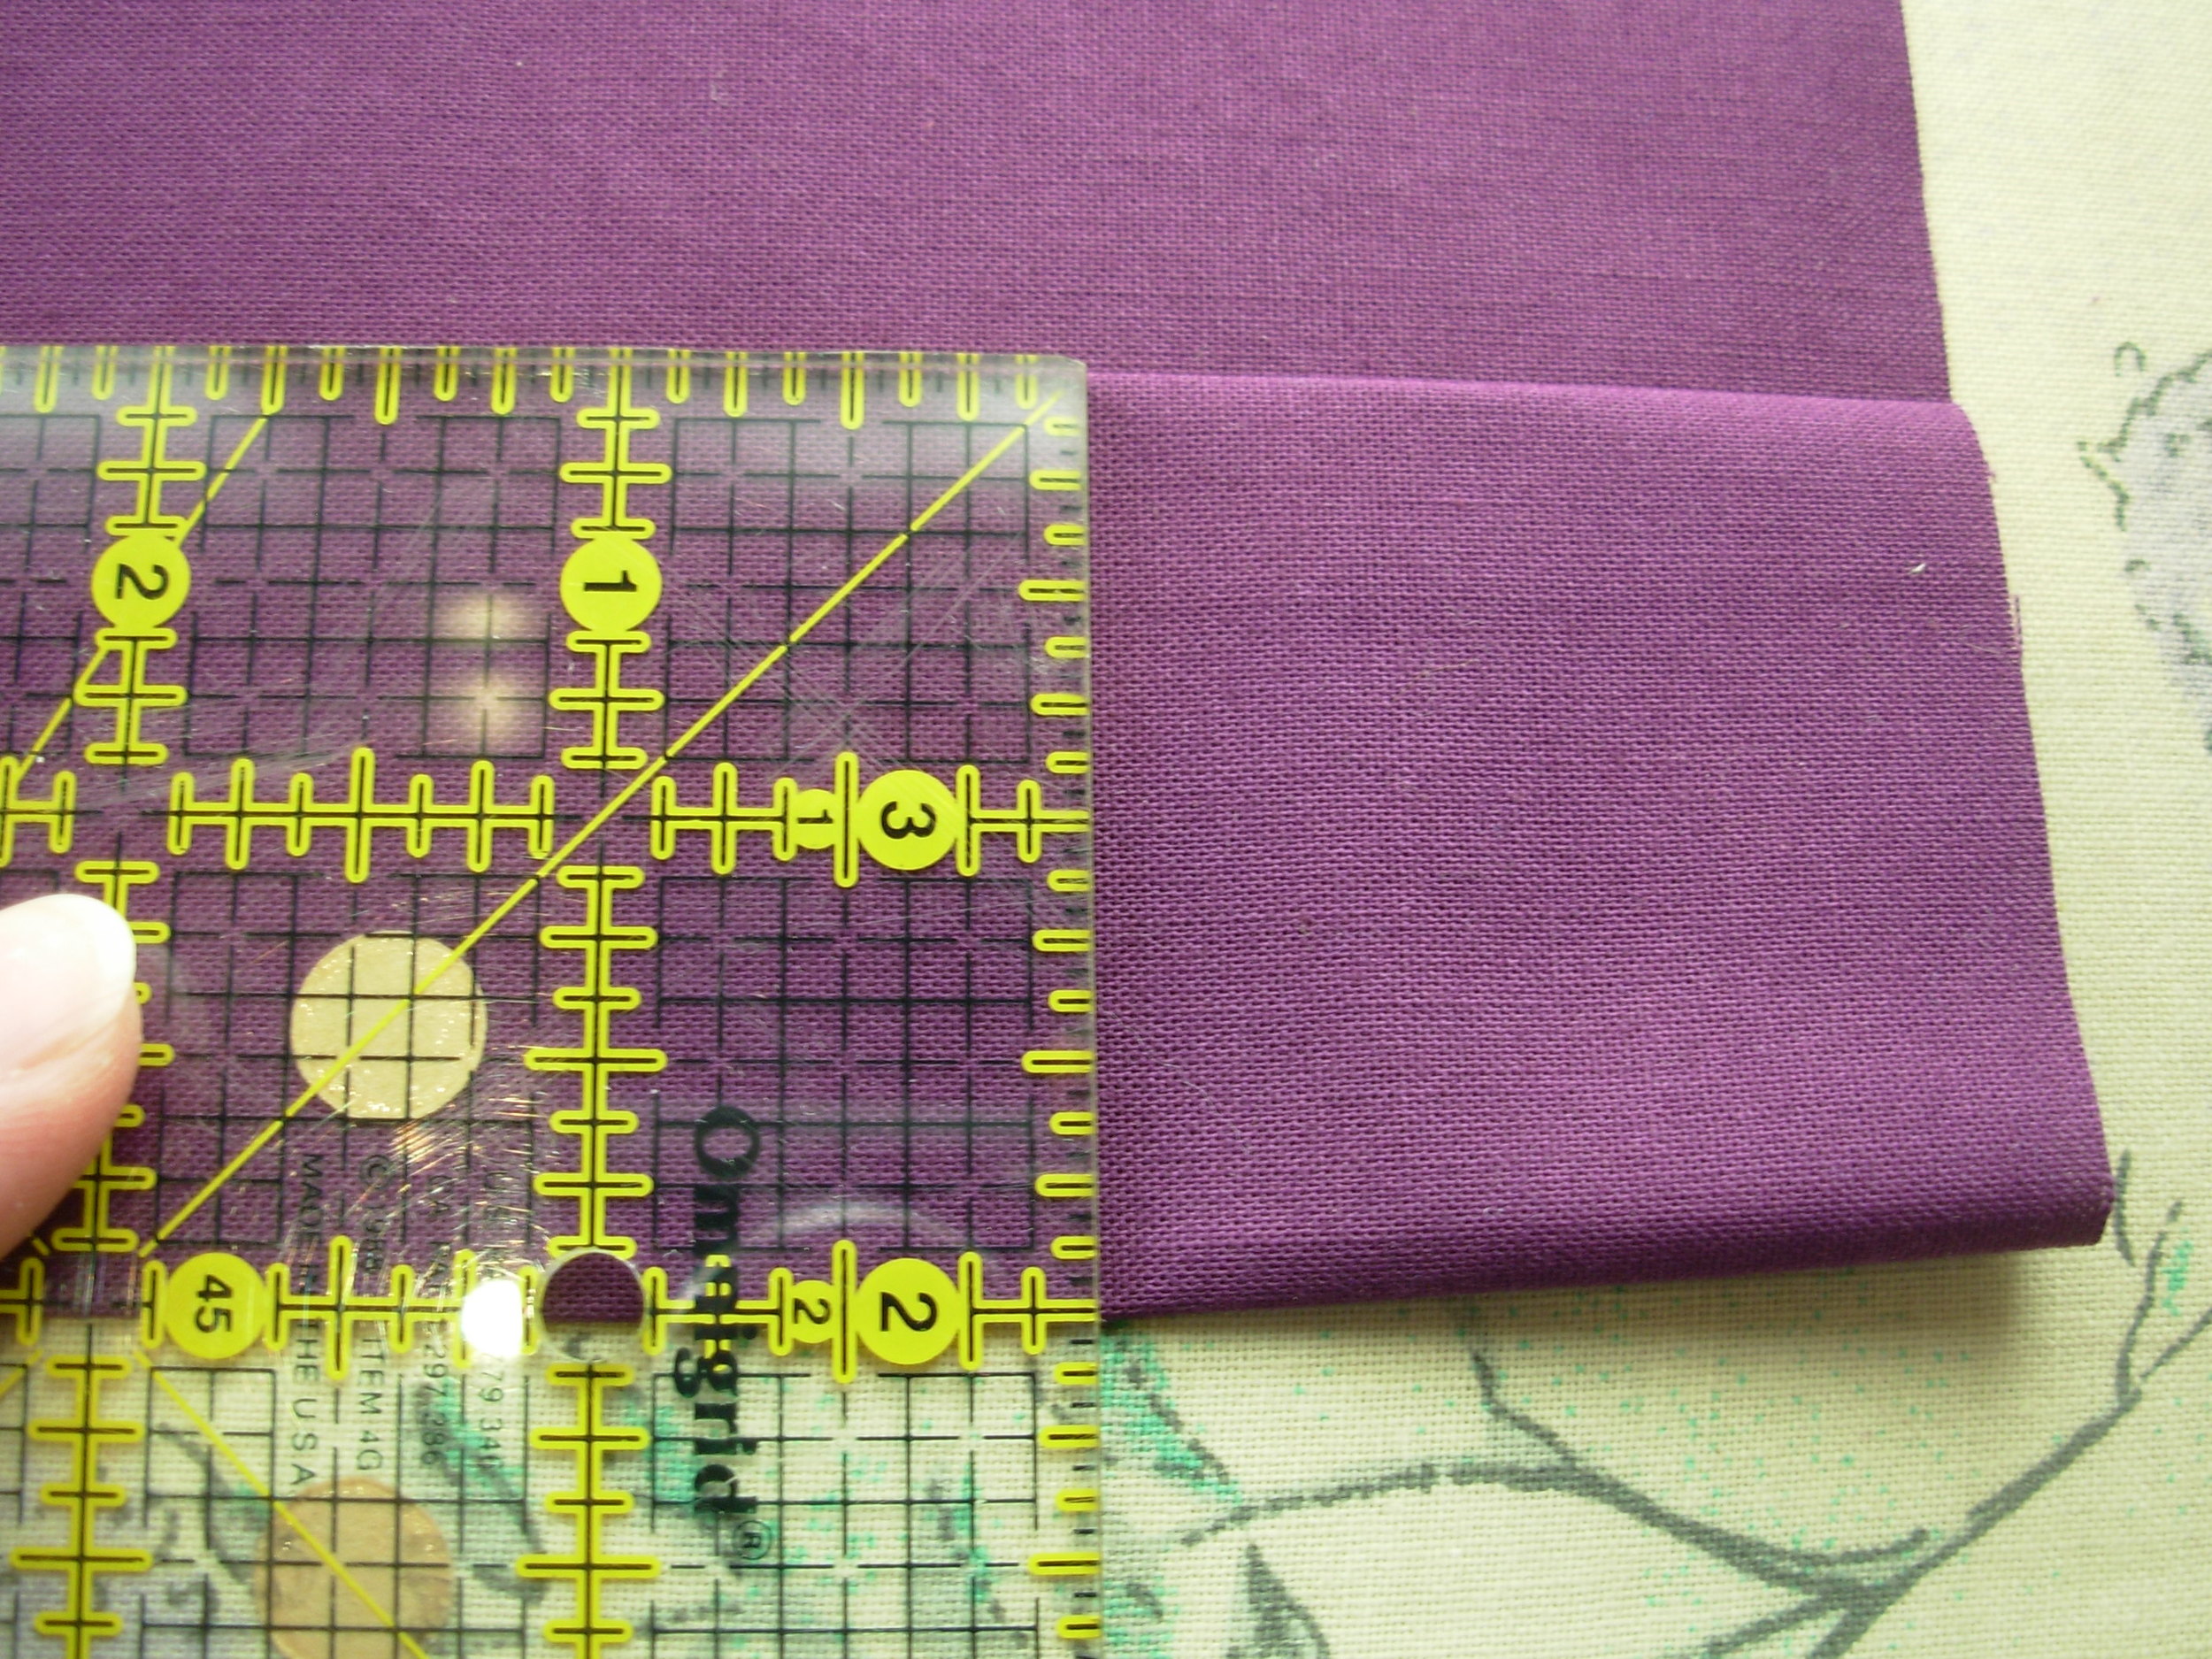
To make the back, cut two pieces of backing fabric to 12" x 17". Prepare both pieces of fabric this way: Fold under one 17" edge 1/2".

Then fold under again 2". This is the part of the backing that overlaps and has the buttons/buttonholes.
Lay the pillow top down right side up and position the two backing pieces right side down on top to make sure the folded parts overlap properly.

It should look like this.

Top stitch close to both edges of the fold on both pieces of backing.

Now it's time to mark the places for the button holes. For mine I marked the center, then made marks every 3" out from that on both ends. I did 5- 1 1/8" buttons total.

My sewing machine has an automatic buttonhole maker which is wonderful. However, it only holds buttons up to 1" I found out after I'd bought the buttons. Luckily, the 1" size worked fine for these slightly larger buttons. Whether you have an automatic buttonhole maker or not, be sure to test your buttonhole on scrap fabric first.

To cut open your buttonholes, fold the fabric like this and make a tiny snip right in the middle of the buttonhole.

Then, unfold and insert the scissors this way and snip to just before the sewing on each end of the buttonhole.

Now, lay the top and backing pieces together just as you did above, making sure to have the backing piece with the buttonholes on the bottom of the overlap, and pin every couple of inches all the way around. Rembember, this is a button back so you will sew all the way around and don't need to leave room for turning.

Using a 1/2" seam allowance, sew all the way around, clip the corners, turn and iron it out to be sure you have the edges are neat. Sew on the buttons and you are done!
And here are the backs.

Dimensions for other pillow sizes
Finished Quilted 2 Backs 2 Backs
Pillow Size Pillow Top Size Cutting Size After Folding
14" Square 15" Square 11" x 15" 8.5" x 15"
16" Square 17" Square 12" x 17" 9.5" x 17"
18" Square 19" Square 13" x 19" 10.5" x 19"
20" Square 21" Square 14" x 21" 11.5" x 21"
12" x 16" 13" x 17" 10" x 17" 7.5" x 17"
Notes: I like to cut my top and backs slightly larger than these dimensions so that I can cut them true to size after quilting the top and after adding the topstitching on the backs.
The buttons I like to use are flat and smooth. They are great for pillows because they will still feel fine if the pillow is used back side forward. They come from Hill Creek Designs. (Theresa's Hand Dyed Buttons).
PS: Here's a link to another button back pillow I made a couple of years ago.