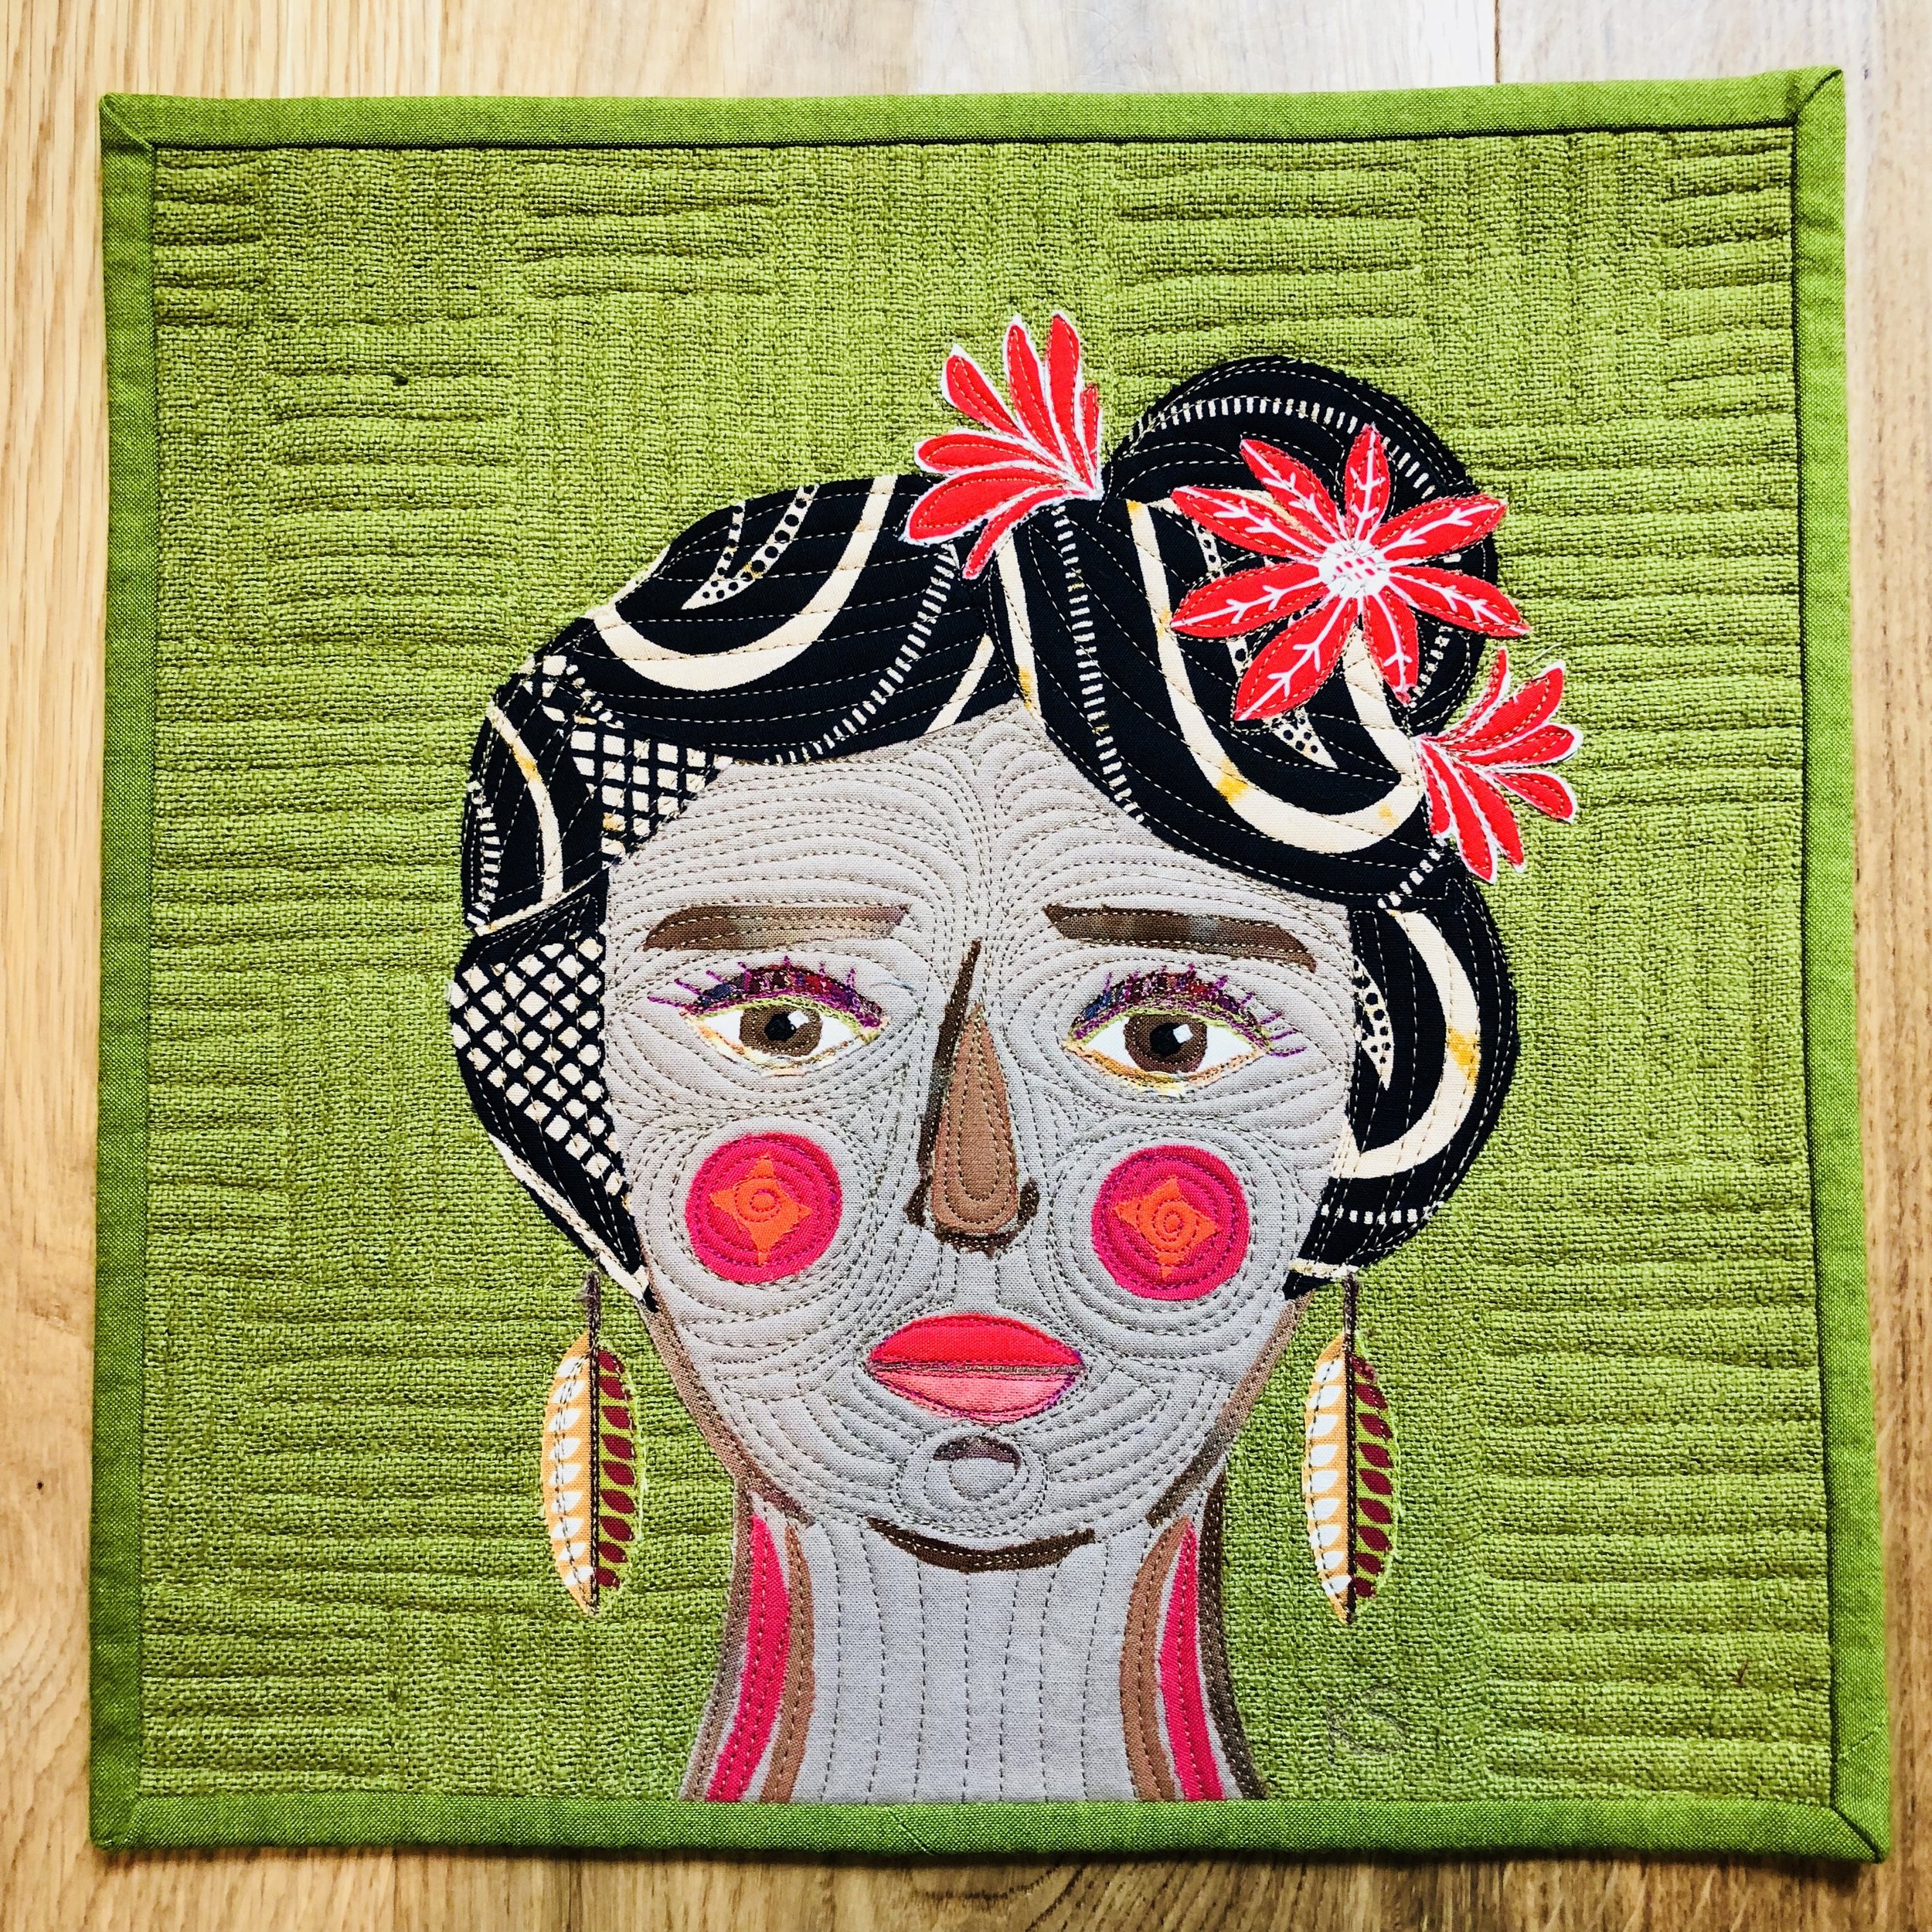
Woman with Flowers
So, here is face #2. This one measures accurately at 12" square. Today I'll talk a bit about my process, but I have another post with even more in progress photos so details will come later.
At this point I figured out that I needed to have a template for the face in order to keep myself on track size-wise. For this I drew a general face on a 12' square piece of paper and traced the face outline onto tracing paper. It includes the eyes, mouth and nose for placement.
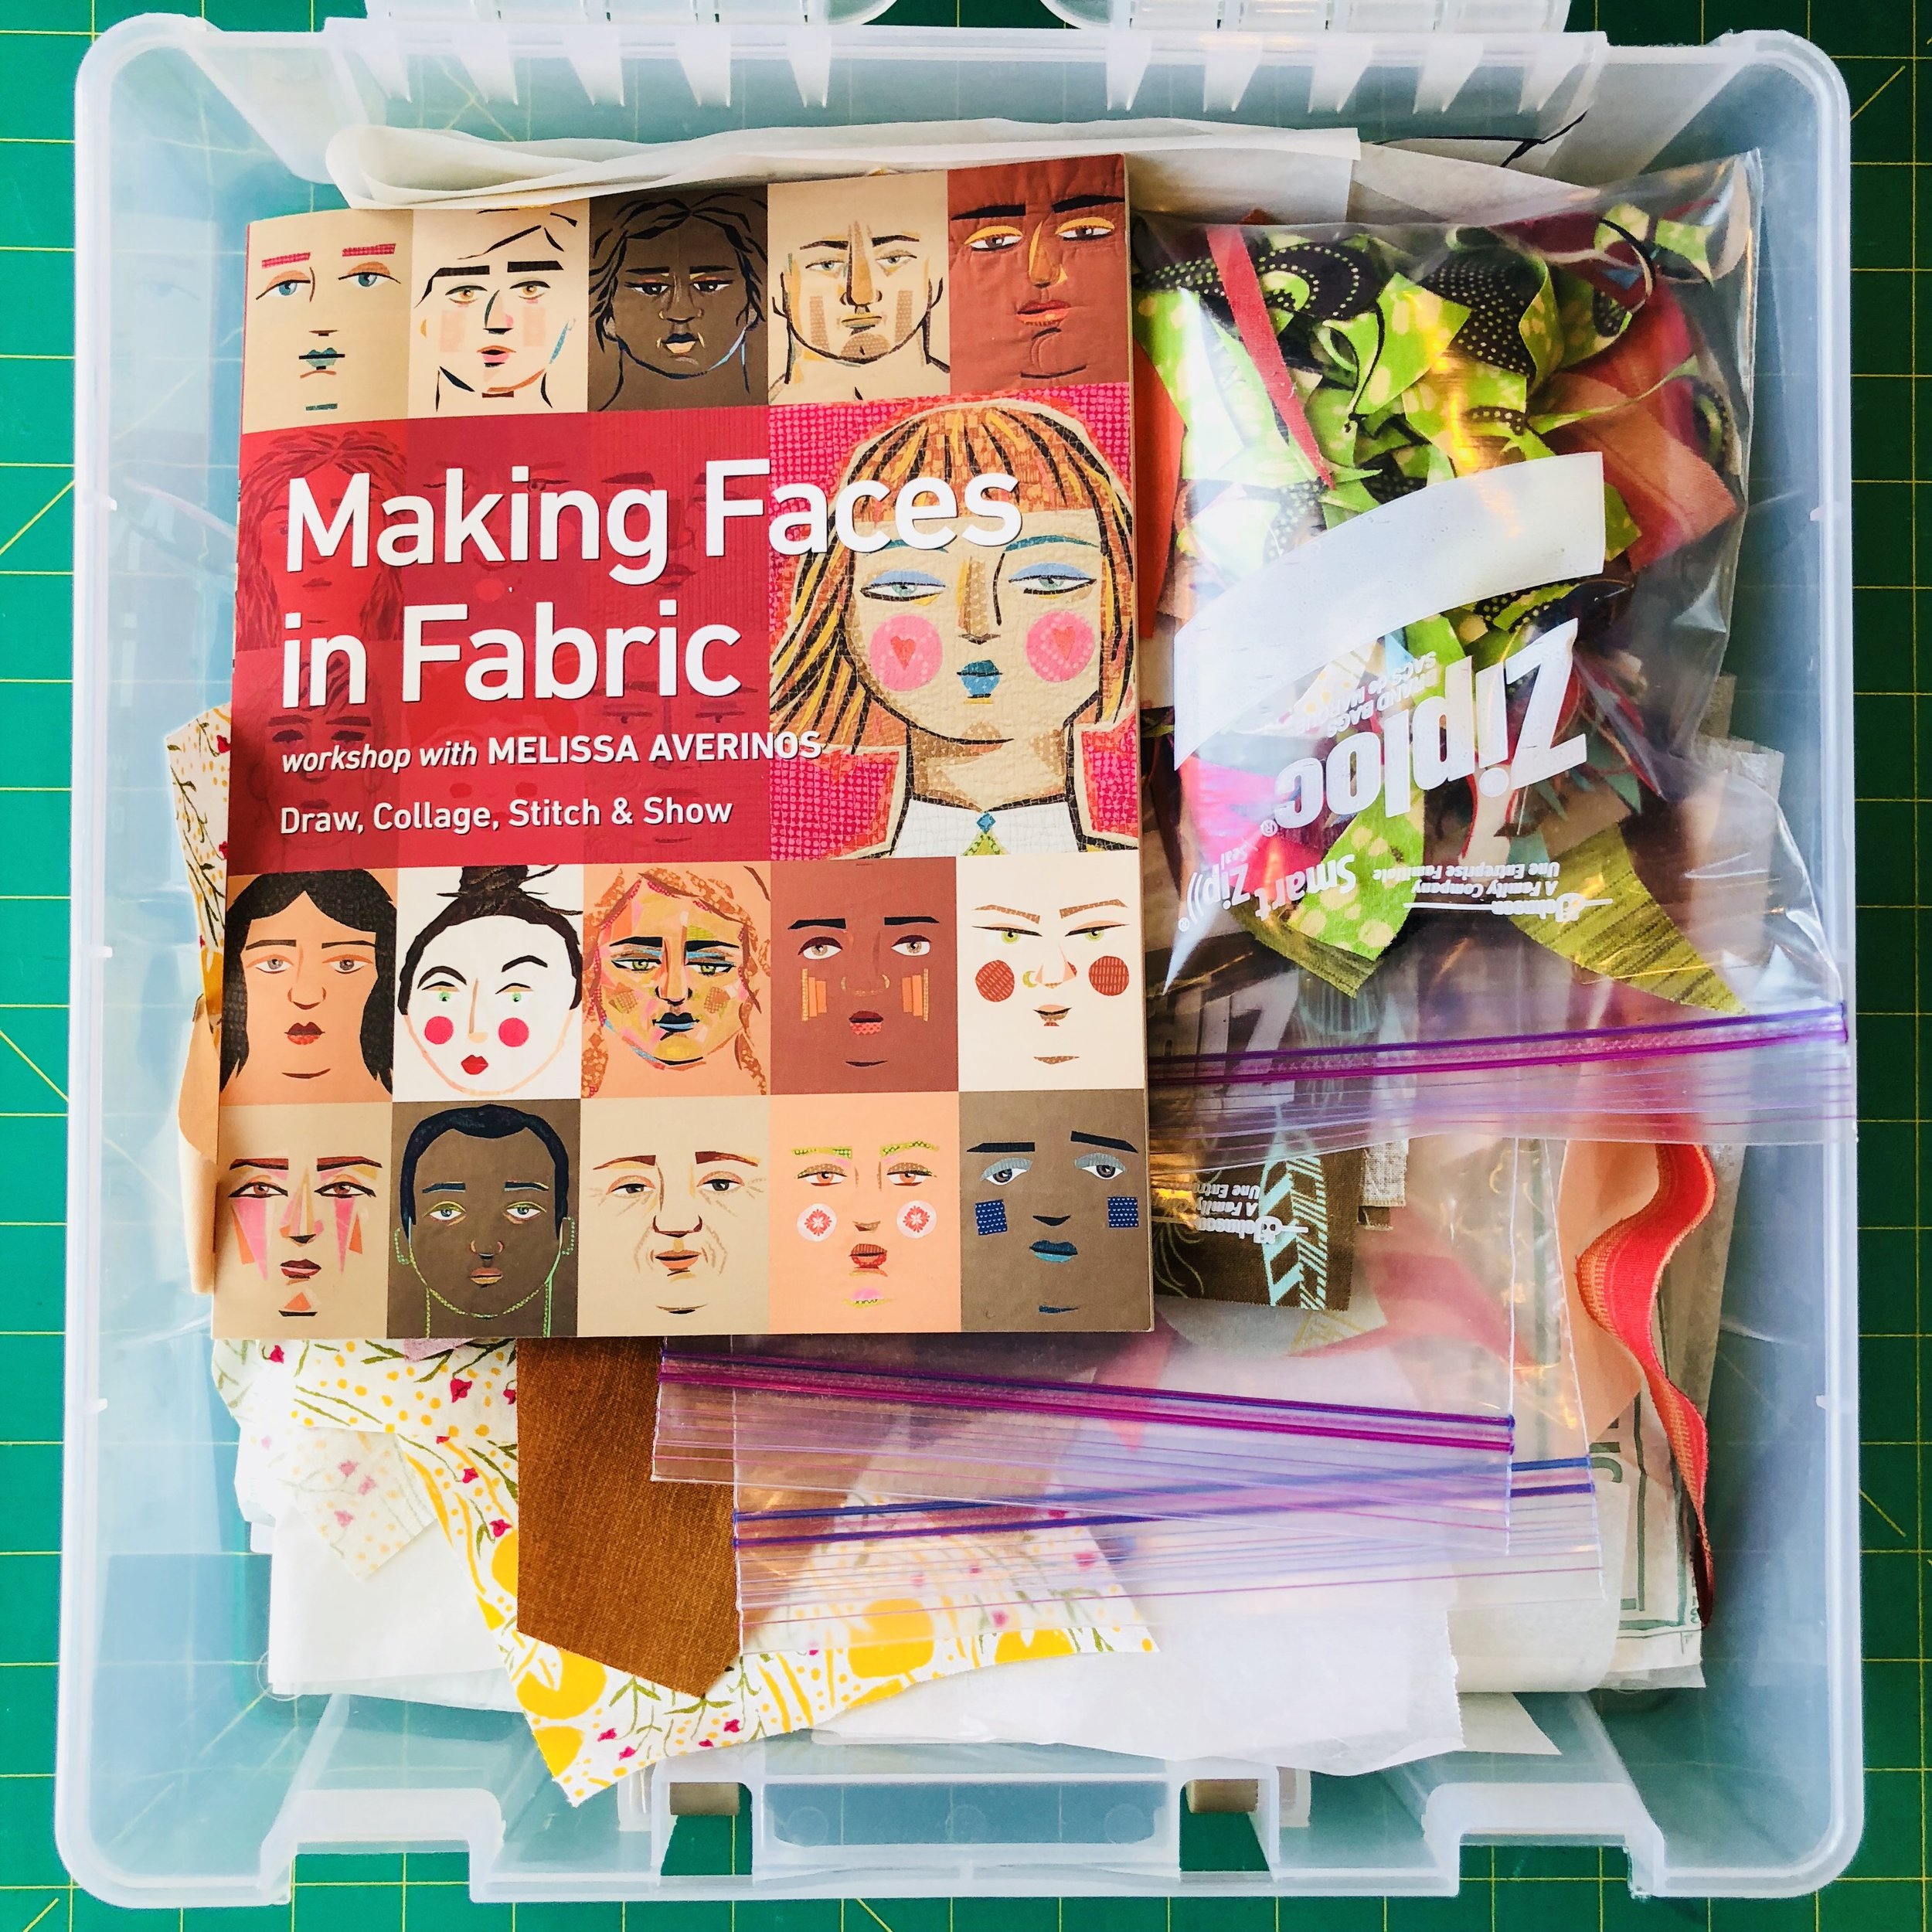
I recently emptied a storage box in my closet and decided to make a "fabric face" box. It's got everything I need to get started on a face without too much thinking. It includes Melissa's book, fabric bits and pieces with fusible already attached, my face template, extra fusible, and some freezer paper scraps.


This template has been so helpful. I don't cut anything to a pattern so it's really just to use for eyeballing eyeballs and other features. I create as I go, cutting freehand and fusing features together before moving on to the next one. For instance, I like to create the white of the eye, then add the iris, pupil and life light and fuse it all together before considering the eyelids. I create all of this on top of the template and when the eyes, nose, mouth and eyebrows are ready, then I'll use the template as a placement guide on the face fabric.
A little note on skin color- I really think anything goes. It's very hard to find anything that approximates real skin color, so it just doesn't make sense to worry about it. I've been wanting to use some darker skin tones and I happened to have this piece of walnut dyed fabric. It is very subtly textured because it's hand dyed which is nice. In Melissa's book there are numerous examples of different skin colors including lots of unnatural colors that look fabulous. So, don't let finding the perfect color keep you from trying this.


Once I have the features placed on the skin fabric I add some line definition for the side of face, chin and neck. Then I fuse everything down and cut around the neck and head, leaving plenty of forehead
Here I tried out some extra green on the eyelids, but didn't use it. These little pieces are so insignificant that trying out a bit of fabric really doesn't seem like a waste at all. In fact, I have saved teeny tiny bits of fabric in one of the ziploc bags above just because they are so useful.

Next comes of the fun of choosing a background fabric. Here I used a very nubbly and loosely woven fabric from the stash. I think it has some silk in it. At this point I will decide on the hair. Luckily, I have some wonderful prints that are just perfect for hair. I fussy cut the flowers to add to her hair.


Lastly I added the earrings which are fussy cut trees turned upside down.
Once again, the machine quilting is where I just hold my breath and go for it. I tried to be more deliberate and take my time here. It's not perfect, but it still looks great.

I love they eyelashes. I don't remember how I chose to do them in that magenta color, but it looks great. I think it's important to consider value in your thread perhaps more than color. Another thing I decided to do starting with this face was to add a couple of hand stitches to the iris and life light in matching thread so that I didn't have to worry about catching them with the machine quilting. I do that way back when the eyes are first made.


I started machine quilting my initials on these. They'll get a label too, but I wanted to sign my work right on the front even if it's just a subtle addition.
