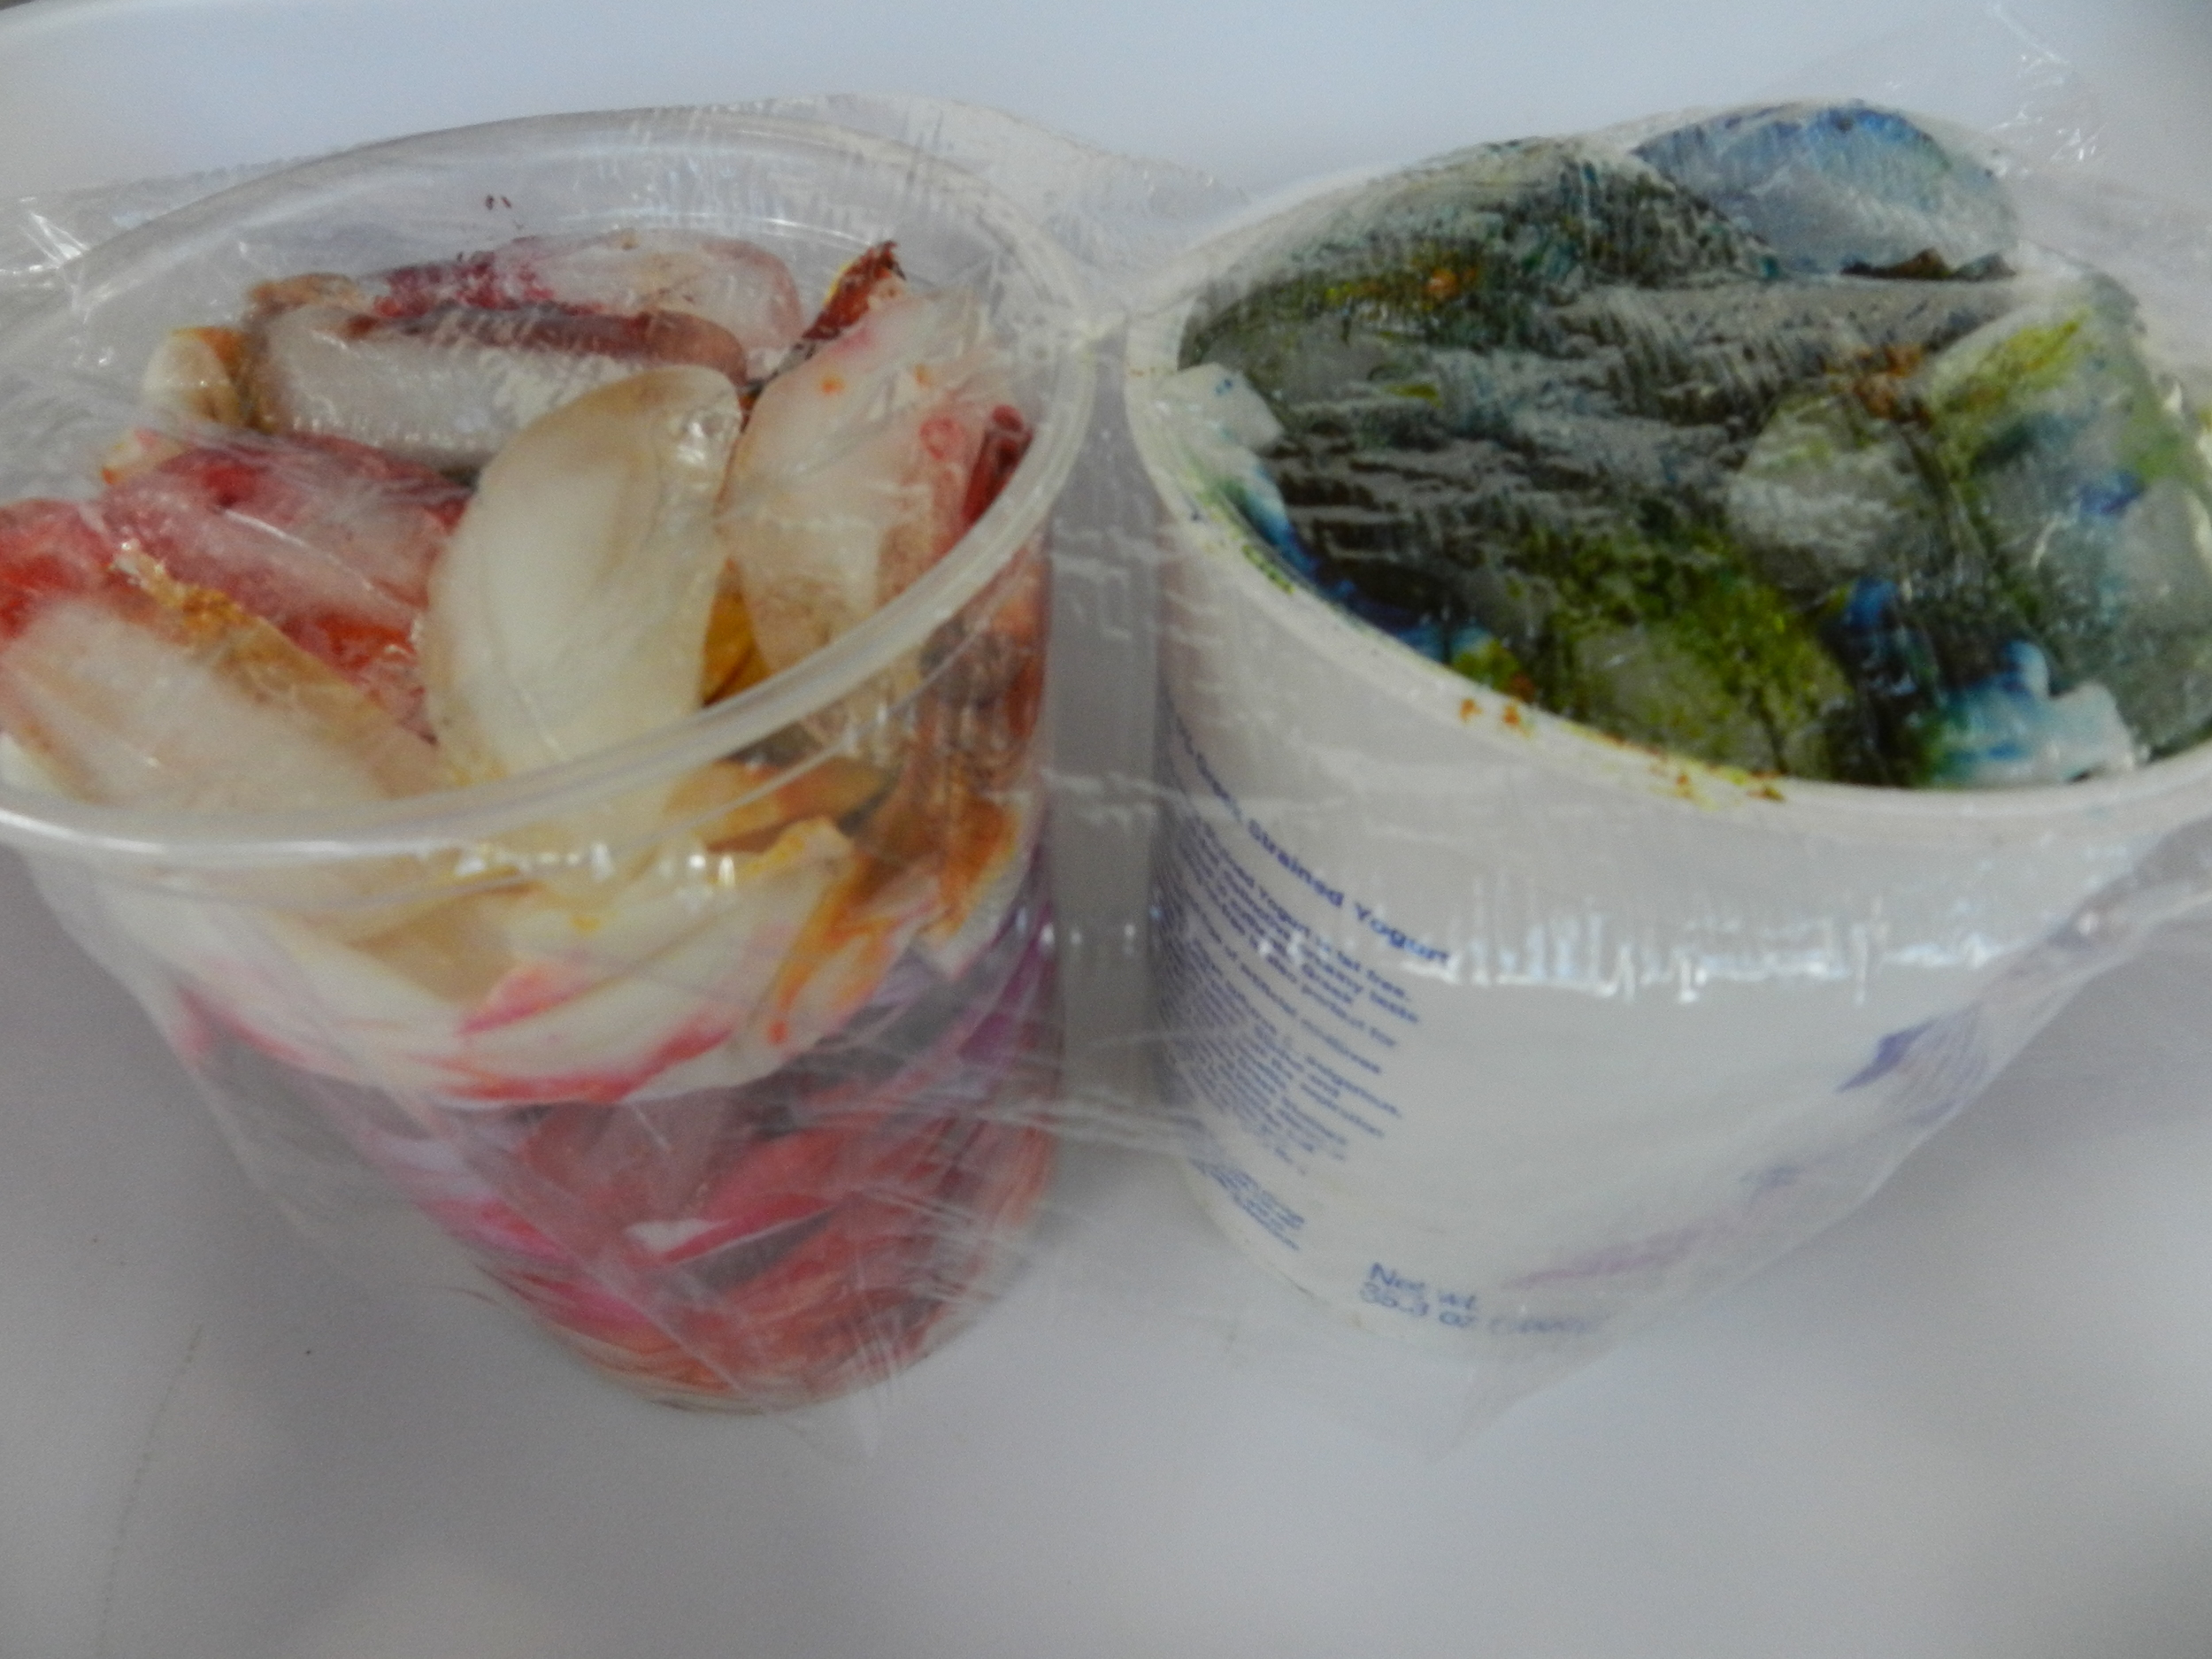
After the Quilting Arts June/July 2012 issue came out with an ice dyeing article, this method has been getting lots of blog time. Ice dyeing and snow dyeing can lead to very interesting dye results so I had to try it! In this method you are using the dye powders as is, so be sure to use your safety mask, close the dye container as soon as you are done with it and wash utensils asap. I layered my presoaked (in soda ash) fabric in the cups in three or four layers. As you add each layer of fabric, you put on a layer of ice and a layer of dye powder- but only about 1/8-1/4 teaspoon total of dye each time. I used 3 or 4 colors in each layer.
The article says to let the whole thing sit for 24 hours. I'm a very impatient person and mine only sat for the day- maybe 8 hours before I washed them out.
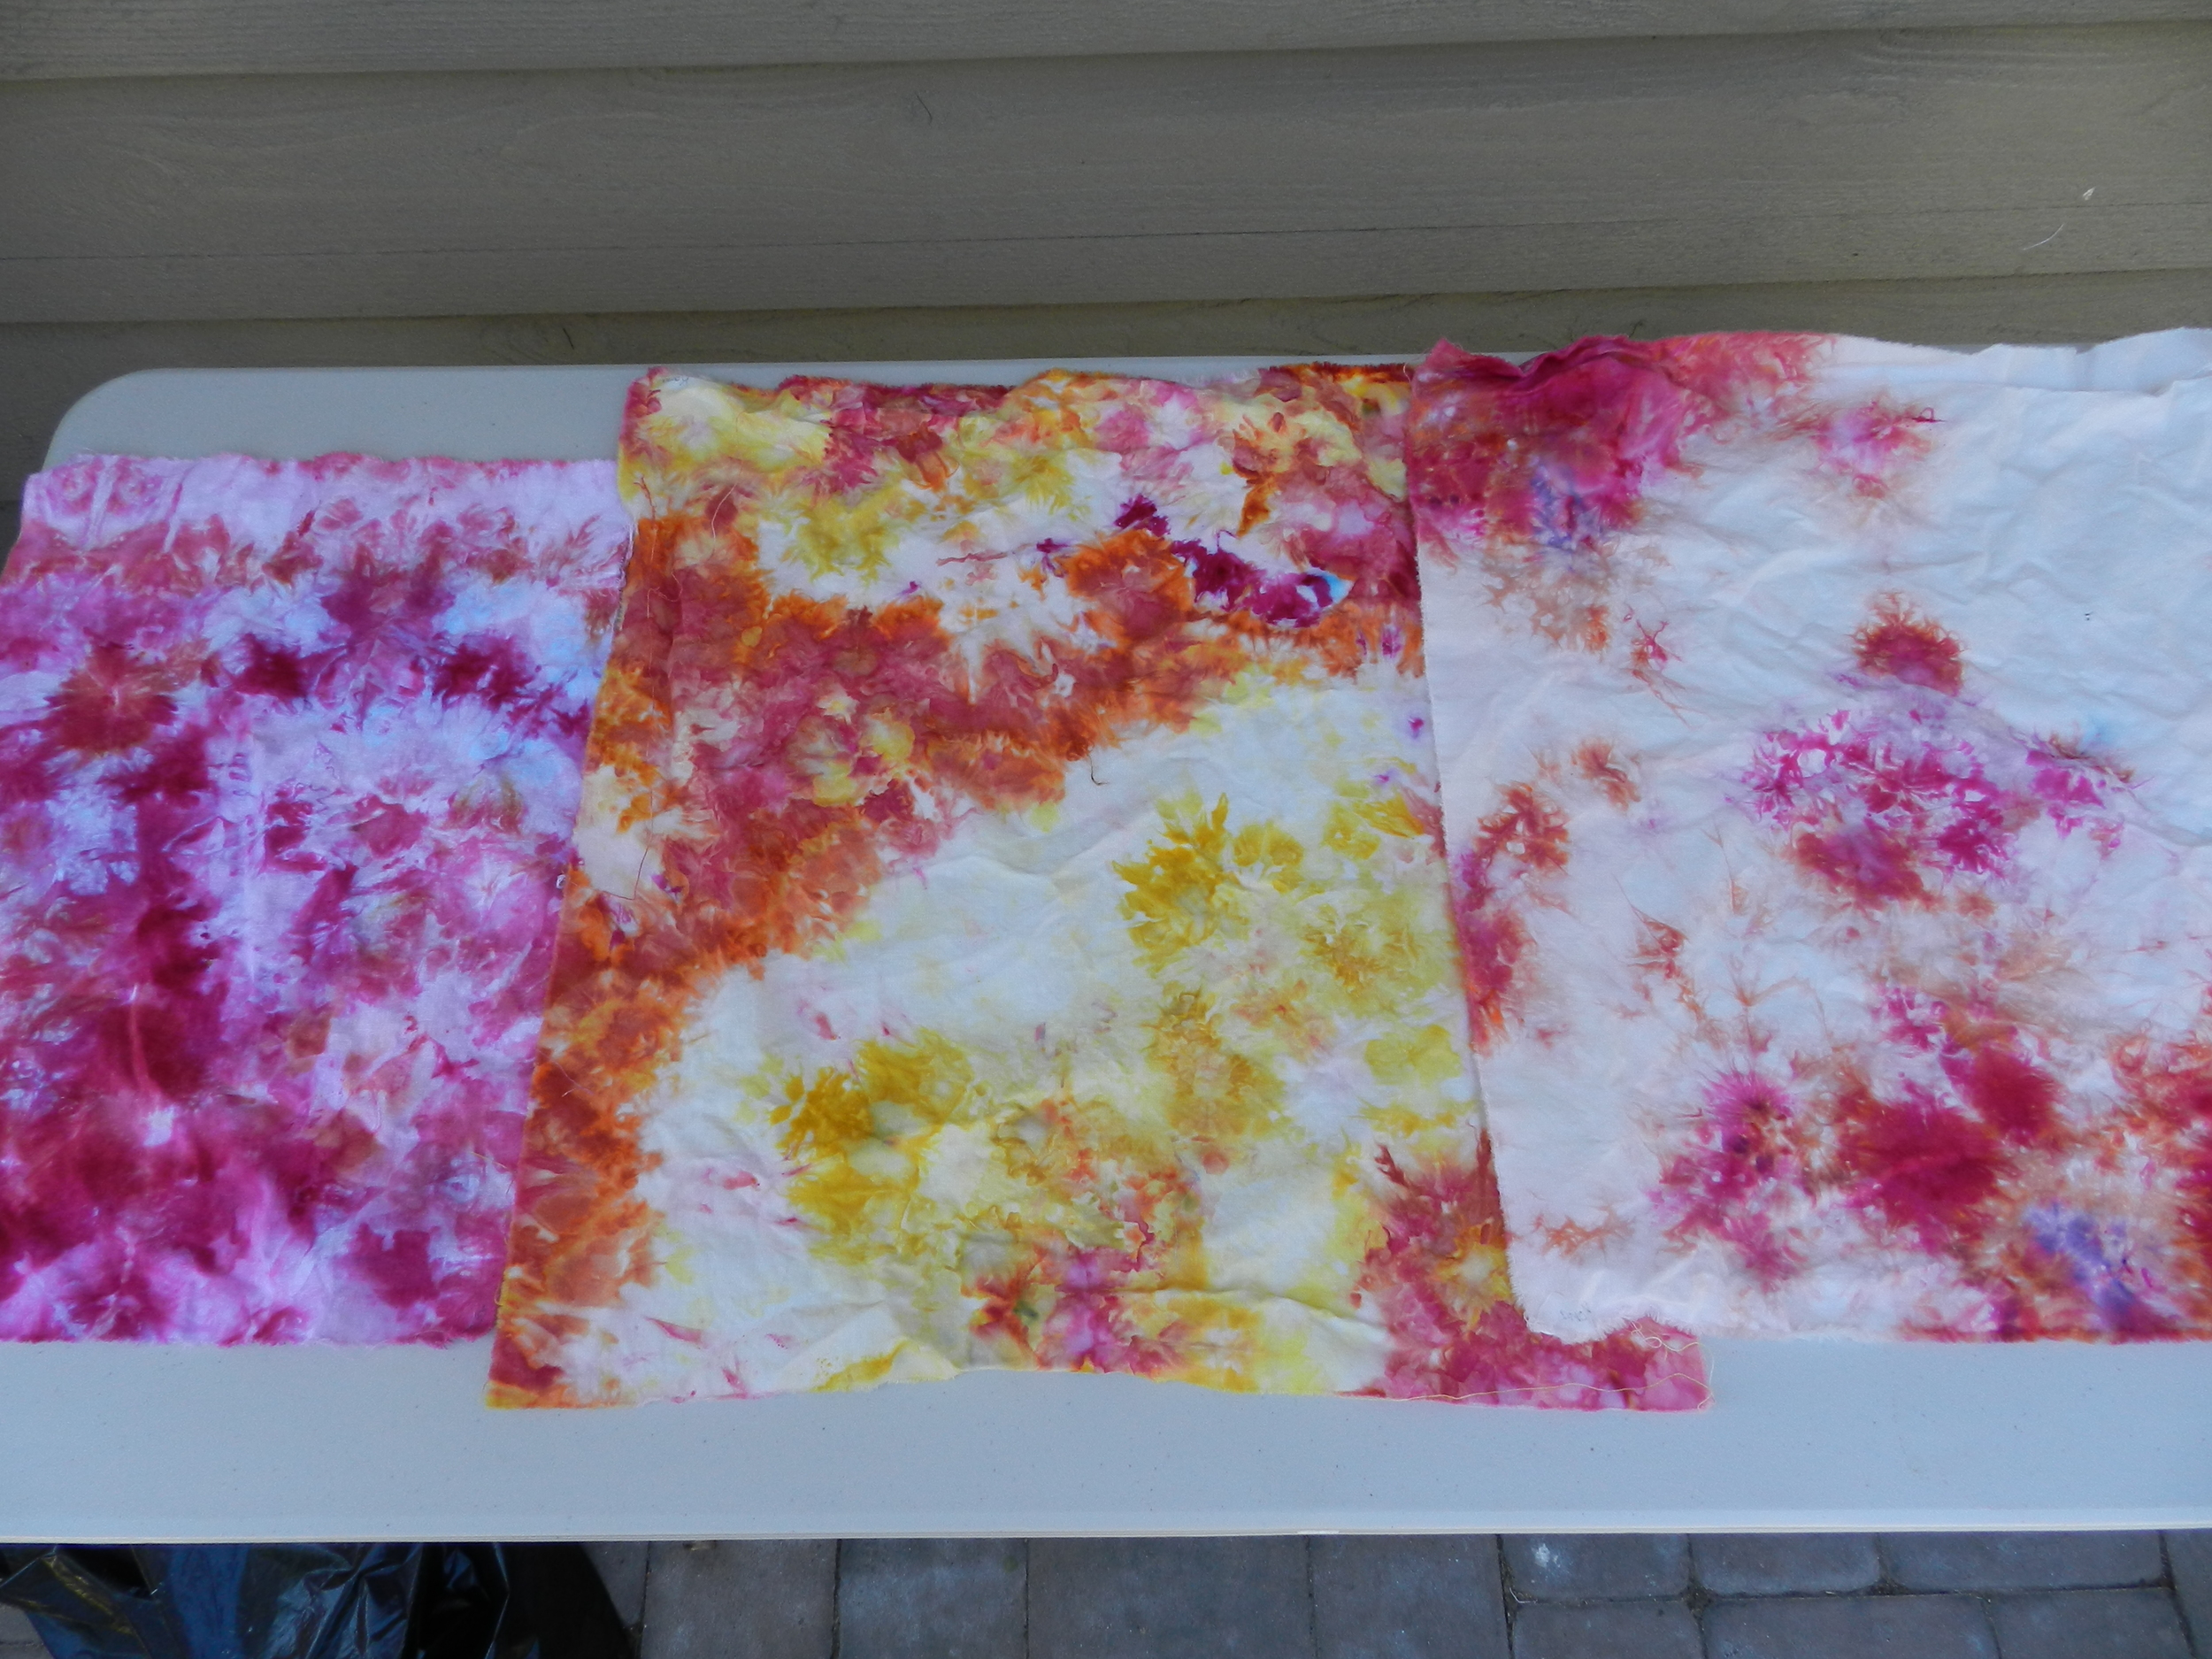
I did get some interesting results and I will definitely try this again, but I needed more ice. Some parts of the fabric barely got wet at all and I'm not a fan of the big white areas. I really like the one on the left above which makes me thing of pansies in the garden.
In this batch, I like the middle one a lot. As I said, next time I'd use more ice and maybe even let them sit the full 24 hours! Next up, more color gradations. See you soon!


