I started this post a couple of days ago. The post disappeared somehow and due to a faulty smoke alarm sleep deprived haze, I couldn't get up the energy to pursue it. We had two nights of the alarms and I was just a mess on Tuesday. All is better now and I have my dye photos in order, so look for these posts over the coming week. Hopefully one a day until I'm done, however long that takes.
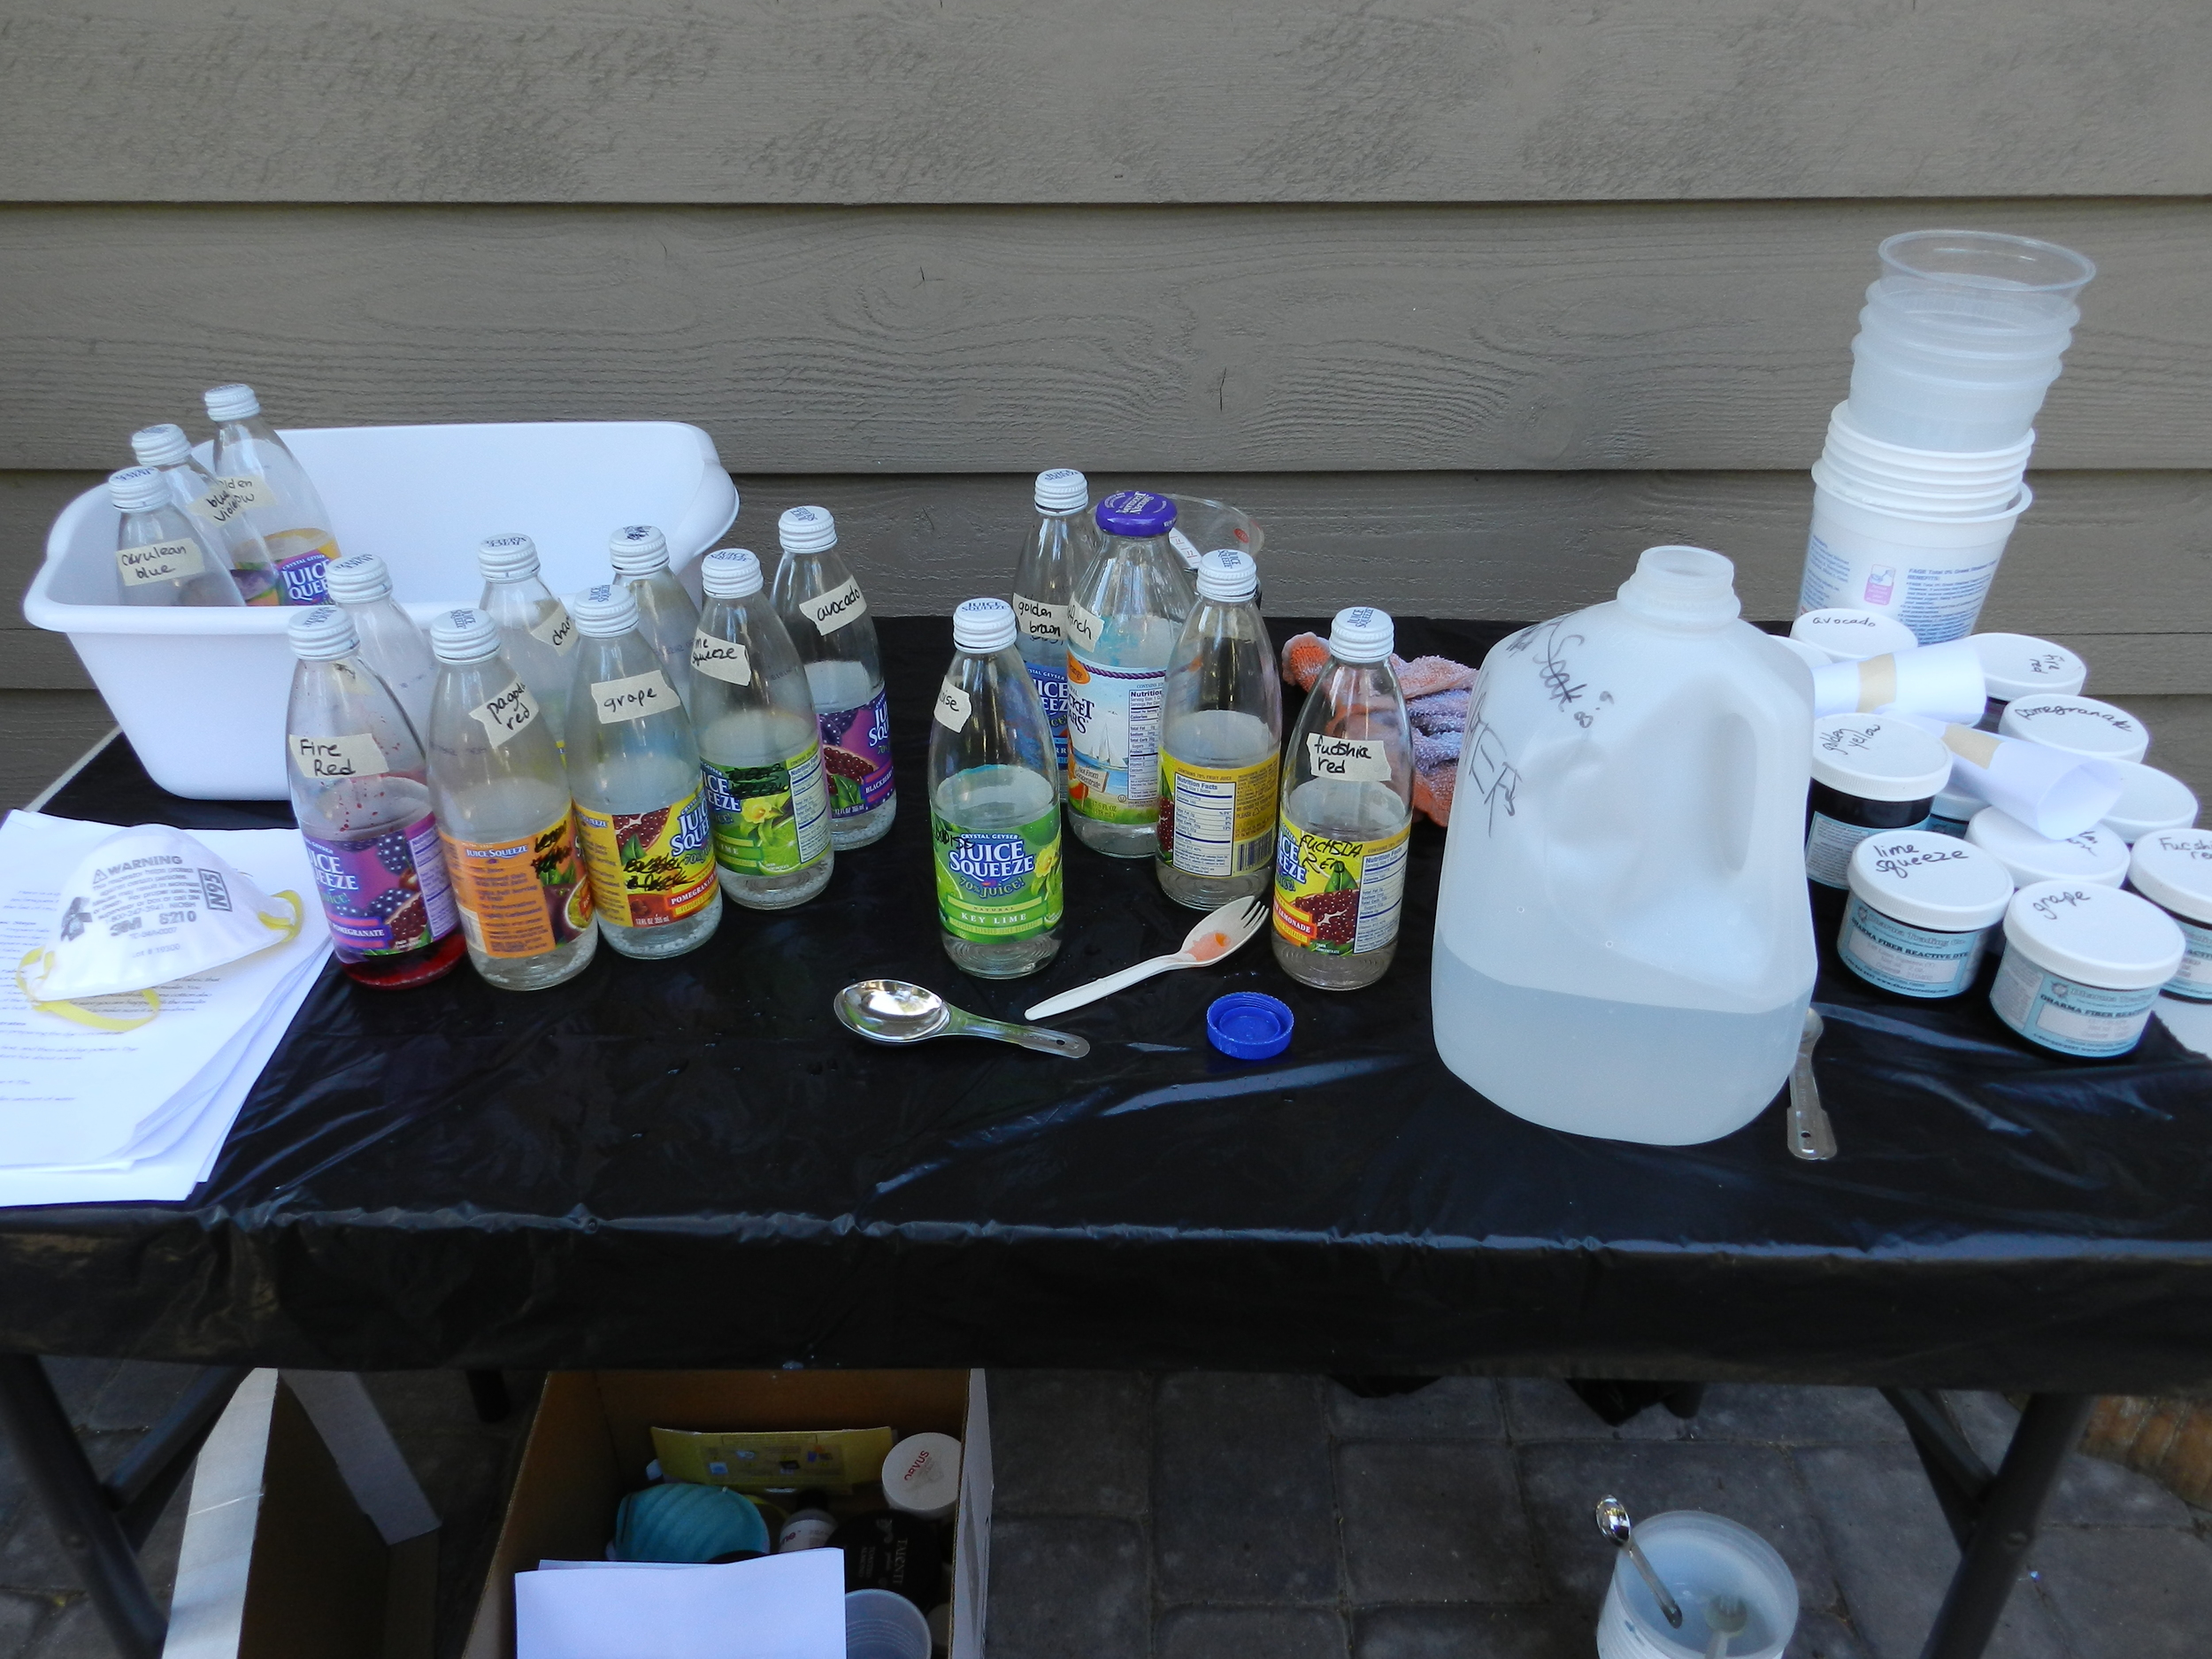
Last weekend was still very nice out, warm enough to be in our back yard which doesn't get a whole lot of sun this time of year. I took advantage of two free days to set up the dye studio outside and went to town. First of all I made my dye concentrates. I got smarter this year. I clearly marked each bottle with the dye name and decided to make the dyes directly in the bottles. That was so much easier than doing it in a cup and transferring to the bottle.
I use procion dyes by Dharma Trading Co. I also buy a lot of my prepared for dye fabric there. In addition, I buy linen clothing at thrift stores and overdye that. Any fabric that is not prepared for dye or hasn't been washed many times needs to be washed to remove the sizing.
My favorite fabrics from Dharma include:
- kona cotton
- combed cotton lawn
- habotai silk (8mm, 10mm and 12mm)
- essex linen/cotton blend
- heavier cotton gauze
- pineapple fiber
- raw silk
- dupion silk
- hemp silk blend
- hemp silk charmeuse
Those last few fabrics are specialties that I don't buy much of. In fact the hemp silk blends are very, very expensive. I got one yard of each to try. The charmeuse is amazing! I have only dyed cotton, linen, silk, pineapple and hemp fibers with procion. The silk works pretty well with the procion, though you might get more vibrant colors with a dye made just for silk. I like that I can just throw it in with everything else and not worry about it. This was the first time I tried the pineapple fiber. Not sure whether I like it that much yet. One neat thing about dyeing different kinds of fibers is that each type takes up the dye differently, so it's a simple way to get different shades of the same color.
Dye recipe:
- 1/2 c hot/warm water
- 1 T urea (Dharma sells this)
- 1 T dye powder (except 2 T for black)
So, here's the process. I did this assembly line style. All your dye equipment must be dedicated to dye use. Never reuse the supplies in your kitchen! Also, while I know there are folks who dye in their kitchens, and I did that once, I don't do it anymore. If I couldn't be outside, I would do it in the garage or the laundry room.
First I dissolved urea in the bottles with the water. Speaking of bottles, I'm using glass bottles here, but everytime I do that, I have visions of glass shattering and dye going everywhere. In addition to that, the metal caps of the Juice Squeeze bottle are hard on my hands. I think Odwalla juice bottles might be just the thing so I may stock up on them over the coming year.
Just shake it around and it dissolves easily. The urea is a wetting agent which helps the dye dissolve better in the small amount of water that I use. It is optional and I've dyed without it, but I think prepping the dyes is easier with it.
My bottles are all ready with the urea/water mixture. Ready for dye.
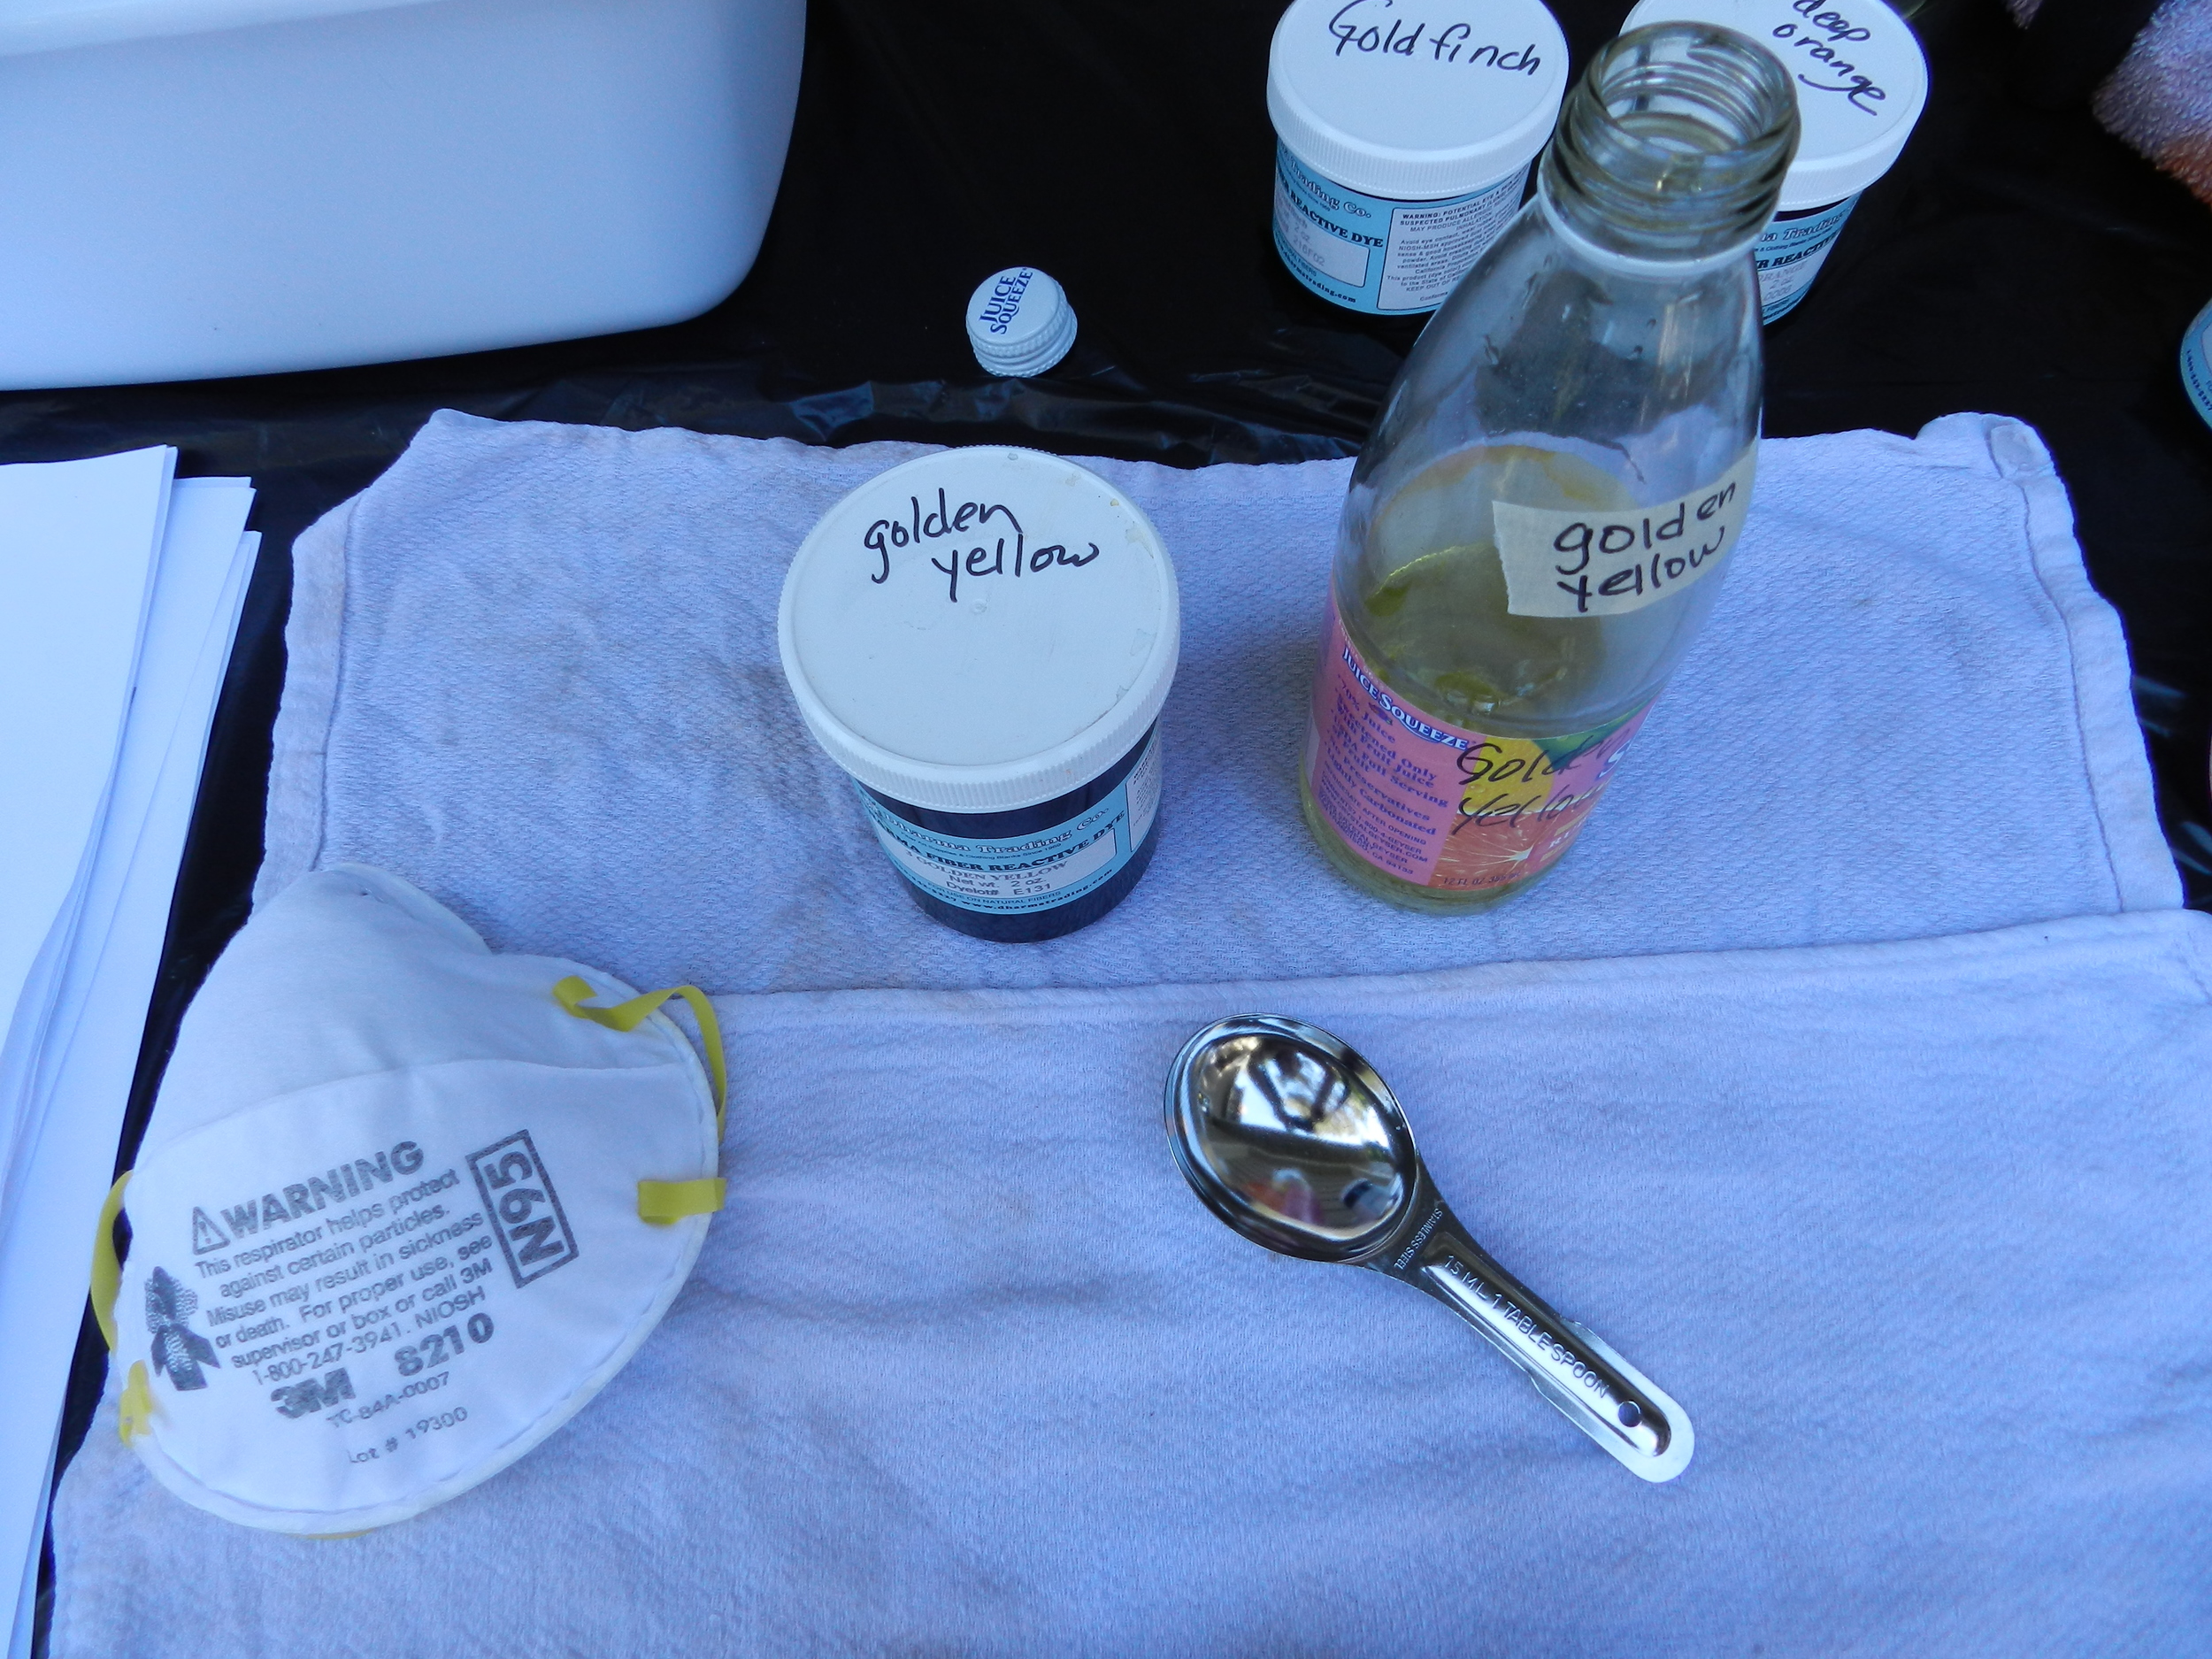
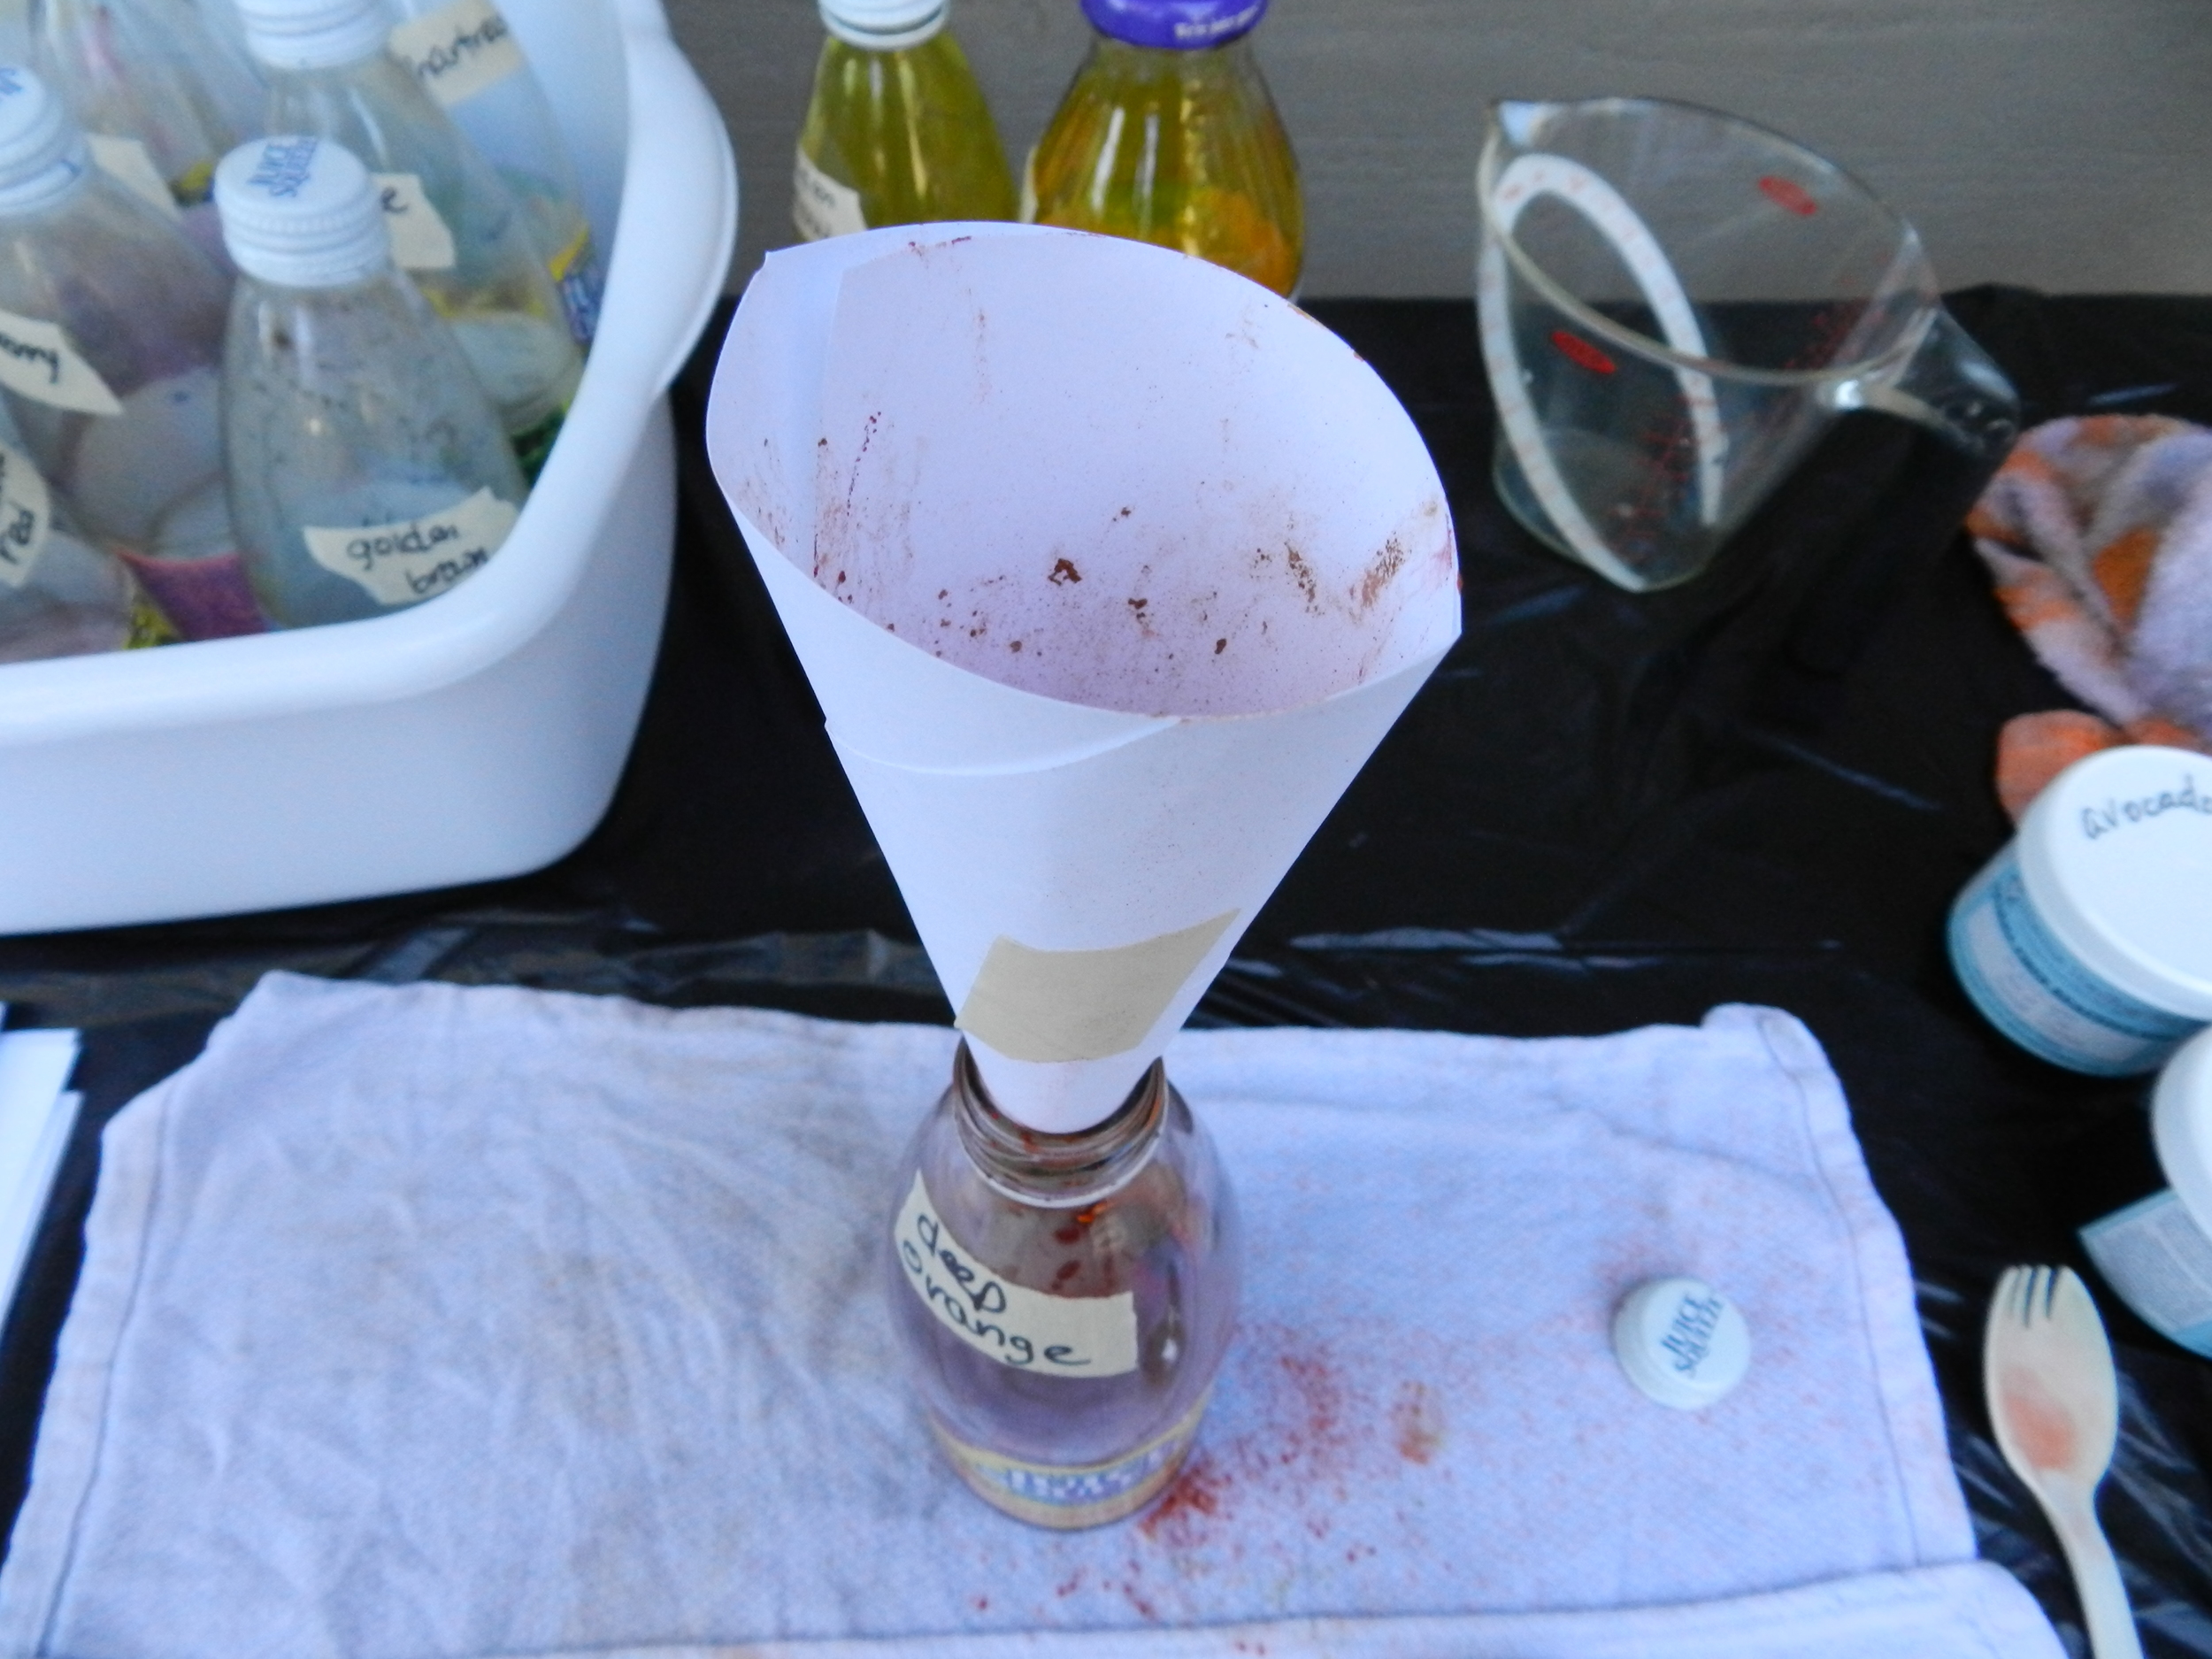
Next, get your mask, measuring spoon and funnel (see below) ready. Always, always use a mask with open dye containers. I also have a damp cloth that I'm working on. As the dye dust settles from the air, it lands on the cloth and sticks. This cloth is actually very pretty right now! I use a lot of our household rags when I dye. It's kind of fun to see the colorful cloths when I'm dusting! When I decided to make the dyes directly in the bottles, I realized I needed funnels, but didn't know where the one is that we have. I made some paper funnels and they worked for several bottles in a row before becoming too wet or dirty to continue. It worked in a pinch, but I found some really cute little aluminum funnels at Ace Hardware the other day and will use them for the next dye day.
The advantage of creating the dye directly in the bottle is that you can shake the heck out of it to mix. Mixing in the cup with a spoon takes forever. This is much quicker and saves a step. Works for me!
My bucket of color is all ready to go. Dyes need to be used up fairly soon unless you have a dedicated dye fridge. I don't, so that's why I made up the 1/2 cup of water recipe. A few weeks ago I actually did use up some leftover dye that had been sitting for many months. I got some interesting and unpredictable results. Some colors do fine, some don't, especially reds.
In the past I've doubled the recipe to 1 cup of water and have had way too much dye to deal with. This was still a lot of dye considering I have 16 colors here. There were a few colors I didn't do this time, but I also got some great new colors this year that I really love. Pomegranate and Goldfinch are two stand outs. Also, the greens- Chartreuse, Lime Squeeze and Avocado are really nice. I started out a few years ago with just the three primaries and added to that over time when I discovered how much I like dyeing. I also had trouble creating nice browns and purples. The dye would often separate. Now, I have some purples and browns and Better Black which is a nice one.
Now, to prepare the fabric. I like to rip my fabric into fat quarters, except for a few larger pieces of Kona cotton for color gradations. The very special fabrics that I might only have 1 yard of, I rip into fat eights or smaller so I can make as many colors as possible.
Whew! Long post. More to come so if you want to keep up you might want to subscribe to the blog by email. See the button on the sidebar.


