I had a quilt to baste yesterday and thought I'd take a few photos and say a few words about how I baste. In the past I have always taped my backing to a surface just as you see here. The backing is just taut, but not stretched out. I find that I often get ripples in the back if I don't tape the backing, though I know there are others who never secure the backing before basting. I actually have tried that a few times with varied success.
This quilt, by the way, is made from all sorts of scraps in a wonky Chinese coin pattern. I had the strip sets put together and tucked away, waiting for a chance to get it together. November is my birth month and part of my quilt guild's mission is to donate quilts to local charities. All members are encouraged to make a birthday quilt to donate to our community quilts program. This issue is always hotly debated at guild meetings and board meetings. Some say we should require this and follow up on those who don't make a birthday quilt. Others say it's unenforceable so why even try. Well, it's a moot point for me as I've always managed to squeak in at least one quilt at the last minute. This year, I've got two!
The other one here has an interesting story. The top is made of the leftover fabric from a baby quilt I made for a very good friend of mine about 6 years ago. My friend came late to motherhood and marriage, but always wanted kids. I was so happy when she had her first and always assumed another would follow. I made this top almost immediately after the first one so that it would be ready for the eventual sibling we hoped the first would have. Sadly, it was not to be. This top sat for these 6 years waiting for something to be done with it. Finally, it seemed a great idea to donate this one to the community quilts program.
This quilt was basted on a table the other day and I tried not taping the backing. It came out okay. I find that if you want to skip the taping, try it on a small quilt. Really small ones I don't tape at all.
Back to the basting- your choice of batting has a huge influence on the success of the quilt. I have almost always used cotton batting, starting with Warm and Natural. I even hand quilted with that batting in the early years. I've since come to love Quilter's Dream Request and Select. Request is wonderful for hand quilting as it's the thinnest. Select is nice for machine quilting. All of these are 100% cotton and so have a certain "stickiness" that makes them ideal when basting. The batting stays put as you are quilting, so with pin basting, placing your pins up to 6 inches away is no problem.
When I did last year's community quilt I took advantage of the batting offered for free through the guild. It was an 80/20 cotton/poly batting (I think it might be Hobb's Heirloom). I hated it! (***Edited later: I don't think it was Hobbs Heirloom because I now use it all the time and love it) It shifted and slid, felt awful in my hands and I would never use that again. I have also tried Tuscany Silk which I like and wool batting which is nice, but also a bit slippery. I come back to cotton every time though.
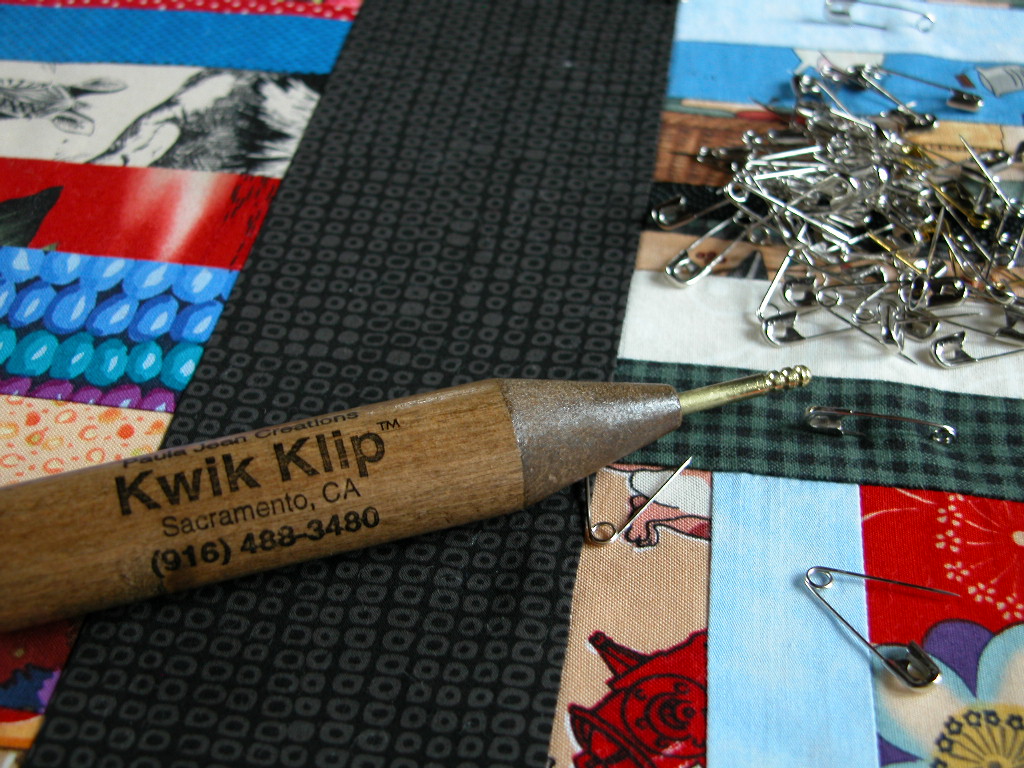
The tool above has made basting less of a chore and I would recommend it highly. It saves my fingers and is gentle on the fabric. If you don't have a durable floor surface like this tile, you should try calling your local quilt shops to see if you can use their tables for basting. I have a table surface that I can use for smaller quilts, but larger ones always go to the floor. It took about 1/2 hour to pin baste this one. Not bad and my knees did just fine.
Once the backing is secured to your surface (by the way, if you are basting on a table you can also use clips, but I find they can get in the way and my new tables are too thick to allow the use of clips), place the batting over it and smooth it out from the middle. It will stick to the backing and stay in position. No need to tape the batting. I think the hardest part is centering the top on the batting. If you have a friend to help that's the easiest. Once it's centered, smooth it out from the center and make sure the top is within the edges of the backing. I forgot to check that on the coins quilt above, but I got lucky and it has enough of a border to be fine. Then start pinning. I usually place my pins 4-6 inches apart in all directions and a set of pins around the edge of the top. Now, a quick machine quilting session, a couple of bindings and I'll be done!


