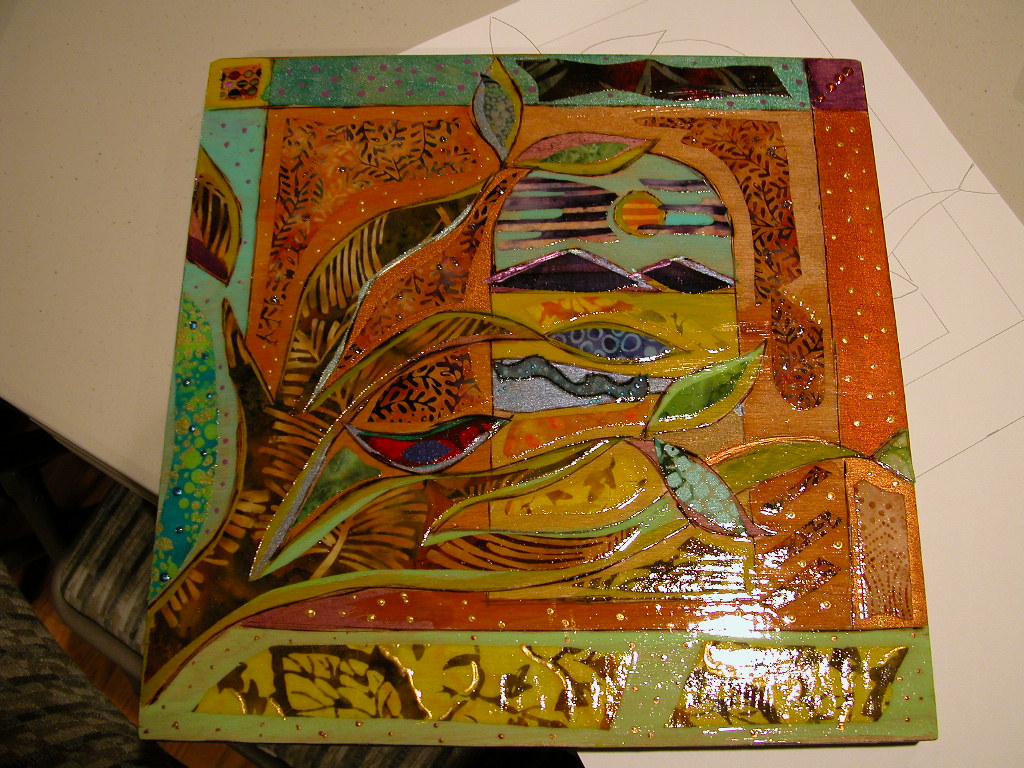
A week ago, my book/quilt group, The Undercover Quilters, had a great idea to do a group workshop. Two members had taken classes in Telamadera Fusion with Alma de la Melena Cox. Alma's book is now out and called Collage Fusion. If you are interested in this technique, all the particulars can be found there. We thought that those two could teach the rest of us how to do the technique and we'd have a fun gathering too! Above is the piece that Martha did in her original class. I just love this design and have the pattern, so I may make it some day. I forgot to get a photo of Erin's, but hers is wonderful too. Telamadera is the fusion of the Spanish word for fabric-tela and the word for wood-madera.

The Undercover Quilters are a fantastic group of 12 women. We meet every month to discuss a book and once a year make a quilt based on a book. In this case, 7 of us could make it and Chloe joined us for the fun. The first thing to do is prepare the wood by transferring your pattern and wood burning the lines. All but one of us chose to do the wood burning. It's not an easy skill and you can see my lines are certainly not perfect. I like the texture of it though.
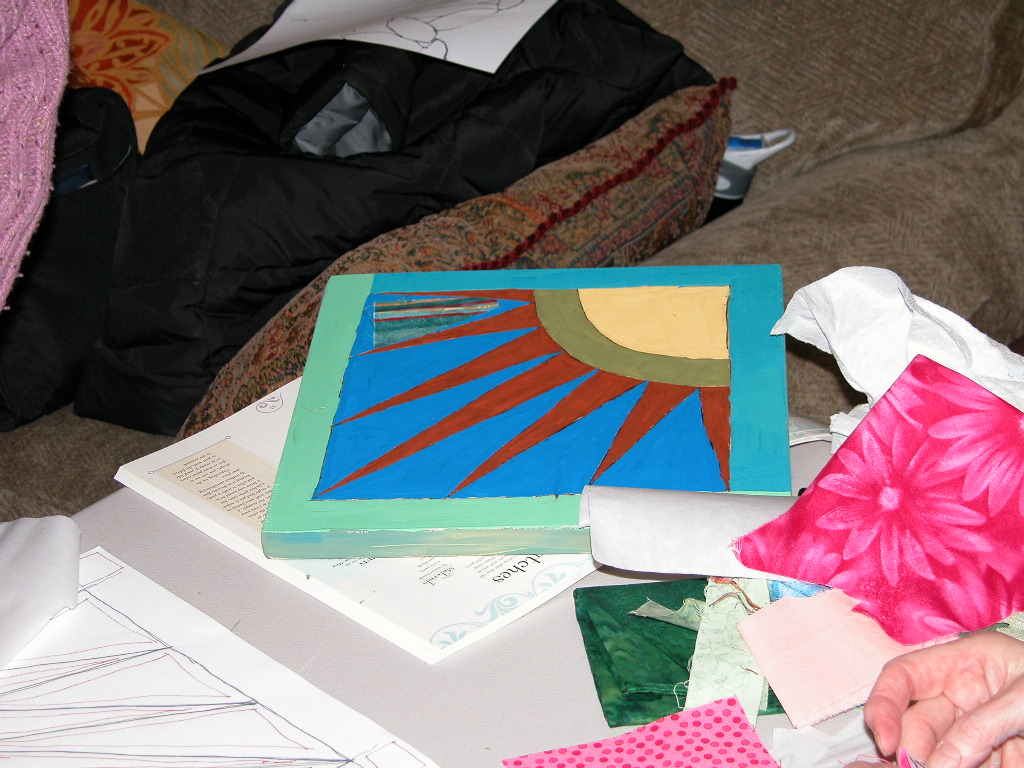
The next step is to paint the wood. We used regular craft acrylic paints. The most fun were the metallic shades. If you hover your mouse over the pictures below you will see who made what.
The next step is to choose fabrics to fill in the spaces and cut pattern pieces from Steam a Seam to fuse them down. The fabric is cut so that the painted background peeks out from behind.
The next step is to add more details with paint.
The piece above is Cindy's. She was the only one who chose to not add the wood burning detail. She did add some lines with a Sharpie pen. I love her painted dots and the clever use of novelty fabric.
Chloe and I brought ours home to finish the painting. The last step is to cover the surface with 10 coats of high gloss varnish. We had to order our varnish, so these pieces are still as you see them here. When the varnish is added, the lustre of the fabrics really comes out and it just looks incredible. I'll post photos when they are finished!


