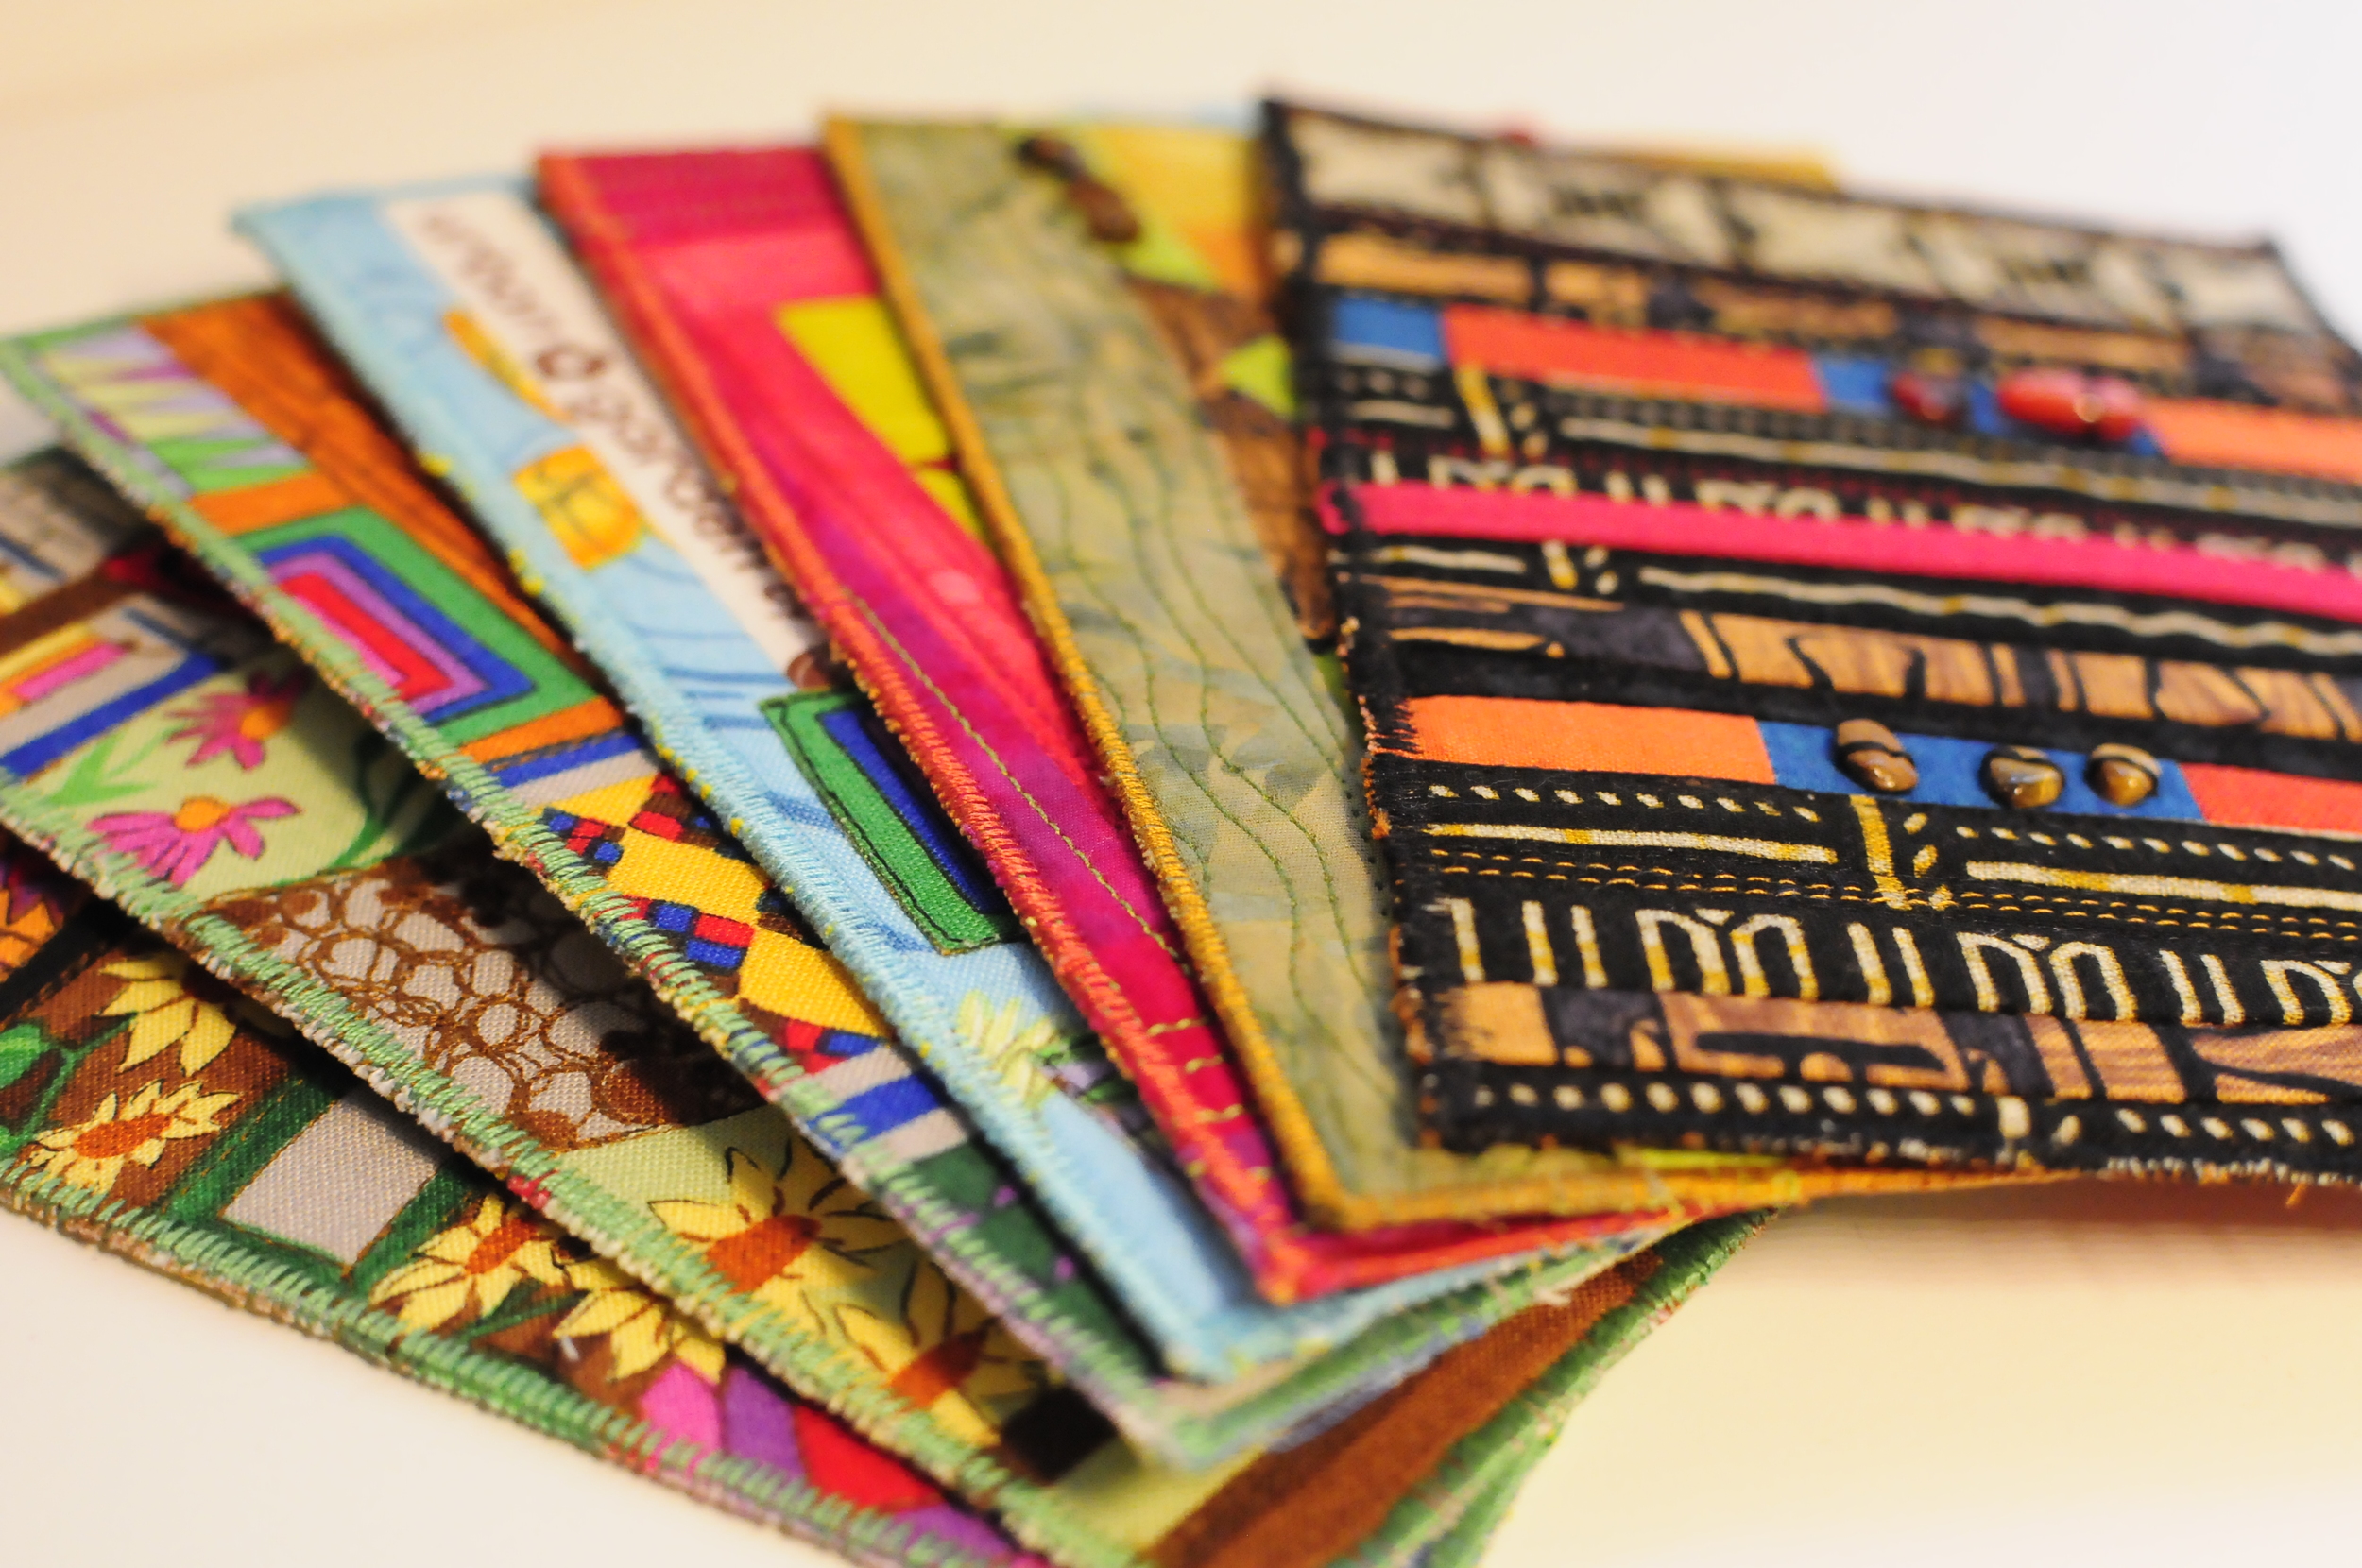
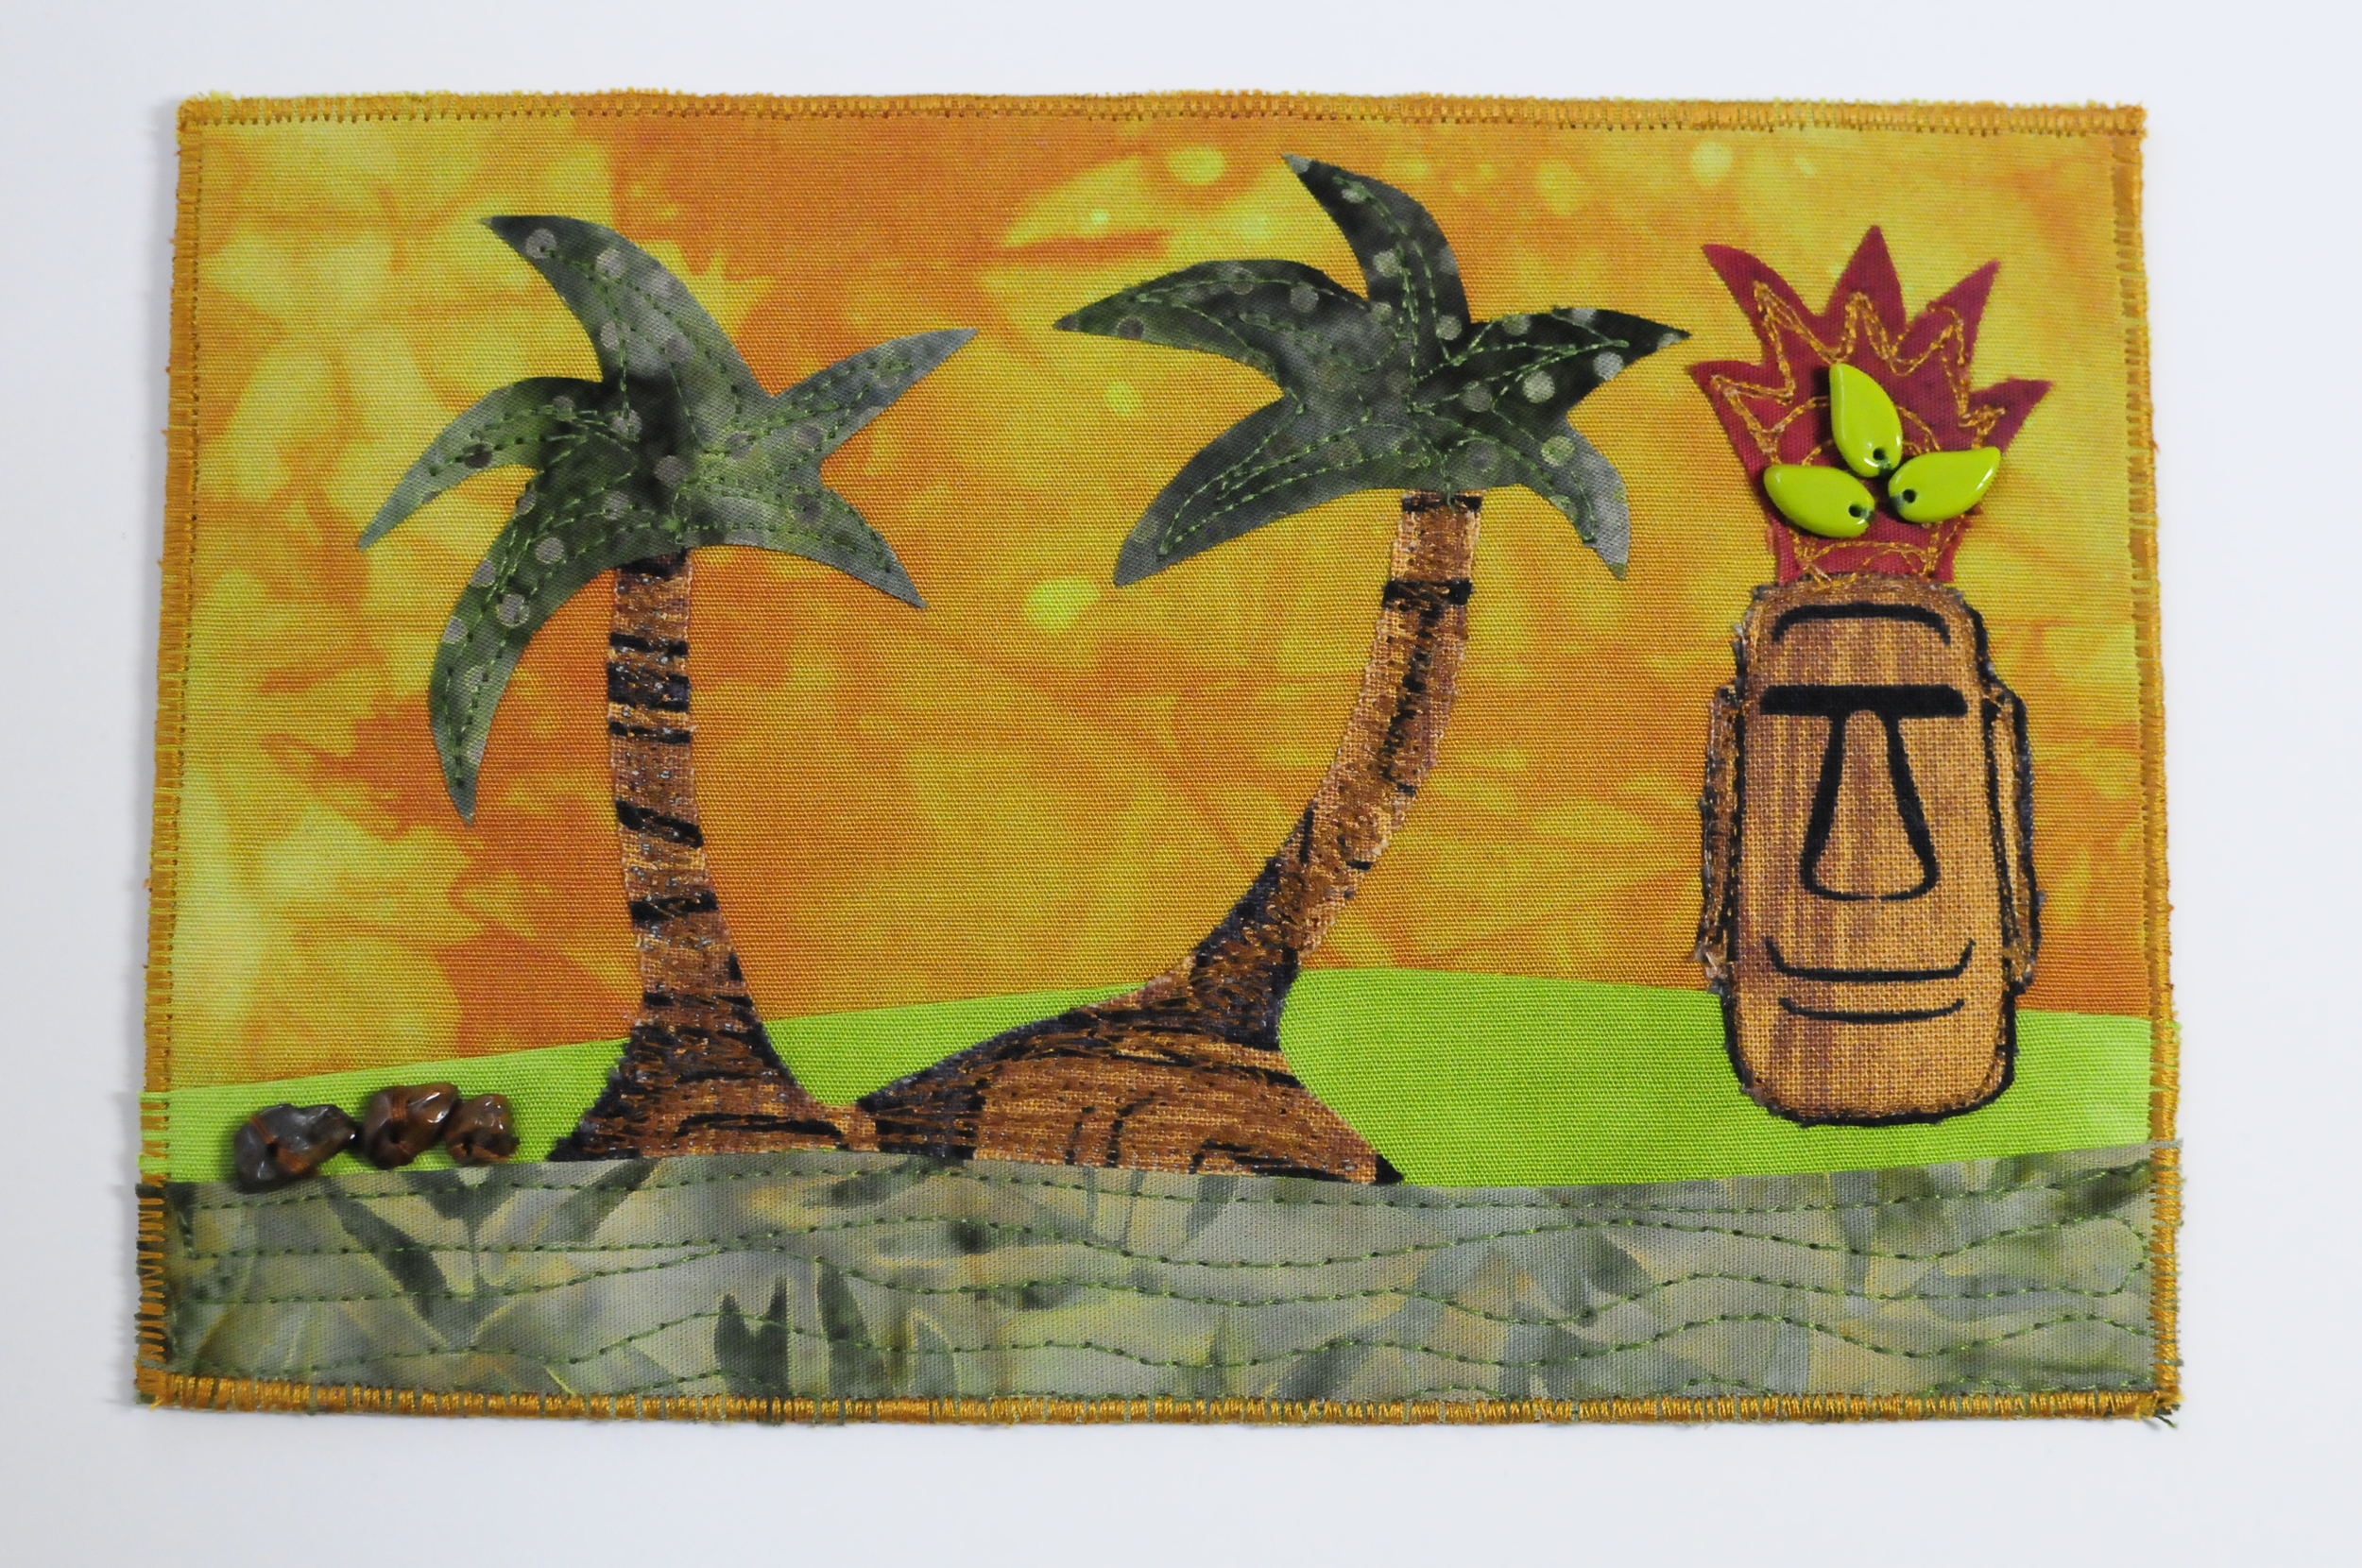
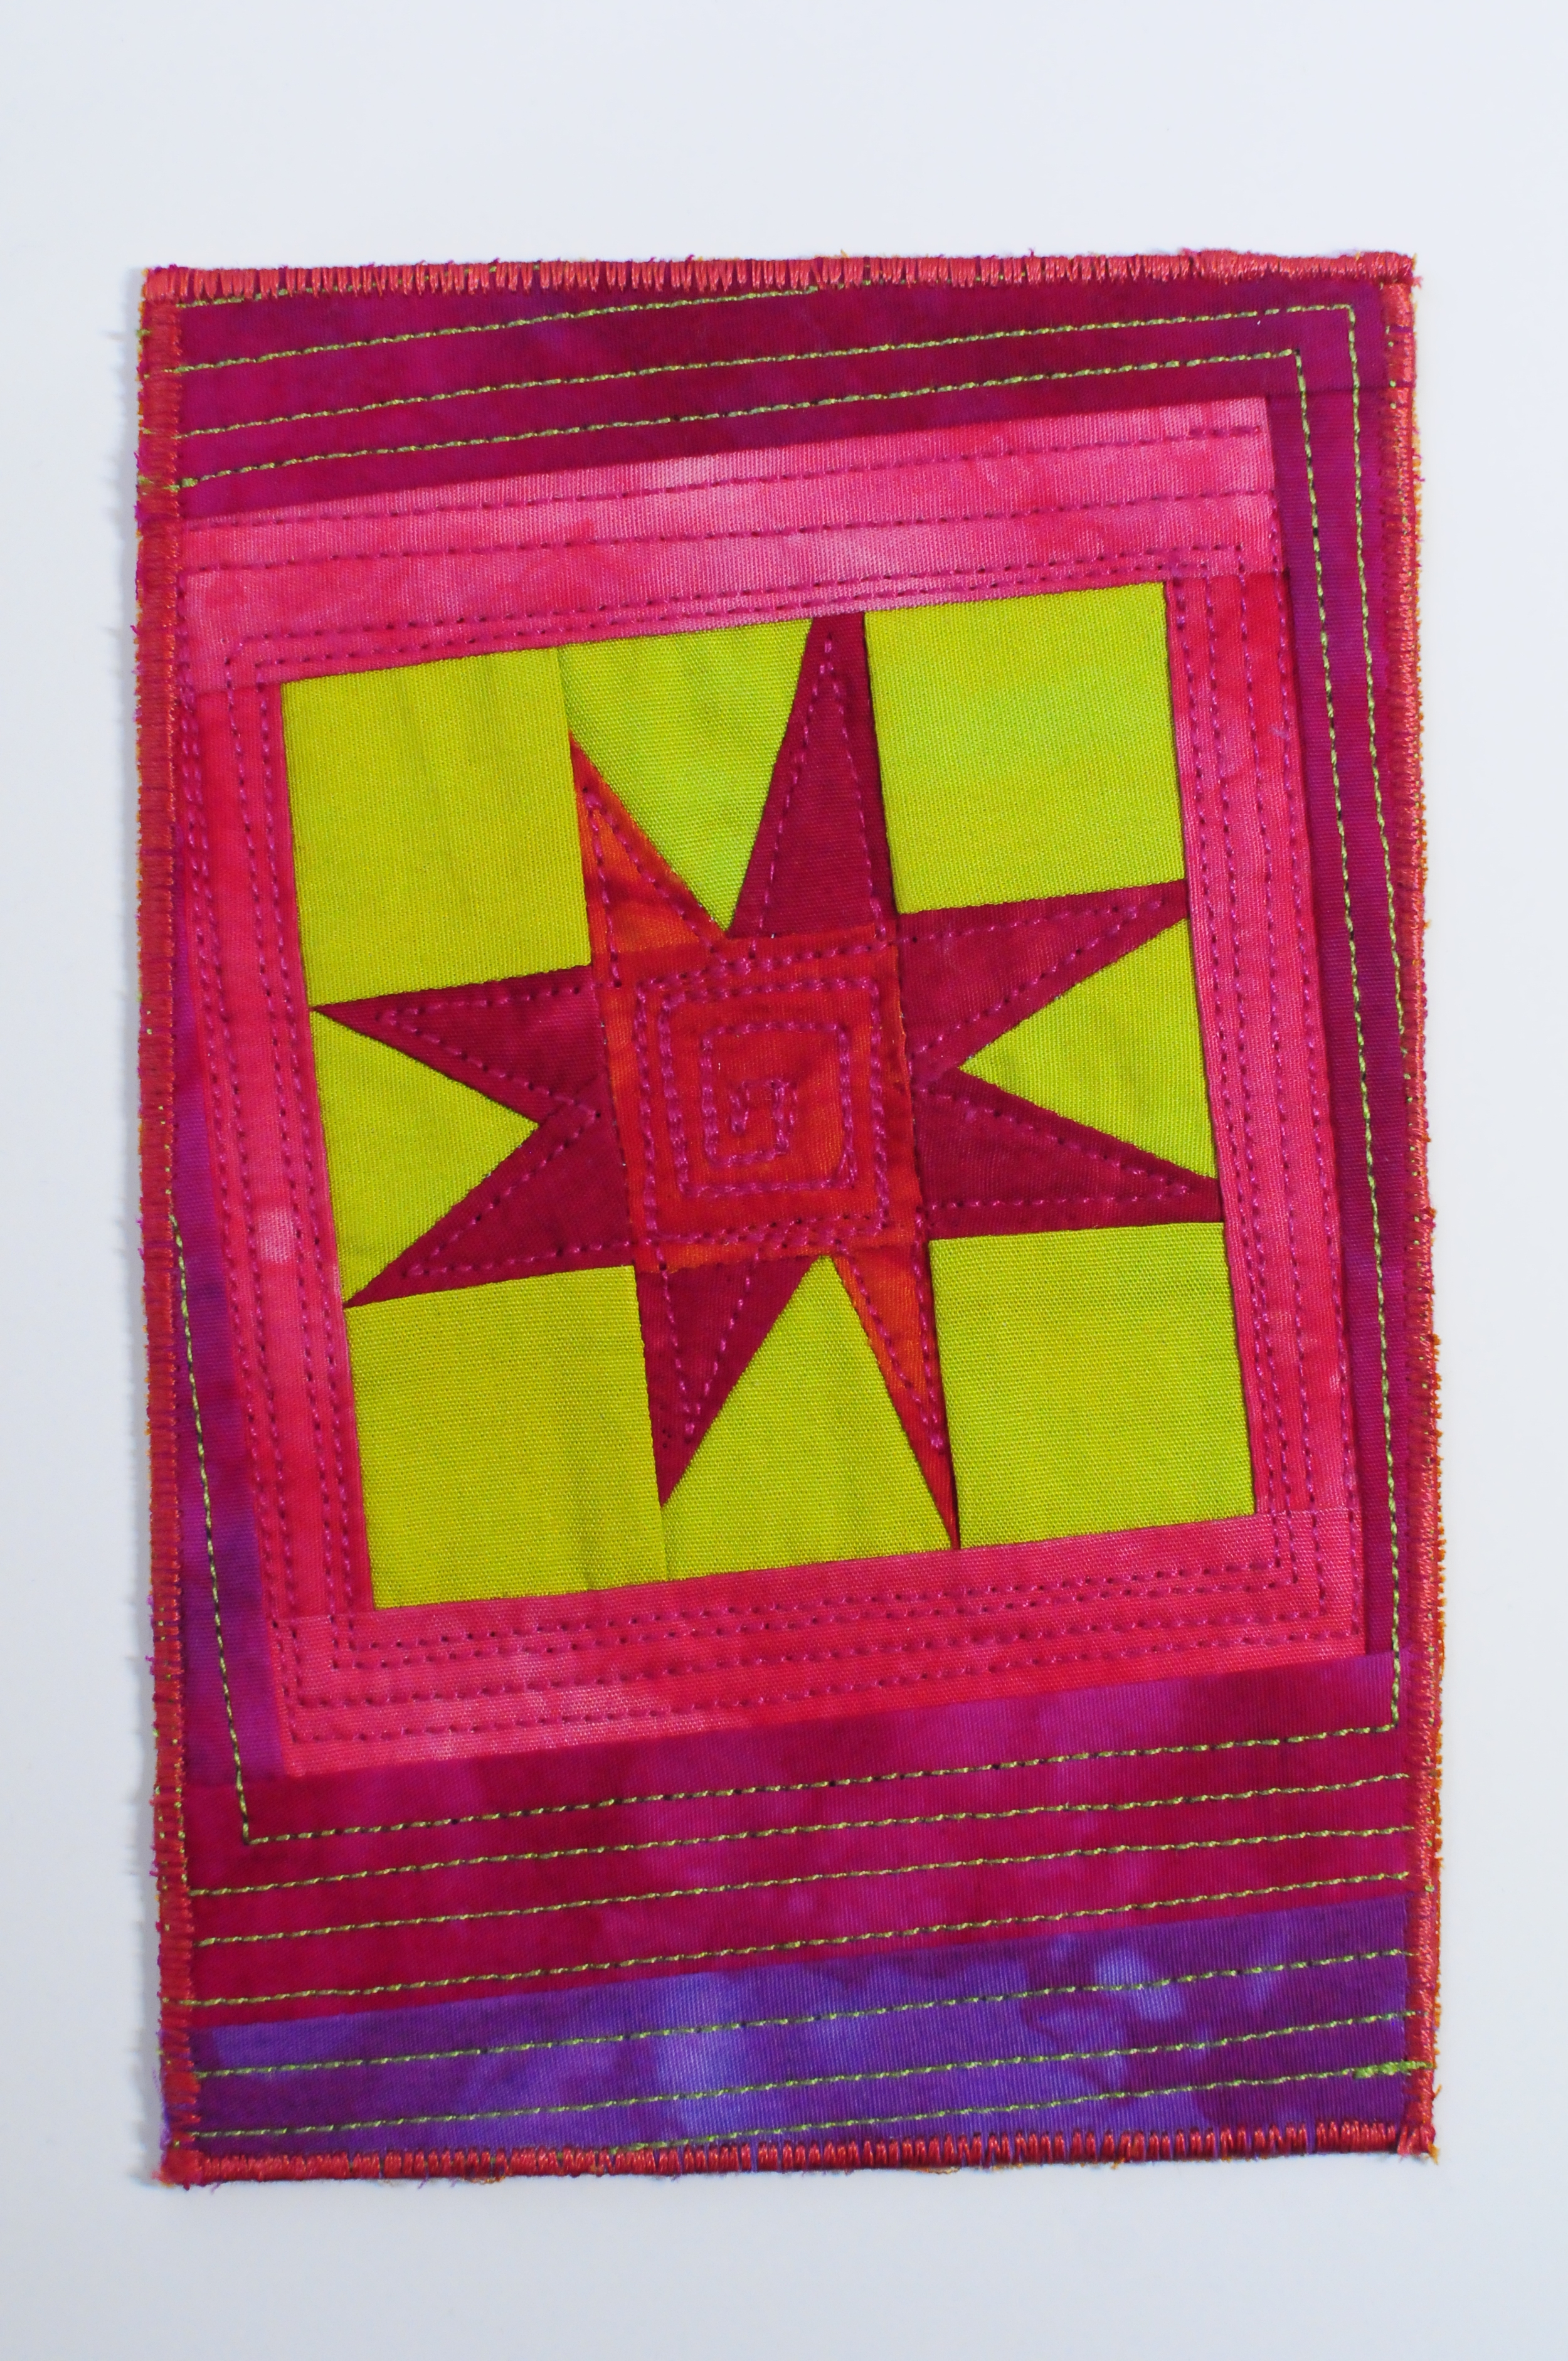
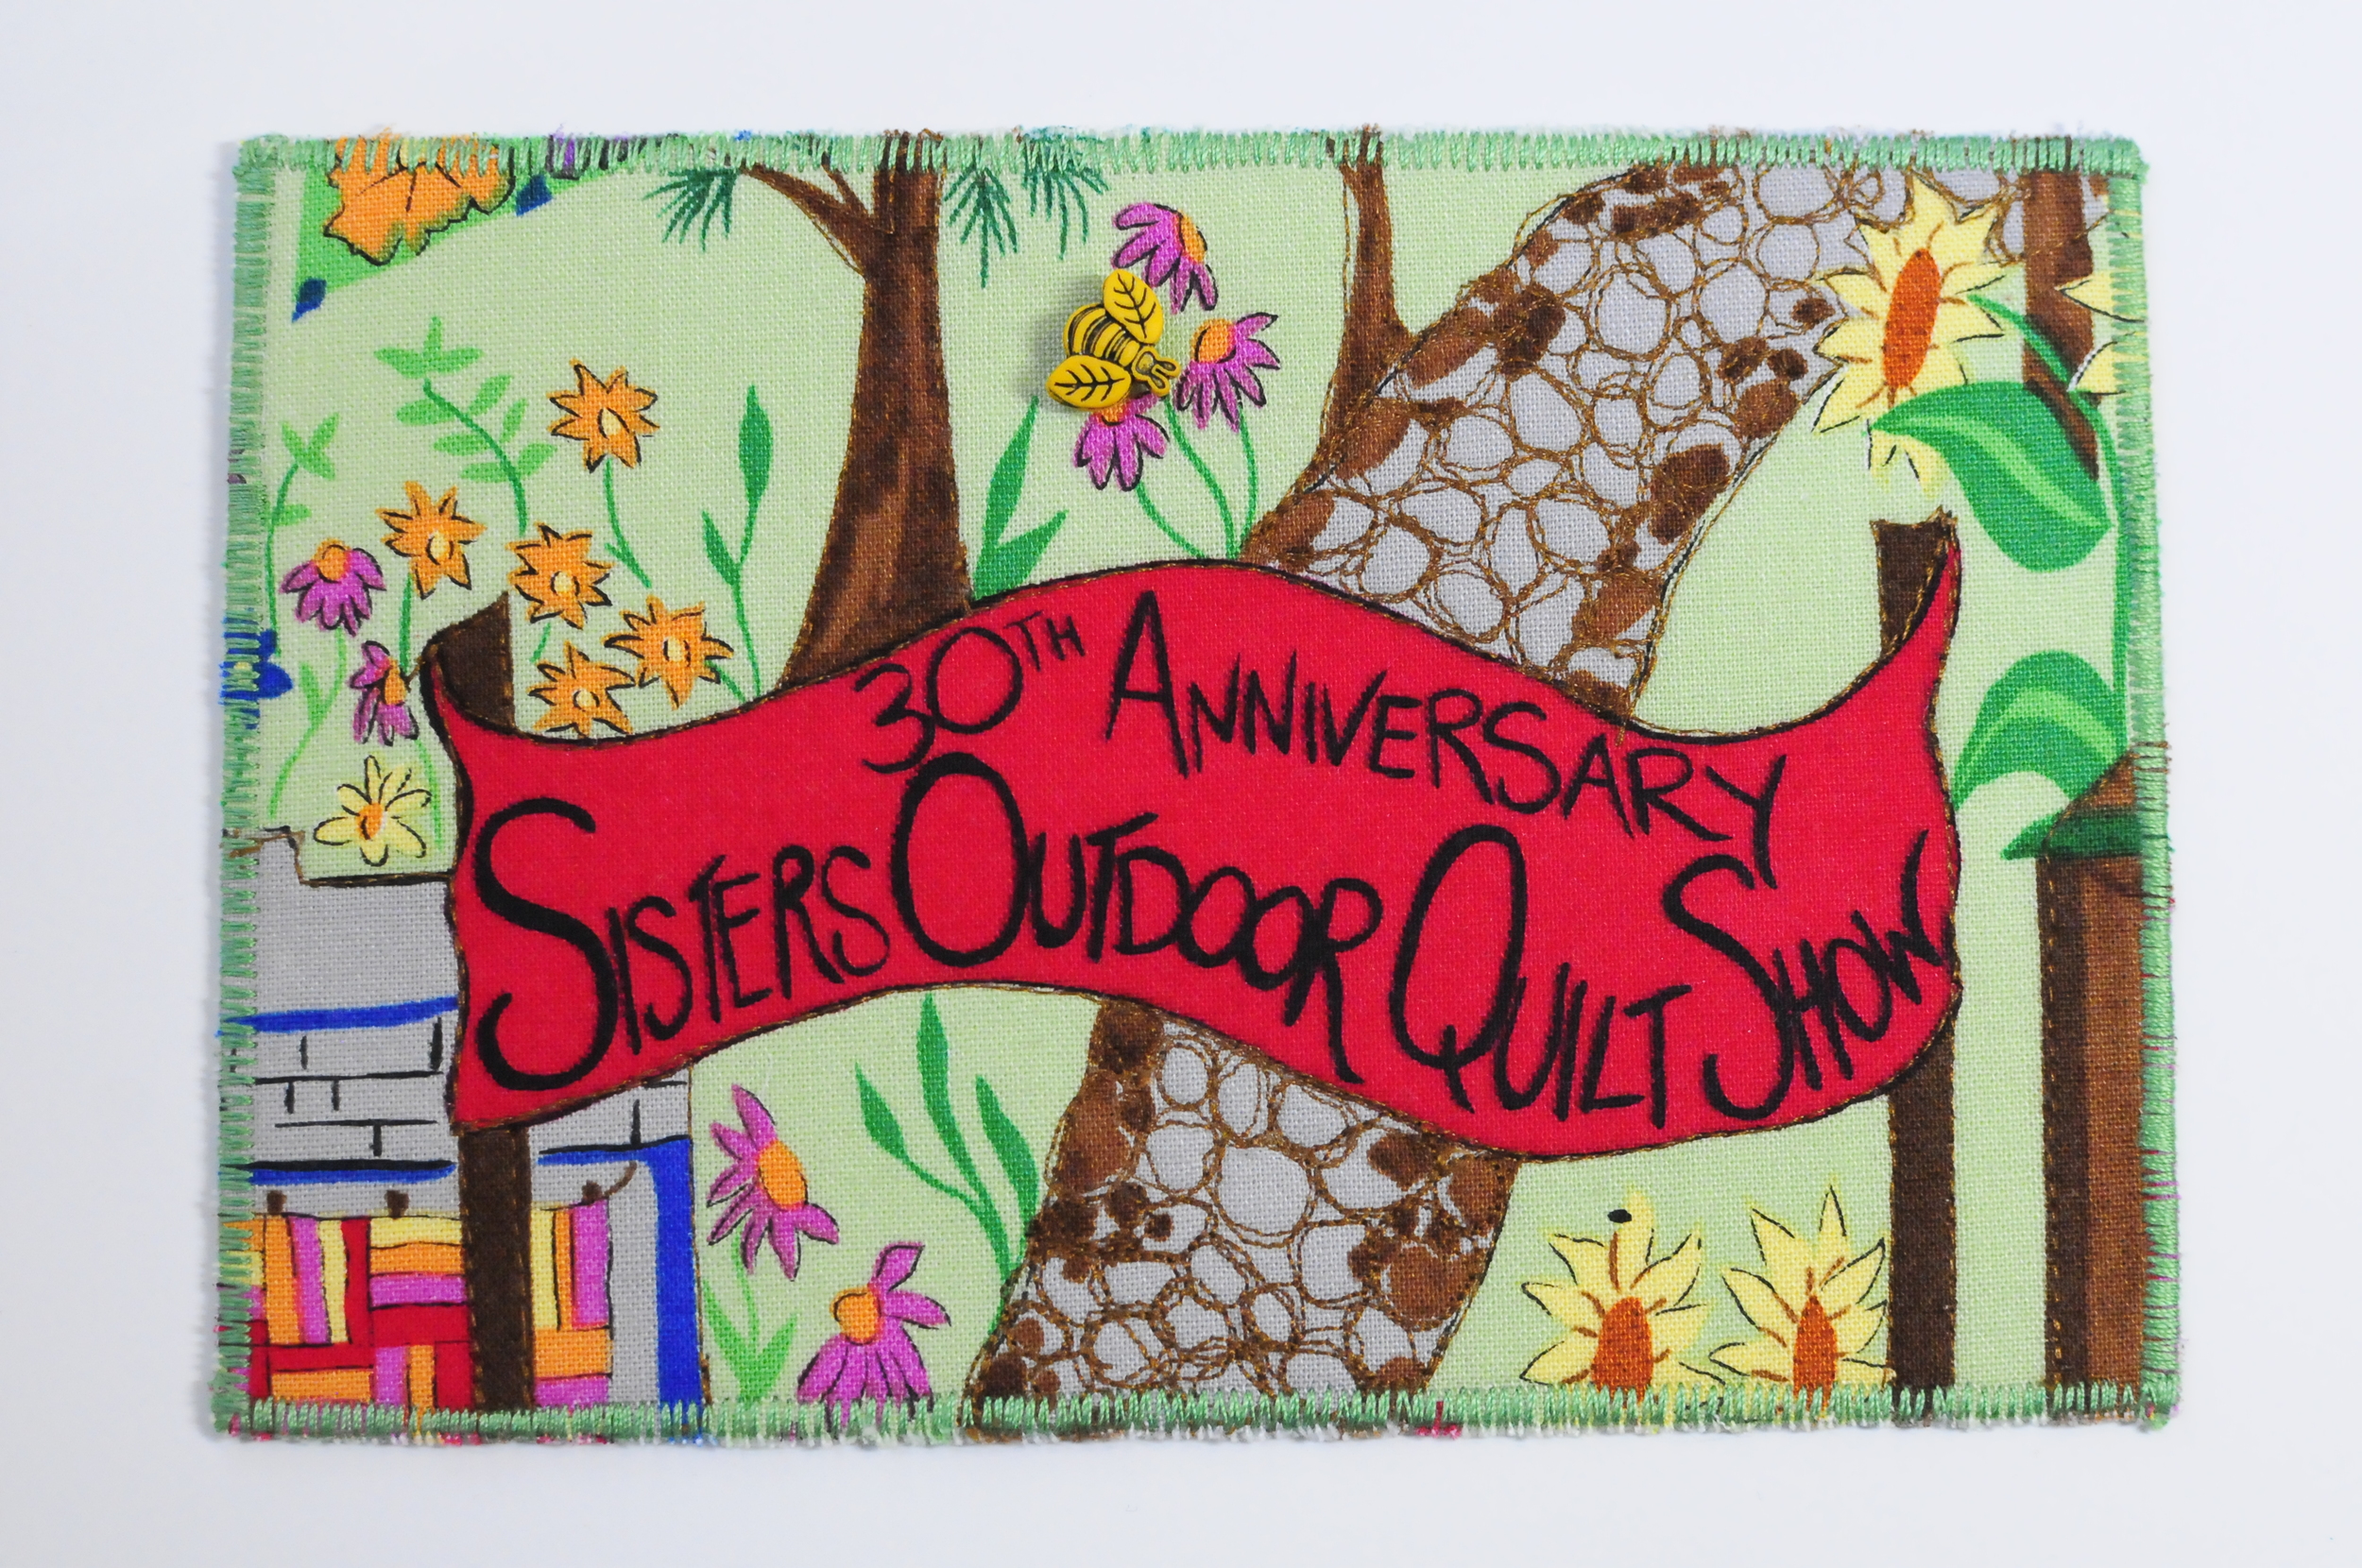
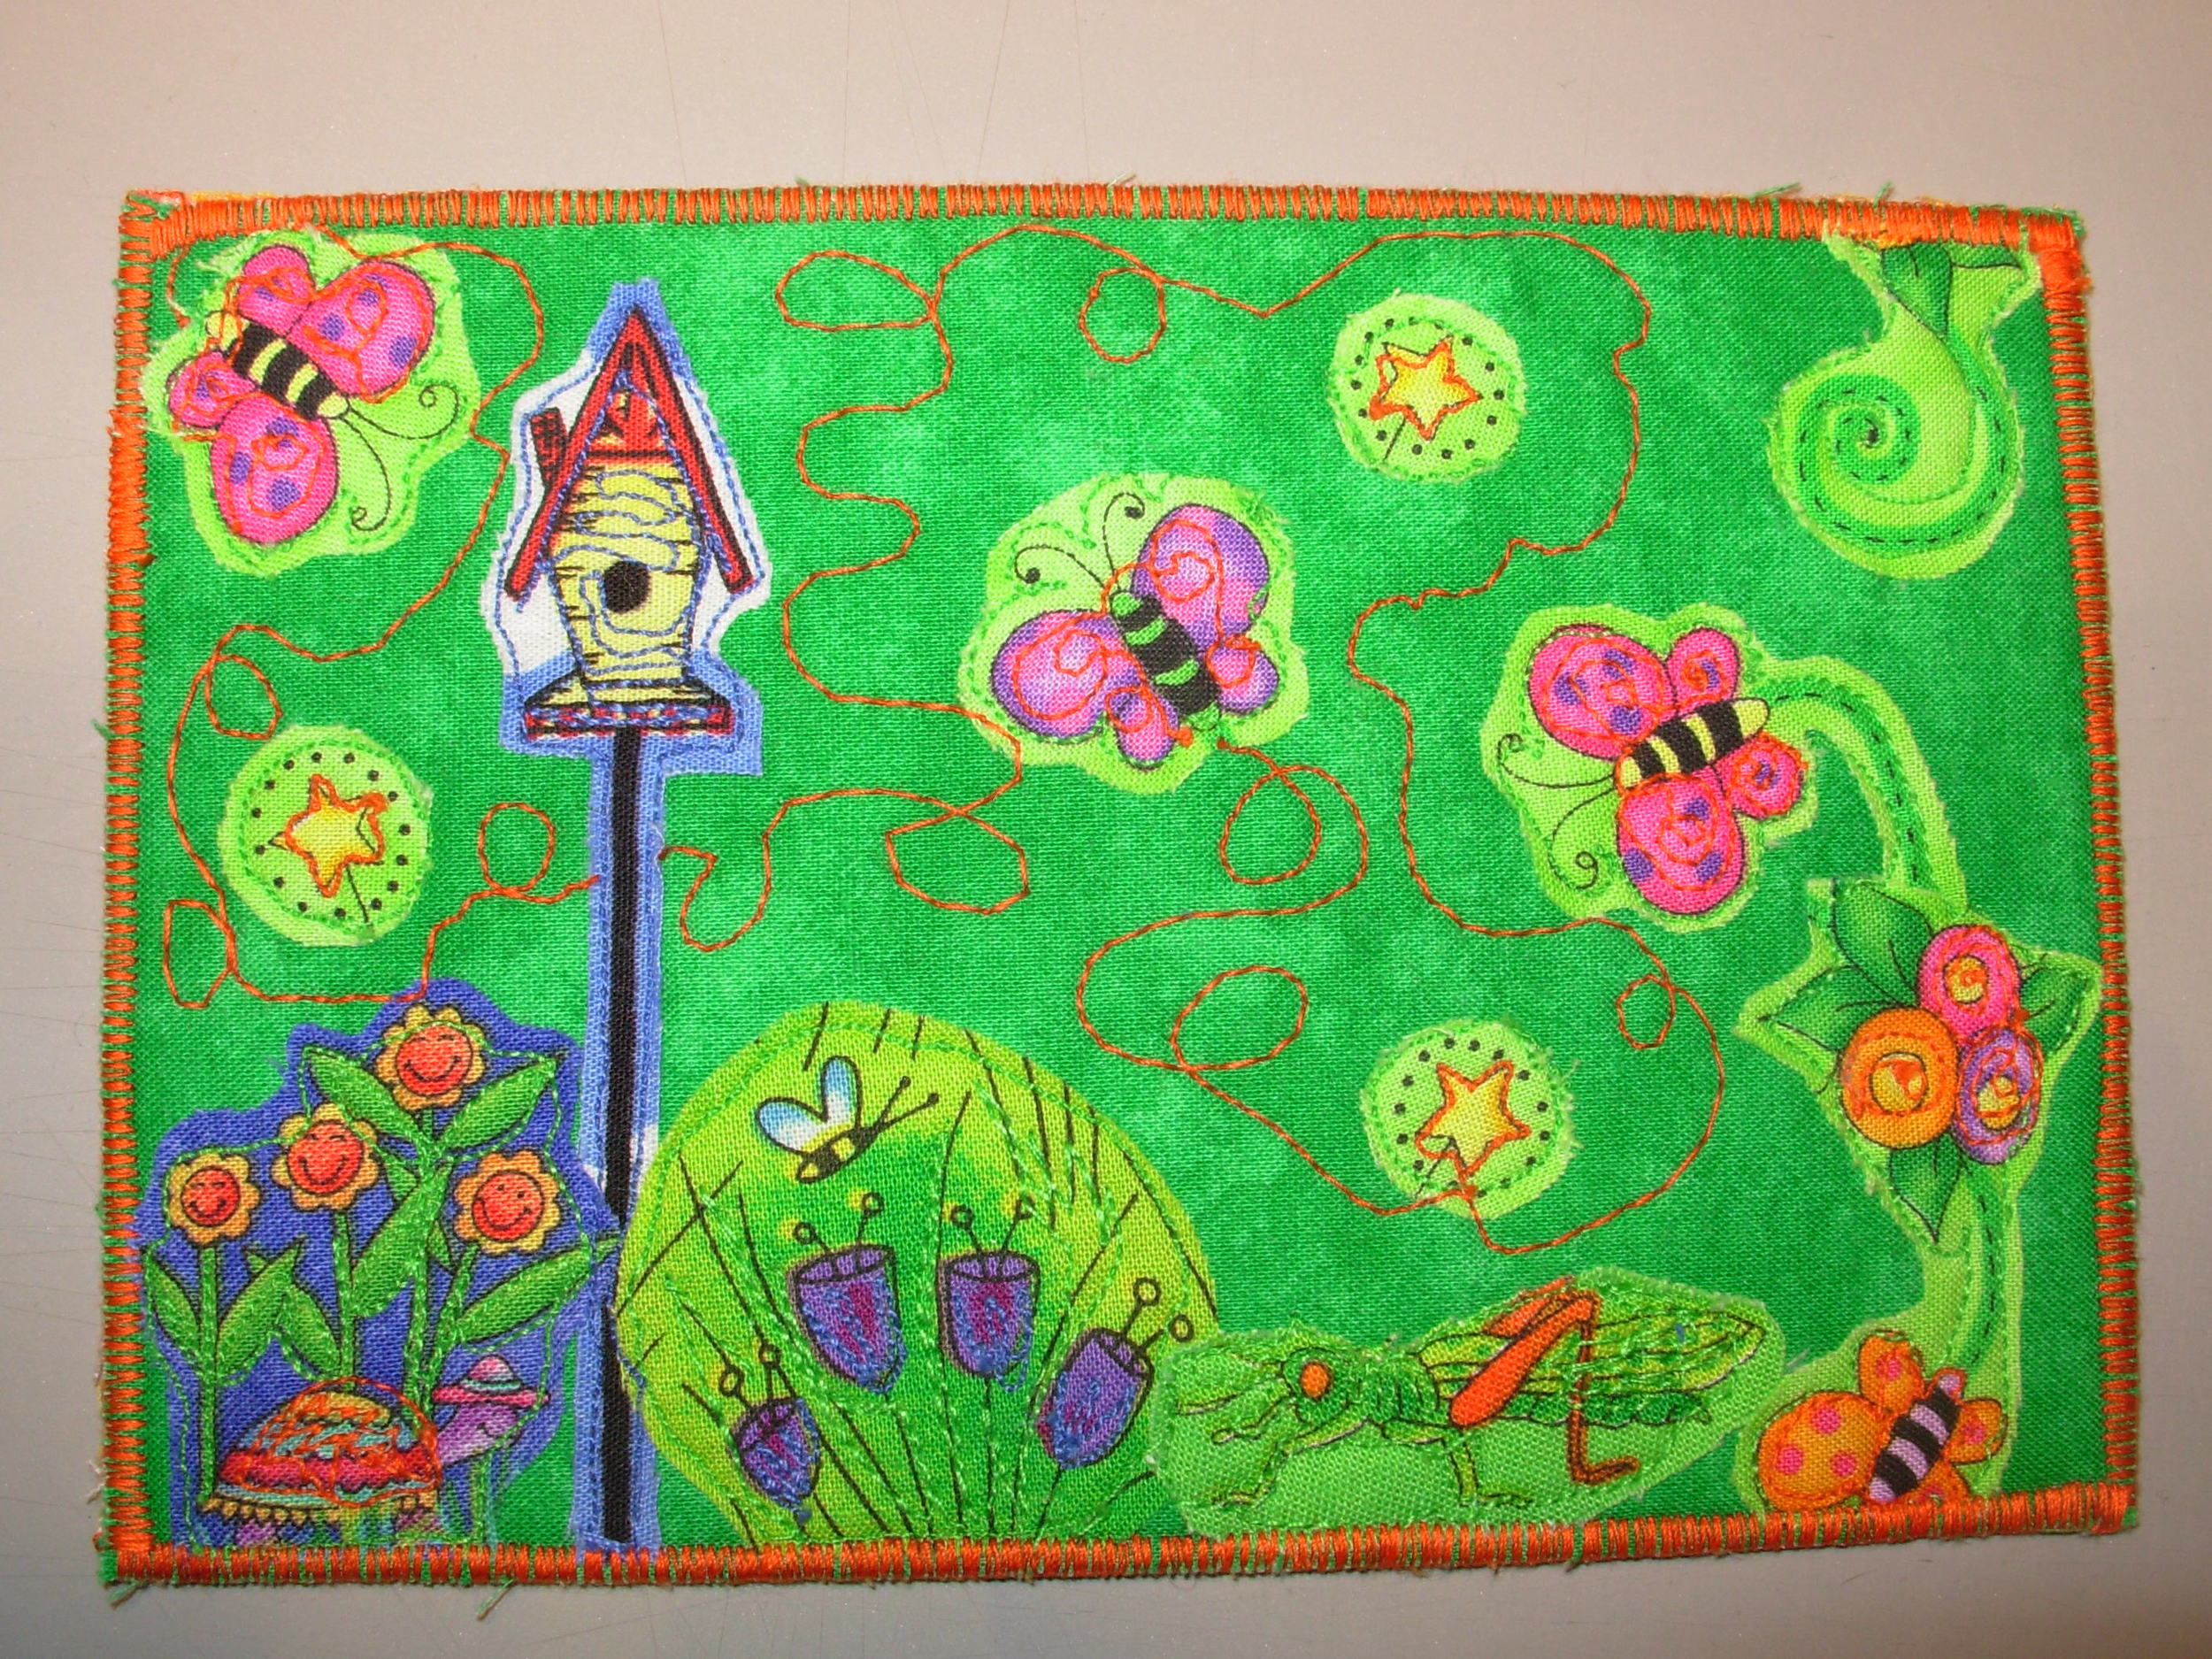
I've spent the past two days working on my Wish Upon a Card postcards. These are part of a fundraiser for the Sisters Outdoor Quilt Show and benefits the show as well as Wendy's Wish which supports cancer patients in Central Oregon. This year they had a challenge fabric and I used that in two of them. The others are more basic. I even got to finally use an old SOQS print fabric.
These took 1-2 hours each, often just due to pondering over what embellishment to add. If you'd like to try one, there's still time. While the challenge cards are due on April 15th, you can send your non-challenge postcards in by July 1. I have added this tutorial to the Tutorials and Ideas tab at the top of the blog. Check out that page to see more of my tutorials!
This is the first one I did and the one I spent the most time on. The challenge fabric is the brown and black print which you can see better in the next piece. I embellished with some beads.
The challenge fabric had the tiki faces and was not something that I would normally buy. It took me a long time to figure out how to use it. This island paradise includes some of my hand dyed fabric and some batiks. Embellished with beads again.
I had fun with this one. I've been saving selvedges forever, but haven't used them much. I found the SOQS piece and built the rest from there. The little quilts came from the quilt show fabric you can see in the last three postcards.
I wanted to use up some more of this old hand dyed Pimatex. I can't hand stitch through the stuff so it's perfect in this application. I still have some left that I think I'll use for an AAQI quilt or two.
I did the last three today with this Sisters Outdoor Quilt Show fabric from 2005. I had fun embellishing with charms, buttons and beads as well as the selvedge words.
Fabric Postcard Tutorial
Below is the fabric card tutorial I first posted on my old blog in 2007. The cards shown are old ones.
Materials:
- double sided, heavy weight, sturdy fusible interfacing, such as Fast-2-Fuse, for the middle layer
- lightweight fusible web for fusible applique, such as Wonder Under (optional)
- applique pressing sheet or parchment paper
- fabric bits and scraps
- thread to match
- embellishments, selvedge words (optional)
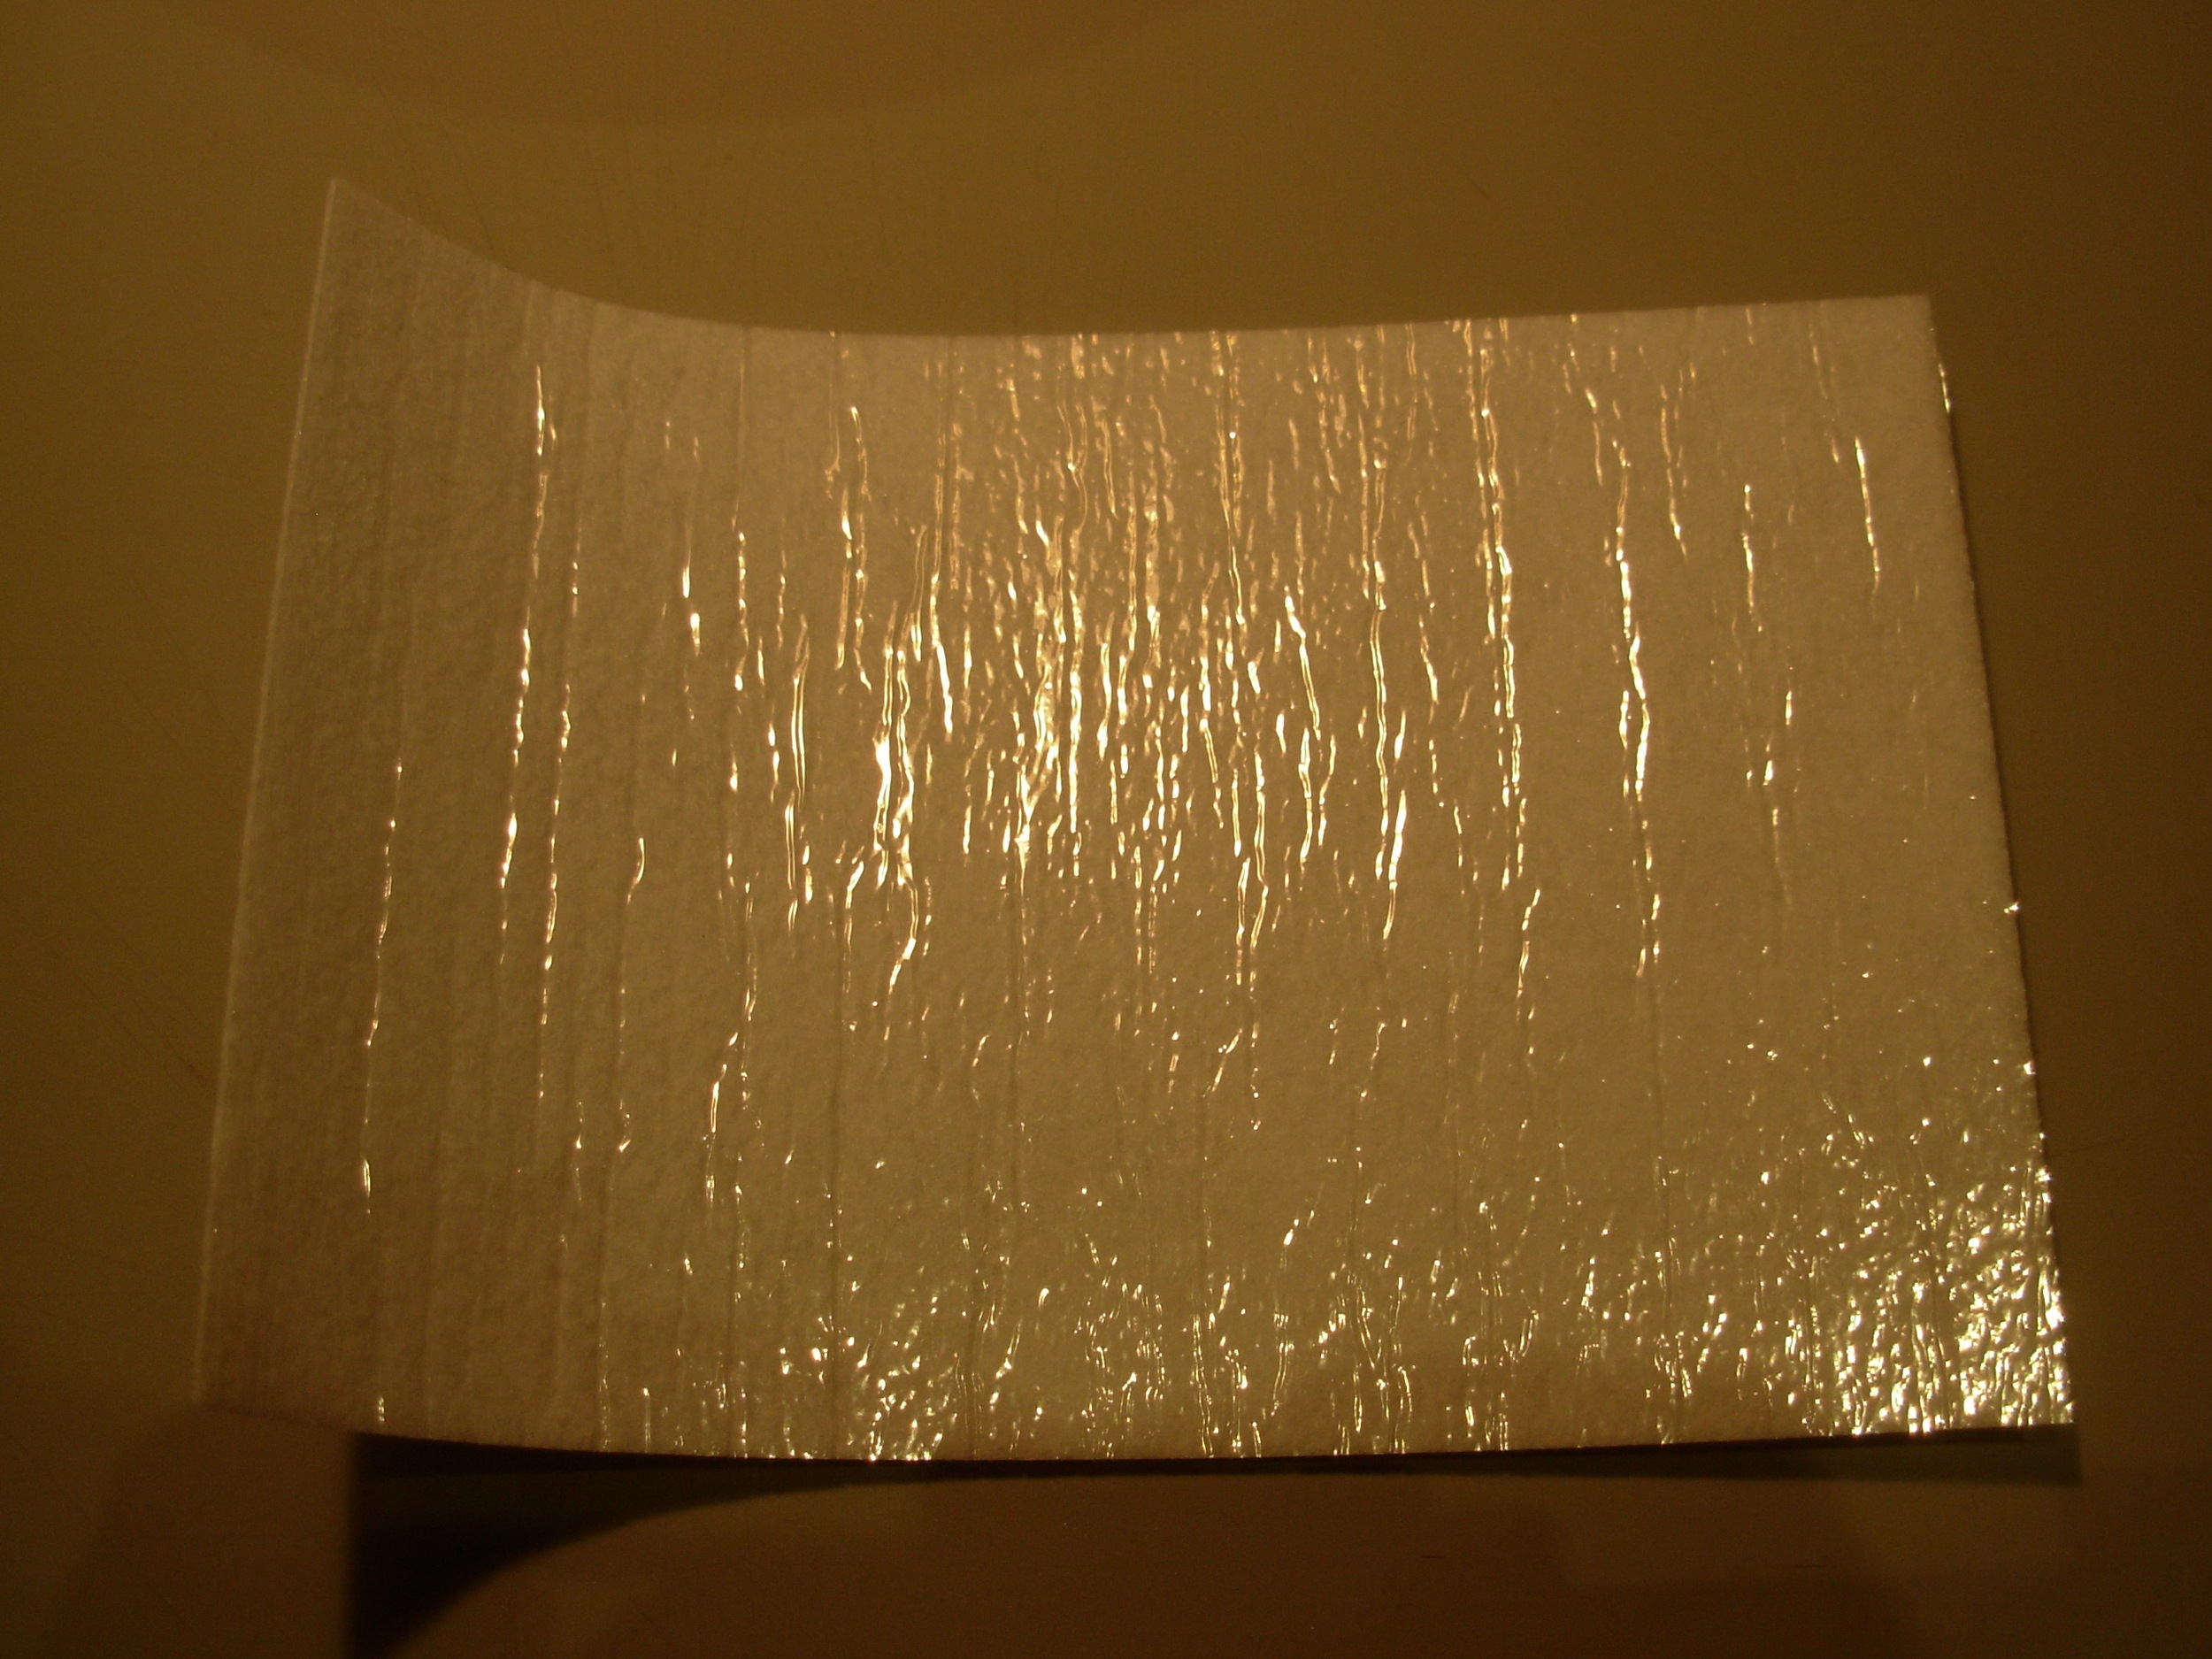
Cut the sturdy fusible interfacing to 4" x 6" or whatever size you plan to make. The interfacing shown below is Pellon and has a thin plastic backing you can see in the photo. Fast-2-Fuse doesn't have the plastic backing.
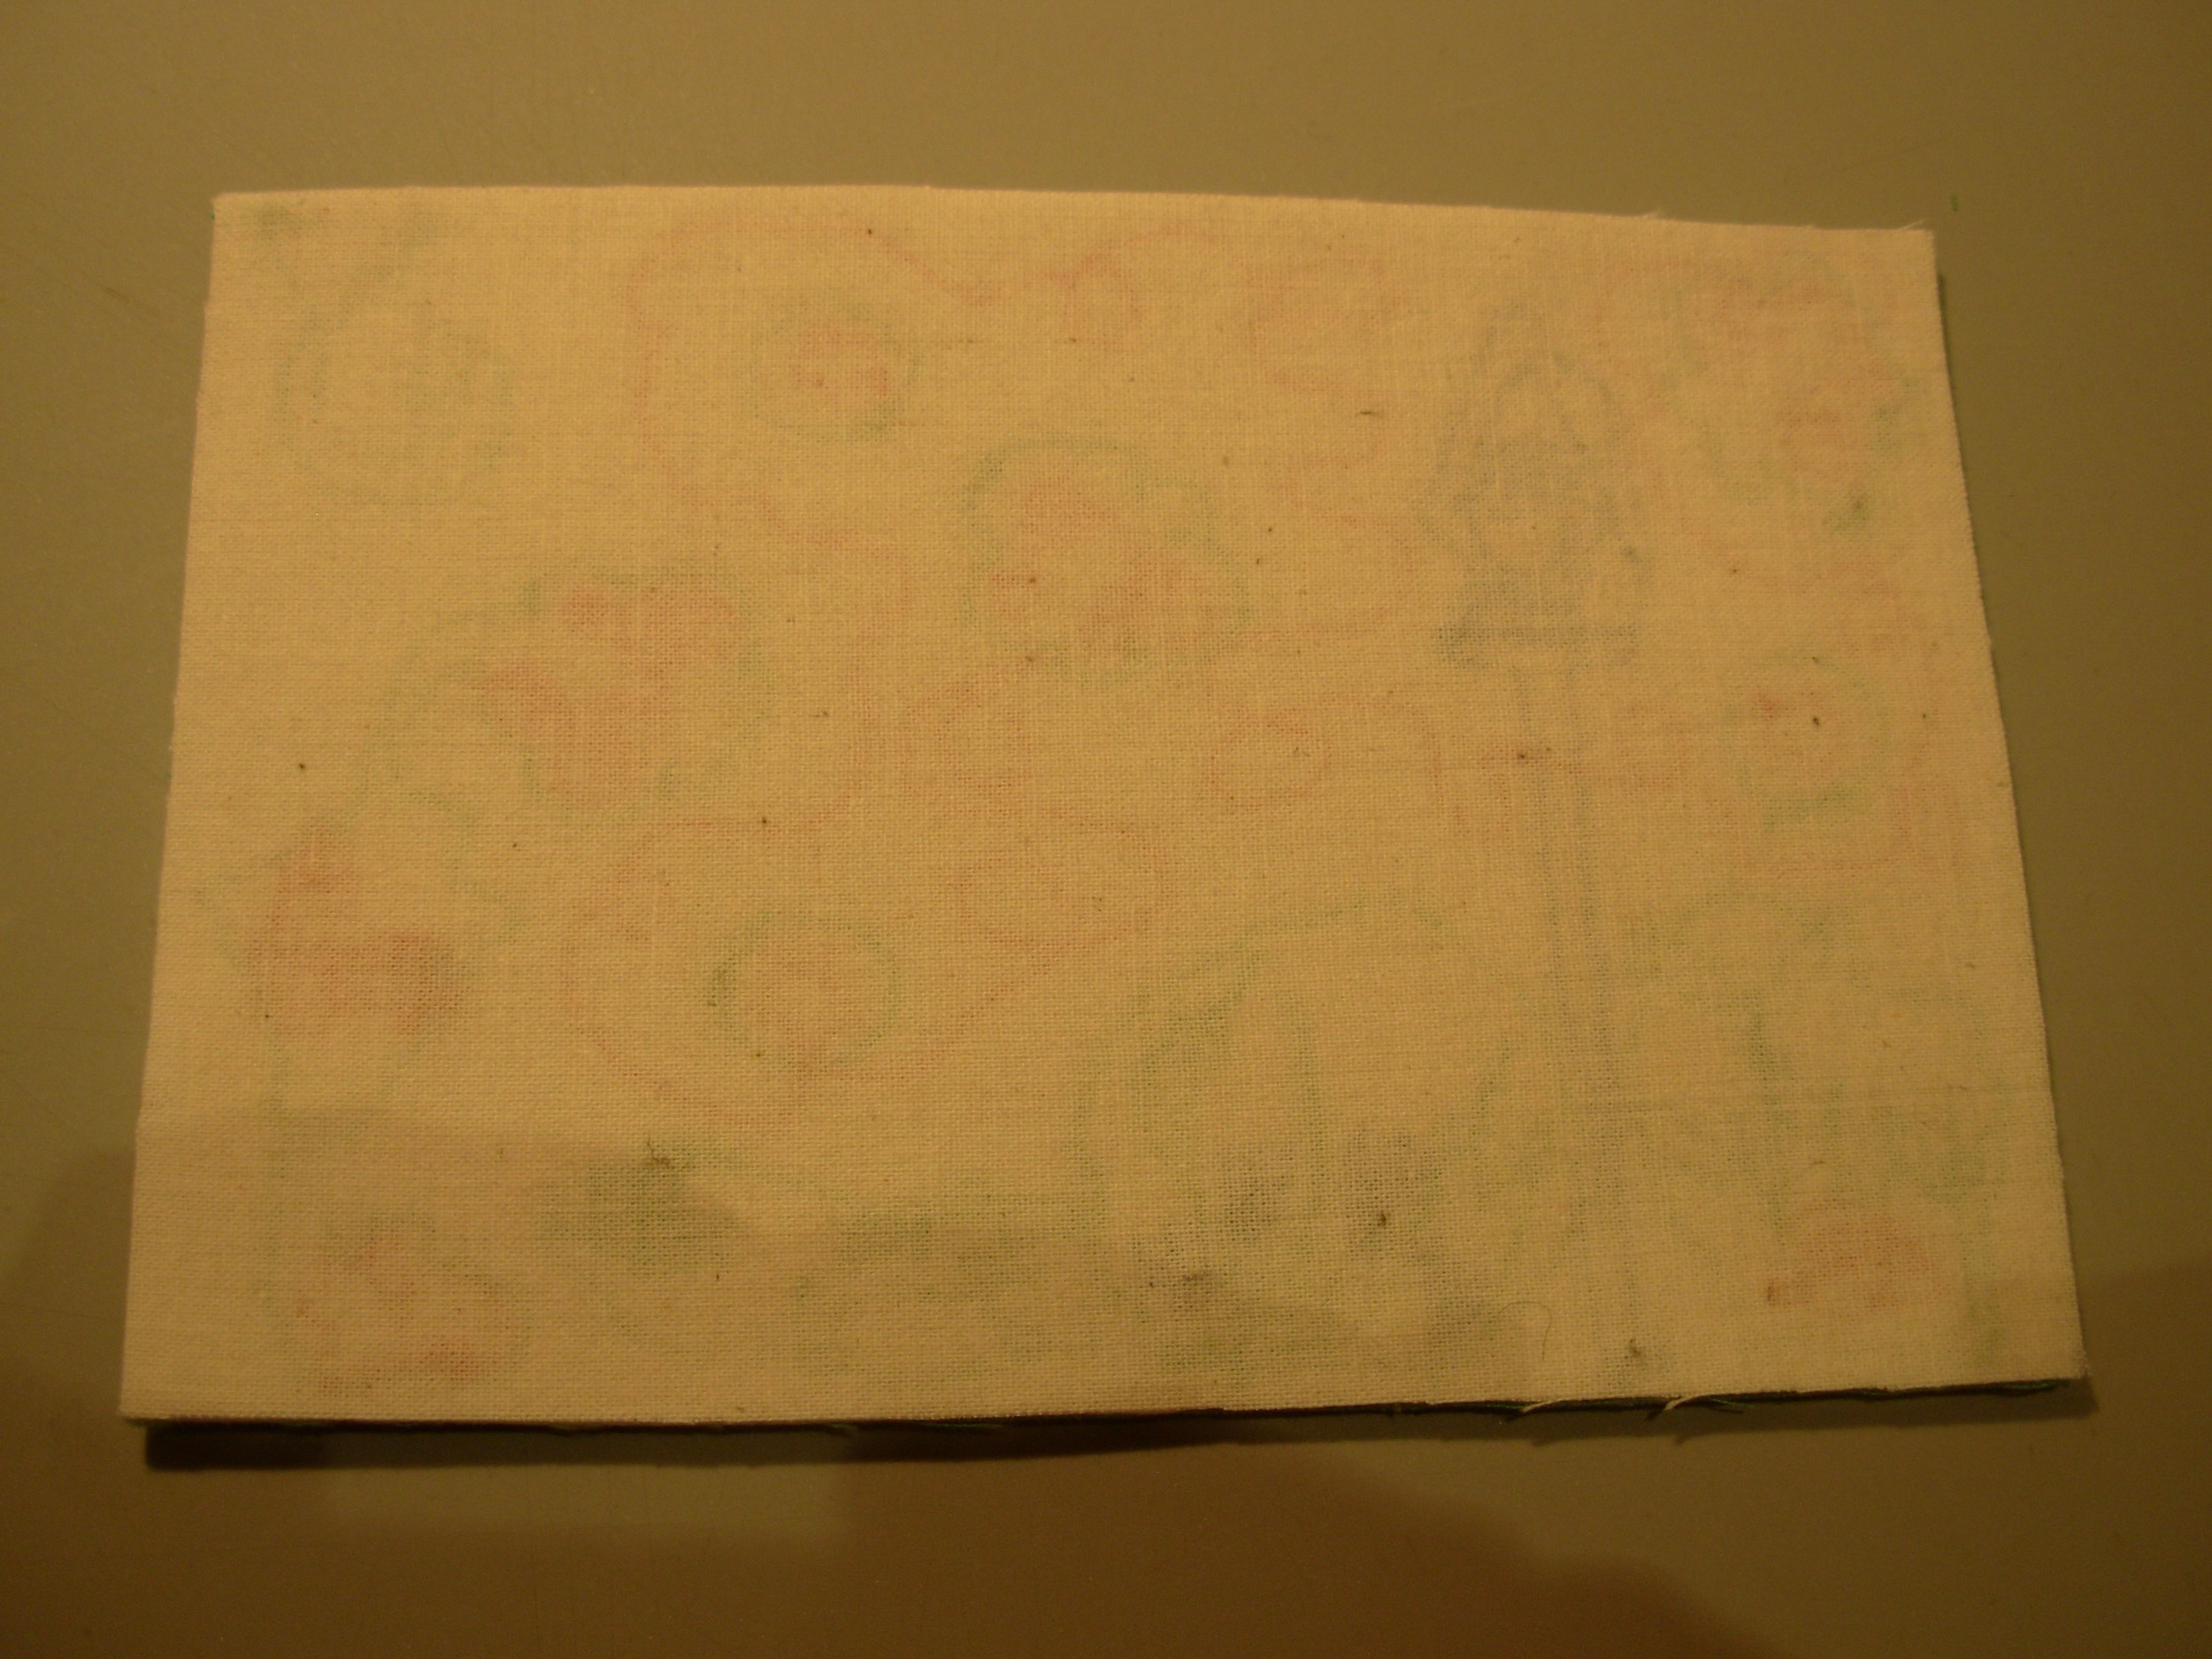
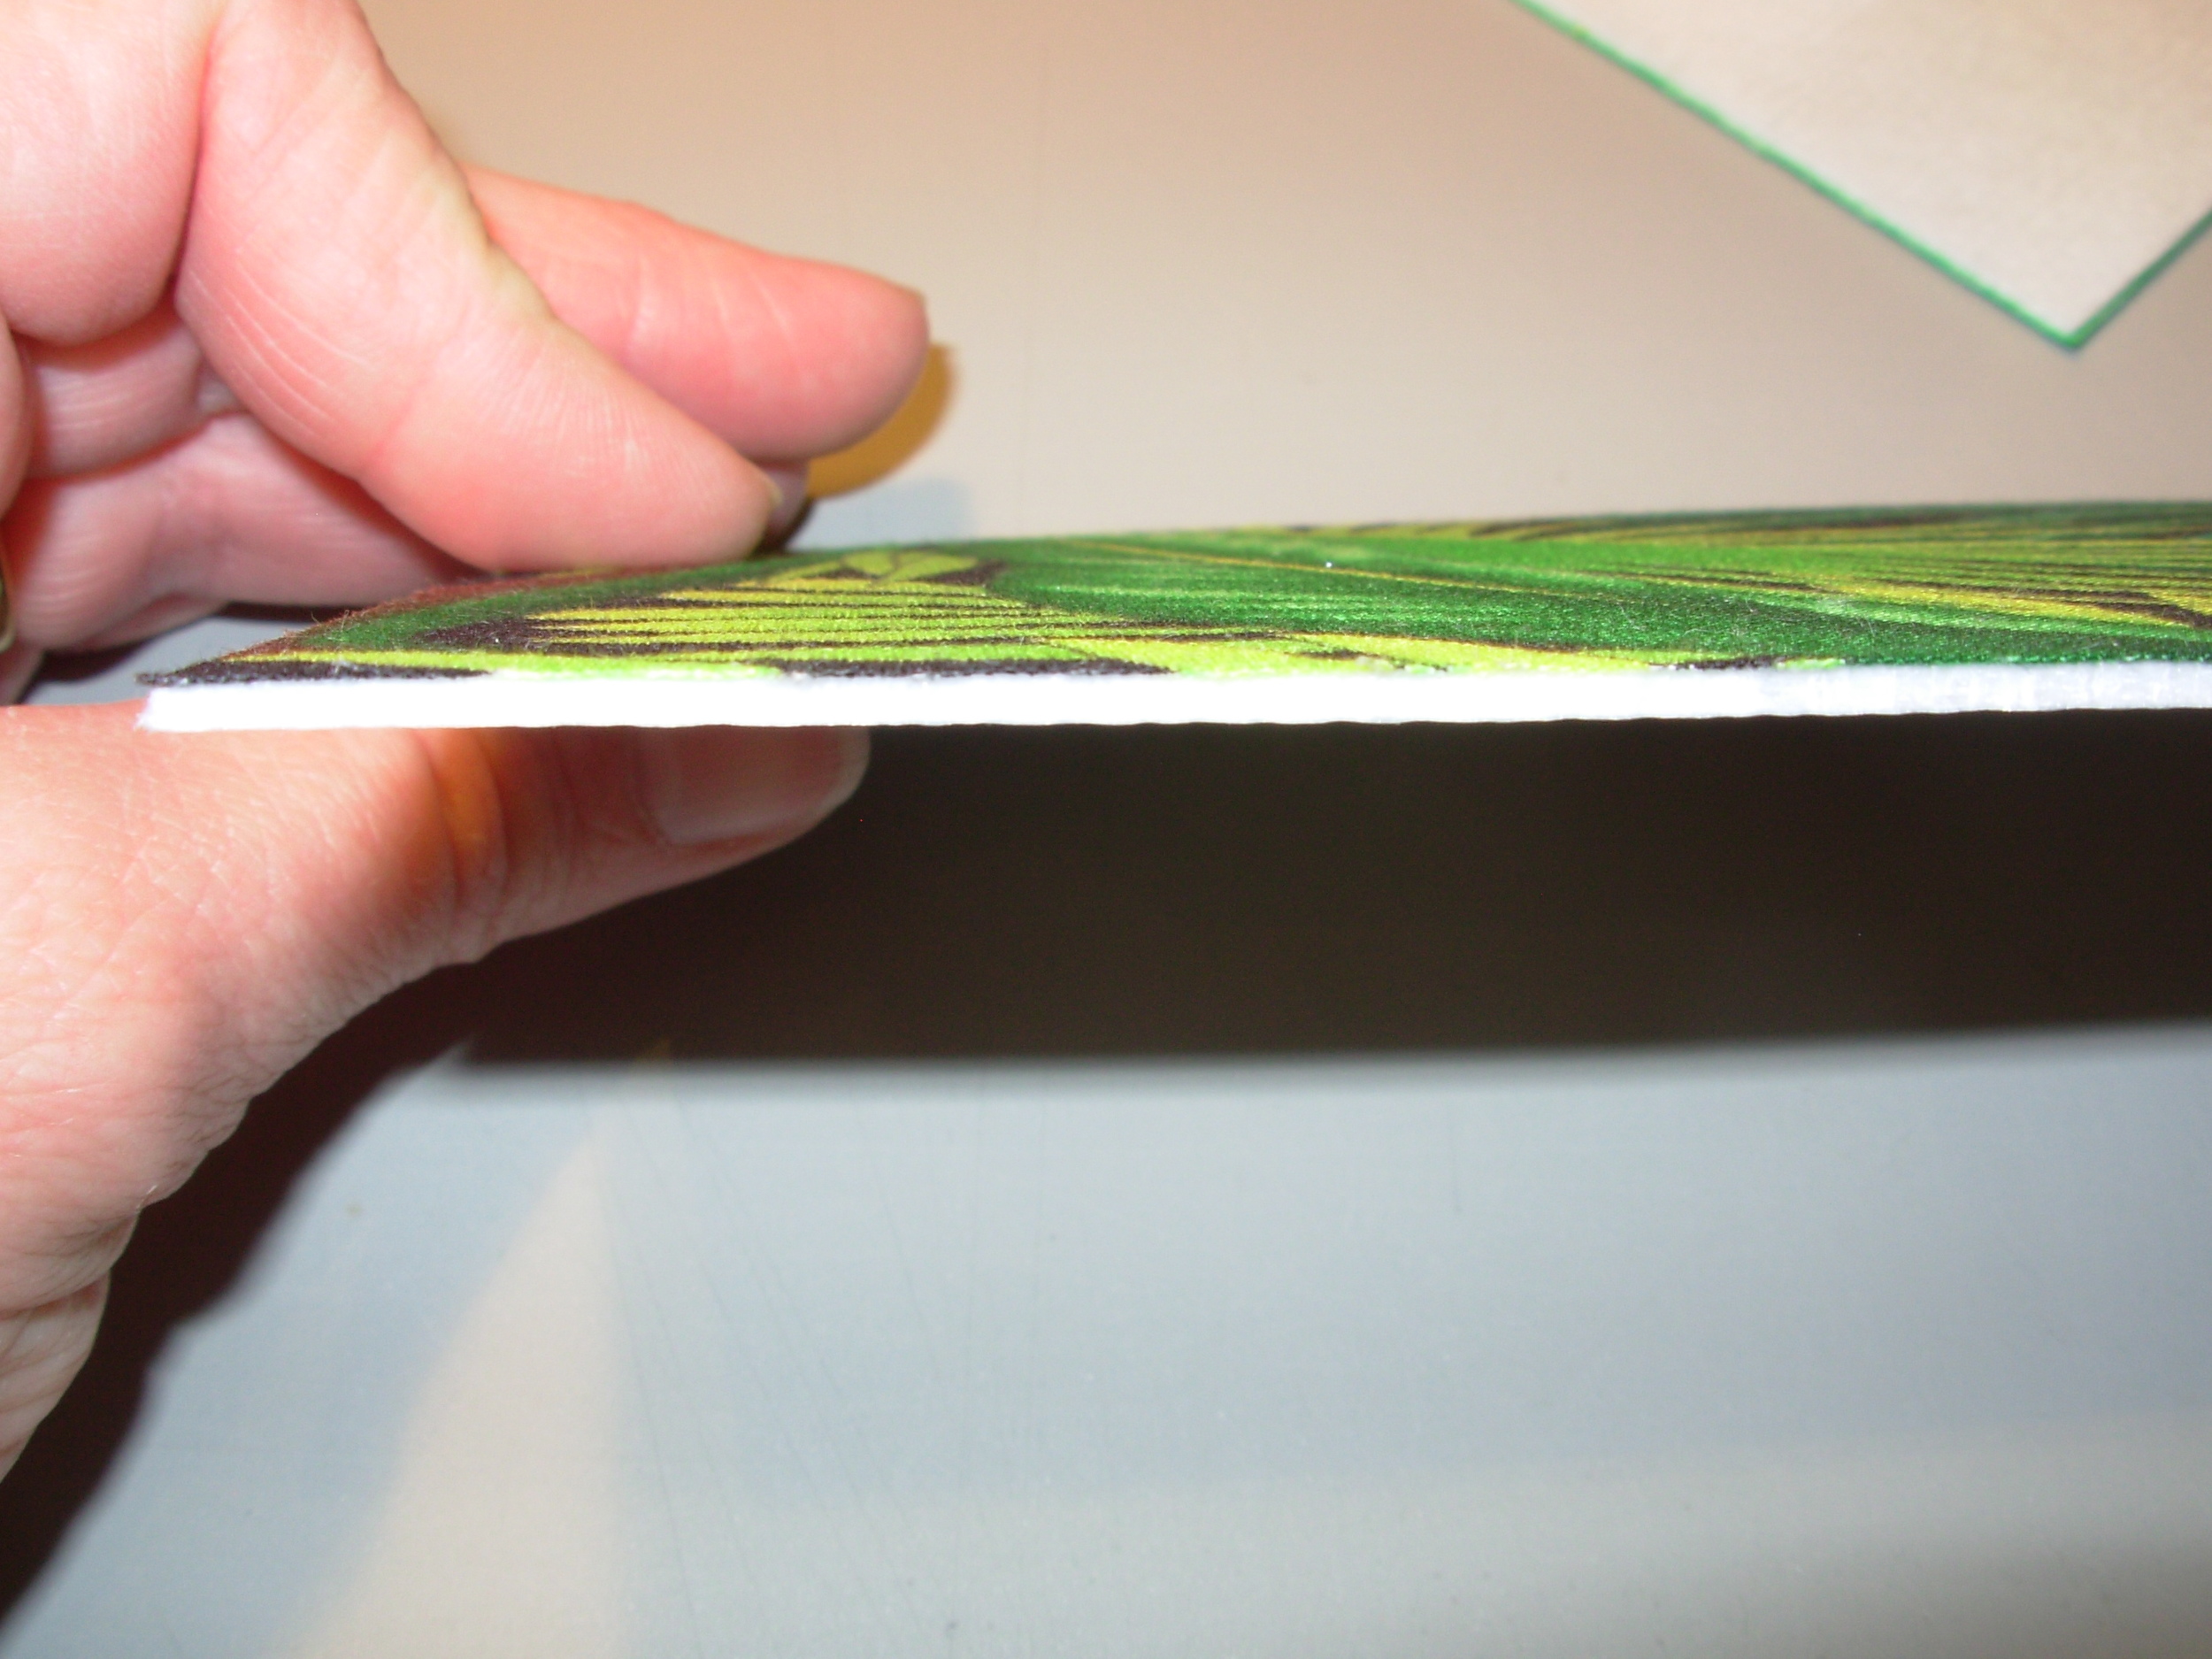
Choose a background fabric cut slightly larger than the card and fuse it to the heavy weight interfacing. I use an applique pressing sheet underneath to save my ironing board. Kitchen parchment paper works just as well. I cut the fabric to the edges of the interfacing after fusing. I just realized that I have mixed photos of the two different cards I did. This is actually the background for the second one, so the rest of these photos will show the first card. You can also piece a background and fuse it on at this point.

Here you can see how thick this interfacing is.
If you want to add bits of fabric to decorate the front of the card, cut them roughly into squared off pieces so it will be easier to fuse them. The next photo shows some motifs that I'm testing out on the background fabric.

Here they are laid out right side up on the fusible side of the Wonder Under. I just put them together so the sides are touching. It doesn't have to be perfect, but you don't want to have areas of fusible web showing between the pieces.
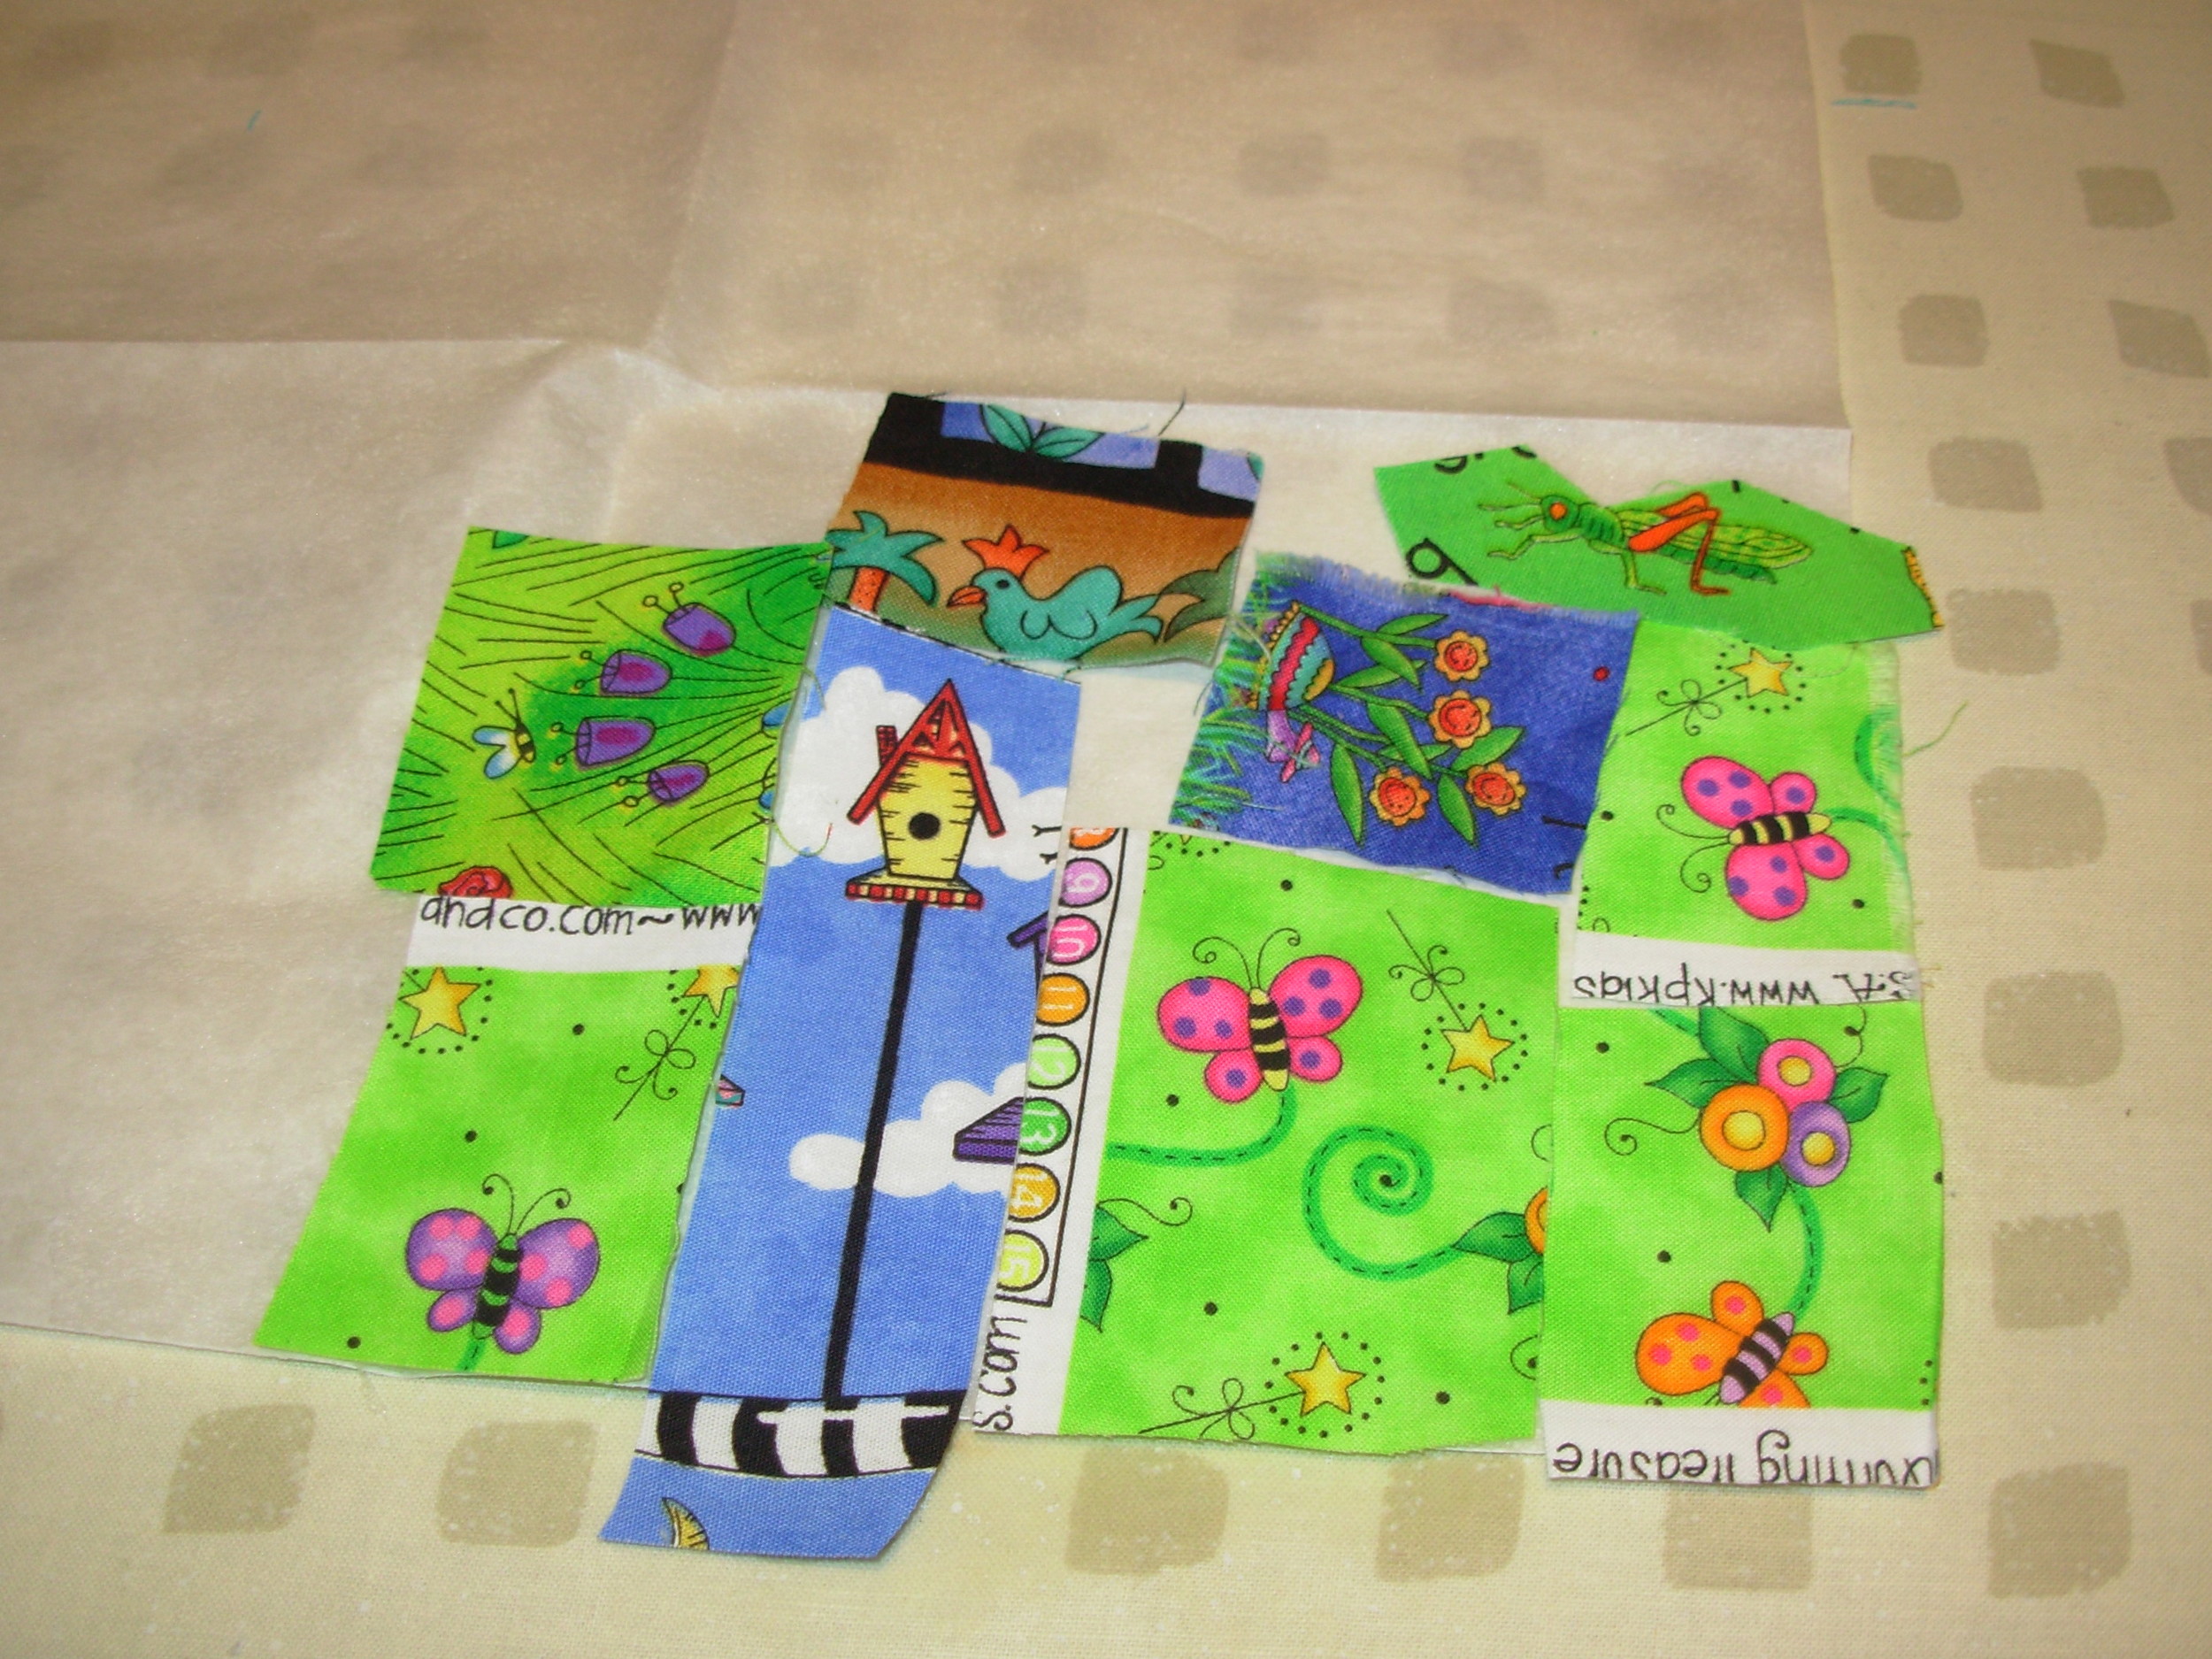
Then I covered it with a bit of scrap paper to keep the web from melting to my iron and I ironed them for about 10 seconds. Again, you can use an applique pressing sheet or parchment here.

I cut the motifs with a bit of edging on them, but you can cut all the way to the edges if you like. If you are cutting fabrics such as the hand dyed ones that don't have a motif, draw your shape on the paper side of the fusible, fuse to the fabric, then cut along the line with paper scissors before you remove the paper. This ensures that the fusible glue goes all the way to the edge of the shape.
Here are the shapes arranged on the background that has been fused to the heavyweight interfacing.

Now, fuse the whole thing again. Then, take off the plastic backing as you get ready to sew it all together. If you are using Fast-2-Fuse, you will not have a plastic backing so be sure to fuse on the applique pressing sheet or some parchment paper.
Once the backing is off and all the pieces are fused to the background you can sew. I did some straight stitching, free motion embroidery and some of the fancy stitches. You can doodle as much as you want and even do some "thread painting".
At this point you can add some embellishments if you want. Be aware that anything like buttons and beads will make it harder to fuse on the backing, but it can be done. I hand sewed on the buttons and beads right through the interfacing on the cards at the top of this post.
I picked out a fabric for the back of the postcard. I discovered that the threads on the back showed through so I did a double backing on them. First I fused a piece of muslin to the back. Remember, you've already removed the plastic backing so it's ready to fuse. The fabric was cut a little big, then after fusing trimmed to the exact size of the card.
Then I picked out this pretty yellow to go over the muslin. I had to use more Wonder Under to fuse this in place. Again, cut it a bit larger at first and then trim to size after fusing.

Lastly, from the front of the card go around the edges with a zigzag stitch to finish it off.
I'd love to hear if you use this tutorial to create any fabric cards. Just leave a comment and a link if you have one! If you have a card without embellishments it is actually possible to send it in the US mail all by itself (extra postage and hand cancelling required). With the time it takes to make one though, you might wish to place it in a padded envelope for mailing. Happy Sewing!
