
If you’ve been following me on Instagram you’ll recognize this VOTE panel that I’ve been working on. I created it with this Wiksten Haori in mind. This coat pattern is really fun to make and easy to do if you want to make your own. I’ve made a bunch of them by now, some for me and some for Chloe.
A VOTE coat has been on my mind for the past couple of years since I saw the one that Alexis Deise made. Check out her Instagram for her version in her profile pic. Just yesterday I saw this version too. Seems like it’s a thing to do. If you want to make your own here’s how I did mine. This is a medium length size M, though I measure out at a XL. Most people seem to go down 2 sizes, so you might want to try that too. This post has lots of links for details and where to find the pattern and materials. Enjoy!

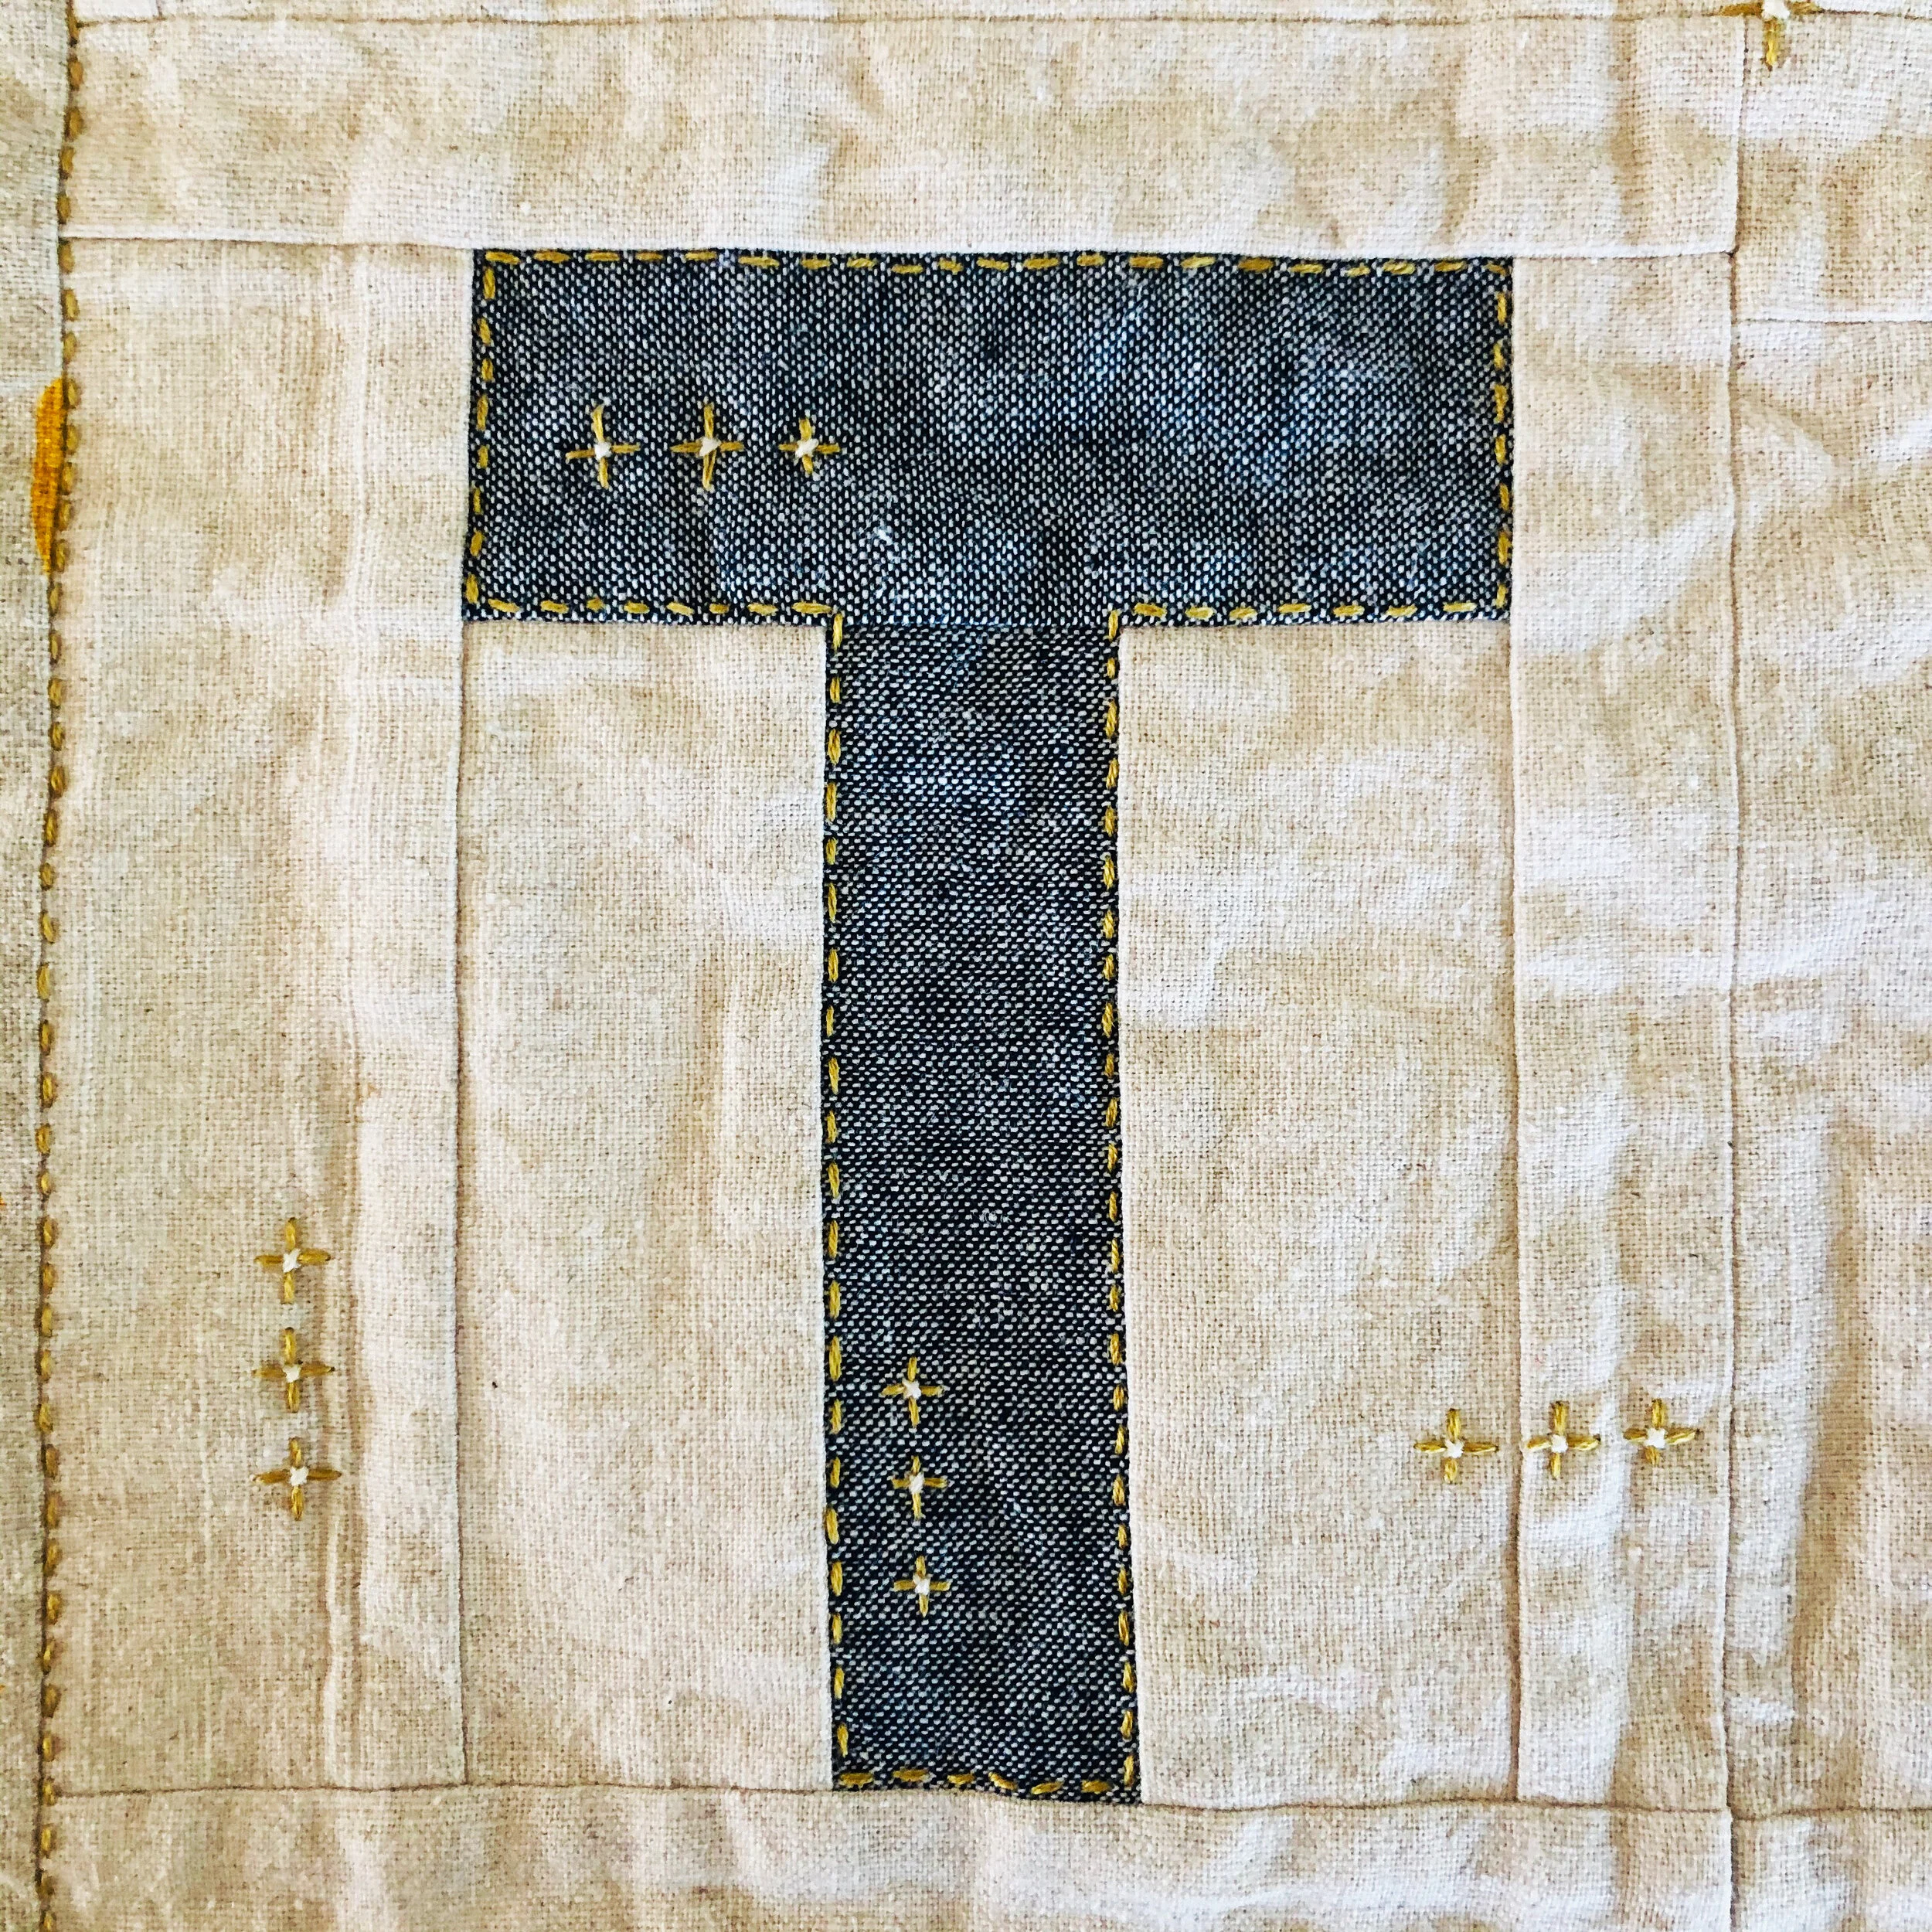
To make the panel I made the letters in the liberated style, inspired by Tonya Ricucci. See her fabulous book, Word Play Quilts, for more info. I put them together and added a narrow border. I then fused some ShapeFlex 101 to the back of the whole panel because I didn’t want the raw edges of the piecing to be loose inside the coat. At this point it was ready to add some hand stitched embroidery details and faux quilting. This part is fun to do. It’s also the way I create the patchwork rice bags. You’ll notice the repeated three crosses pattern. This has become my little symbol of help, love, and care in the time of this pandemic. It also represents my hope that we will heal the nation after this election.


After completing the embroidery I also stitched my initials in the border. Then I trimmed the panel making sure the fusible when all the way to the edges. Then I machine stitched the main coat fabric to the top, bottom and sides so it was a big rectangle. This allowed me to then cut out the back pattern piece centering the panel as needed. Coat construction went as normal from there.


The fabrics I used are Essex yarn dyed indigo for the main fabric, Essex natural for the background for the letters, a printed Essex for the panel border (not sure the designer), and a railroad stripe lining. I also added the two tags below just for fun. I’m pretty sensitive to tags on the back of my neck, so I put these on the collar edge at the inside bottom left of the jacket. Two places to look for fun tags are: Kylie and the Machine, and Stitch Collective.

Whether you decide to make a VOTE coat or not I can highly recommend this pattern for it’s easy to follow directions and satisfying finish. I have another special one in the works so stay tuned for that.

And be sure to VOTE!
