Recently, Jude, has been indigo dyeing with plexiglass resists and she got me going on that as well. I decided to use up some of my leftover Procion dye for this at first. This process requires a bit more planning than the indigo and I wasn't sure the best process for the soda ash fixing. Jude pointed me to an Etsy shop where I could get my shapes and a few days later I was on my way! By this time, the weather had turned a bit, so I set up in the laundry room.
On this project I used some coordinating fat quarters that I won. They were not in a colorway I particularly liked, but I planned to make a baby sized community quilt with the end result. I bought circles, squares and triangles in various sizes, but decided to just use the circles for this experiment.
I folded each fat quarter into quarters, clamped it and for some I presoaked in the soda ash, for others I did the soda ash soak afterwards.
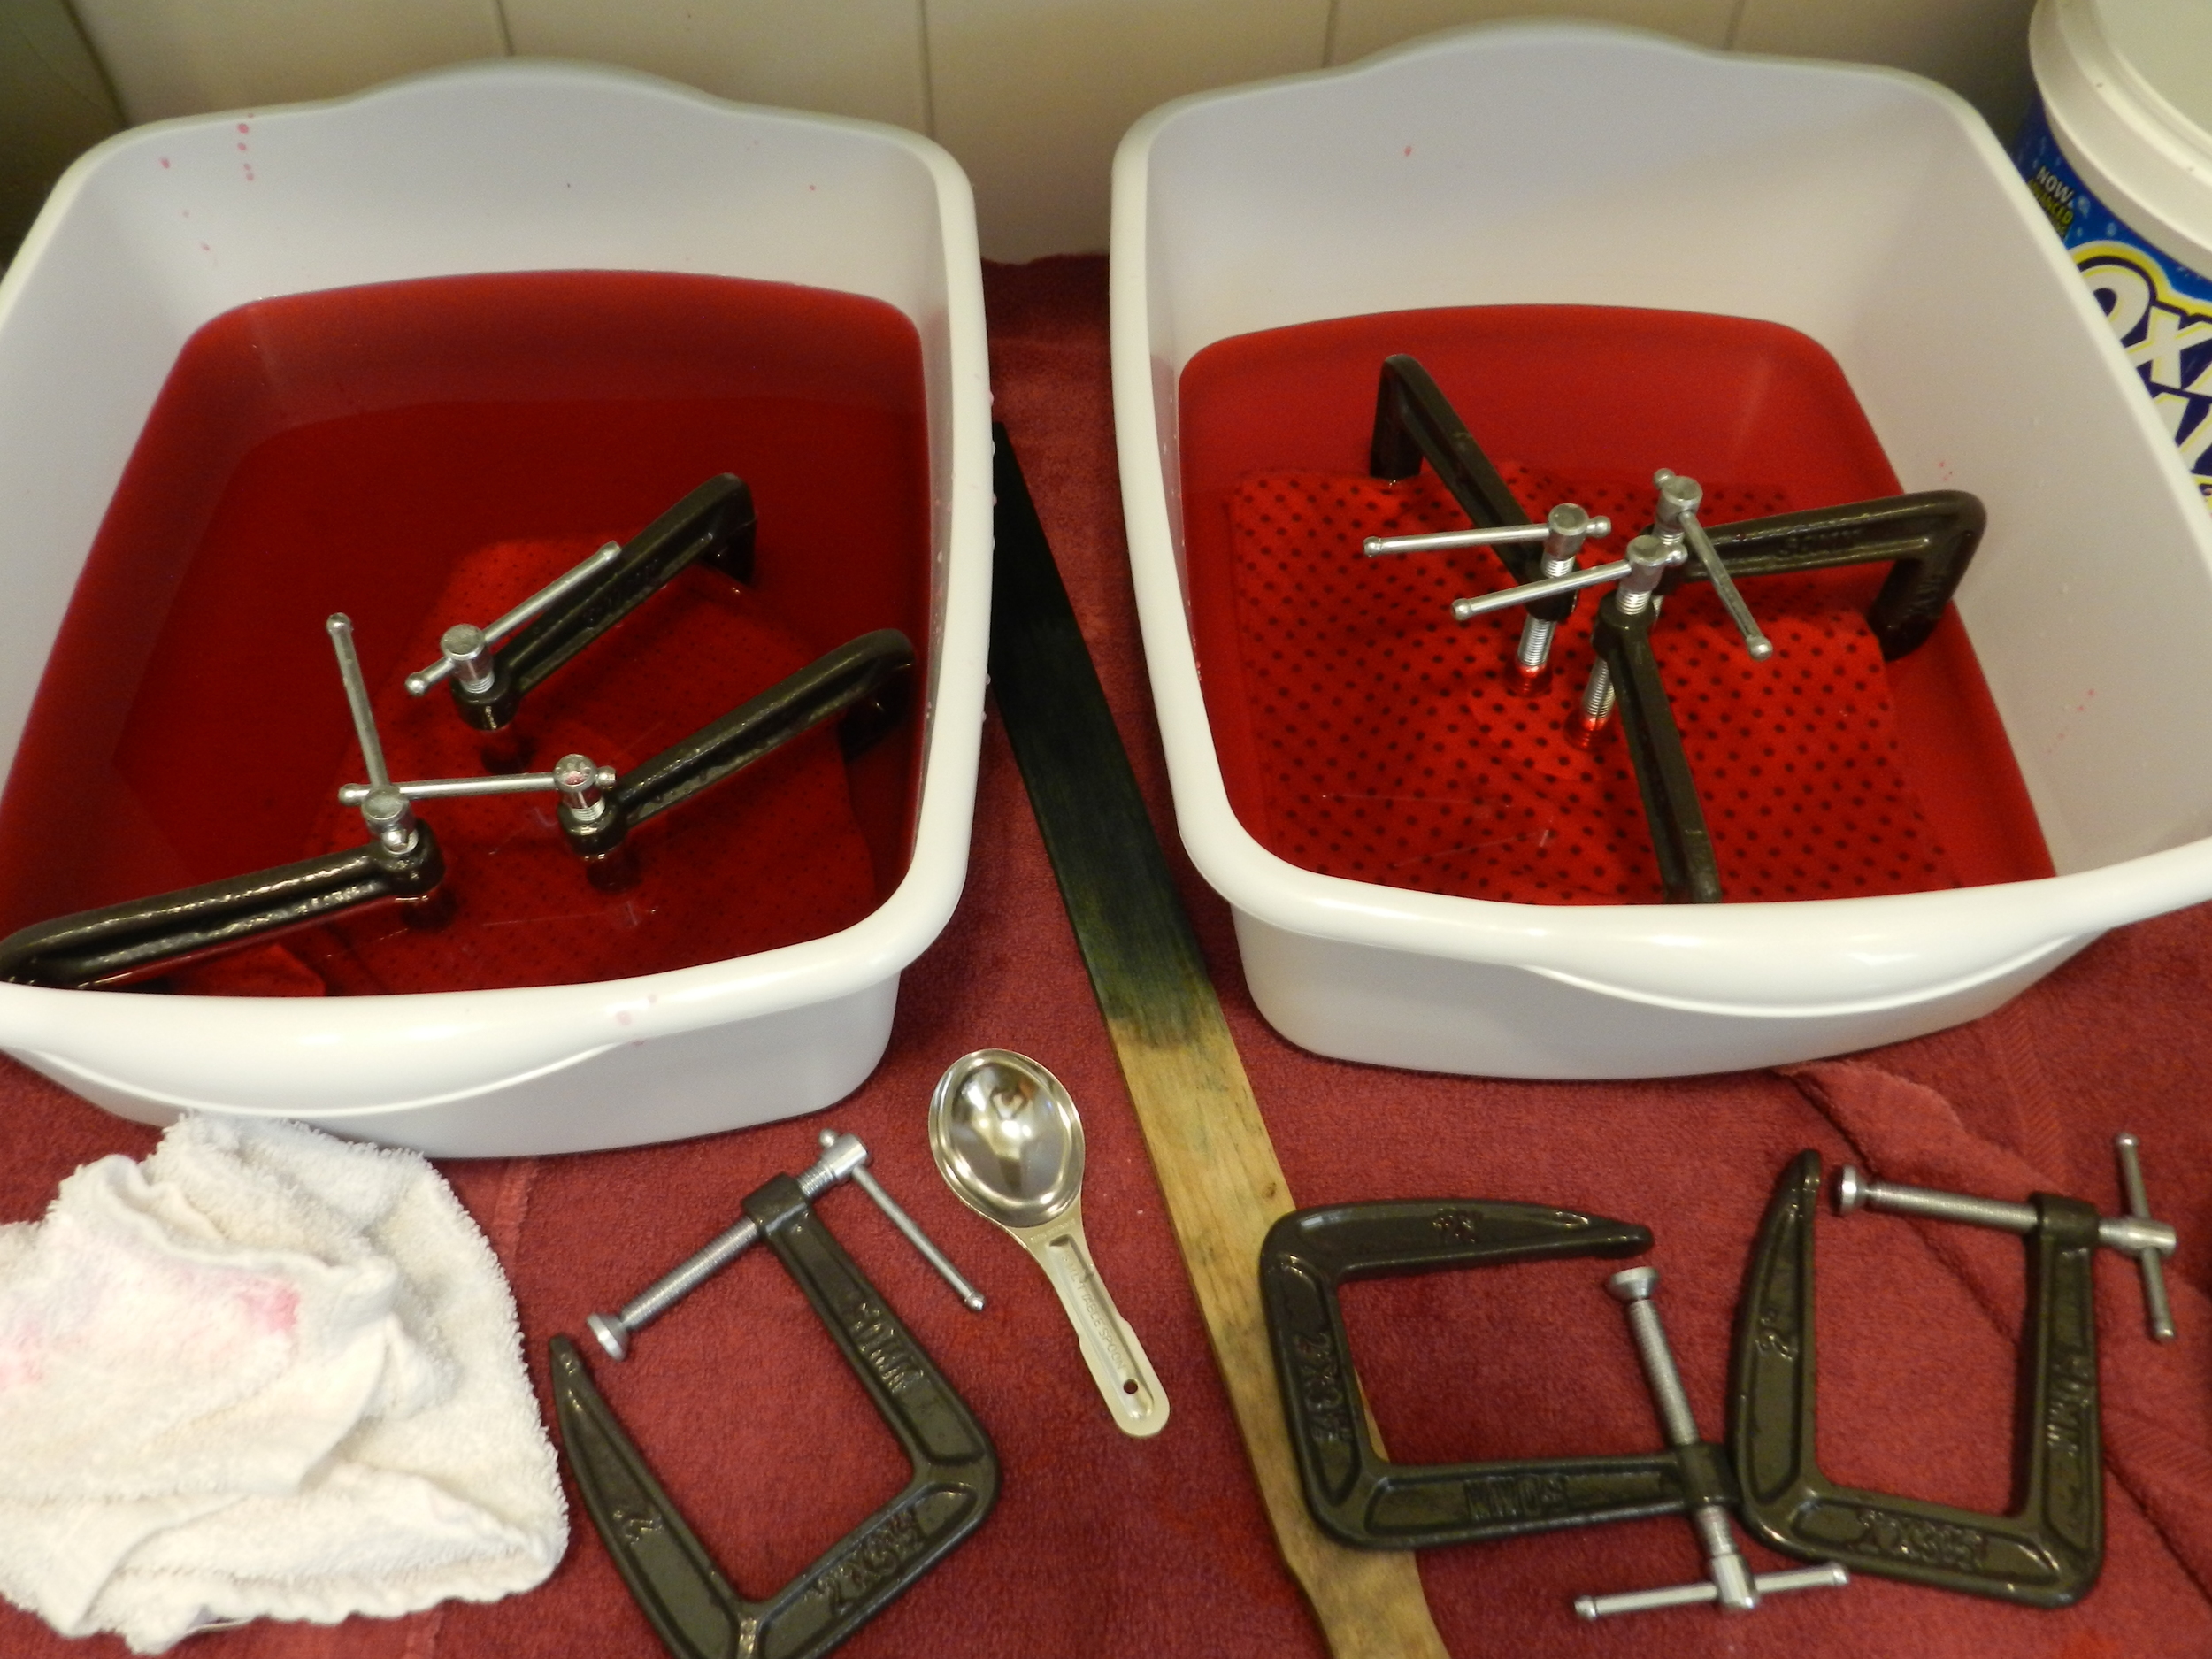
Here are some in the dye bath. For those that I presoaked in soda ash, I let them sit in the dye for the full 3 hours. For those that I didn't presoak, I put them in the dye bath for about 30 minutes and then did a soda ash soak.
These photos, above and below, are of some fat quarters that were not presoaked. These went into the dye first, for 30 minutes, then I put them in the soda ash solution. I was curious about how it would work if I took off the clamps right away. Would the color move in and spoil the resist? It turned out that it did move in a bit, but not enough to bother me. This meant that I could use my clamps on another piece sooner than if they sat in the dye for 3 hours.
These are the finished fat quarters. You can see that with the fabric folded in fourths, the inside layers didn't dye as well, but then again, you get more variation that way and that is always interesting to me.
Here's the finished quilt. This was such an easy project and taught me a lot about what I could do. I did some easy stitch in the ditch quilting and then quilted around each circle. This makes me very happy and I hope it does the same for a special baby in my community!


