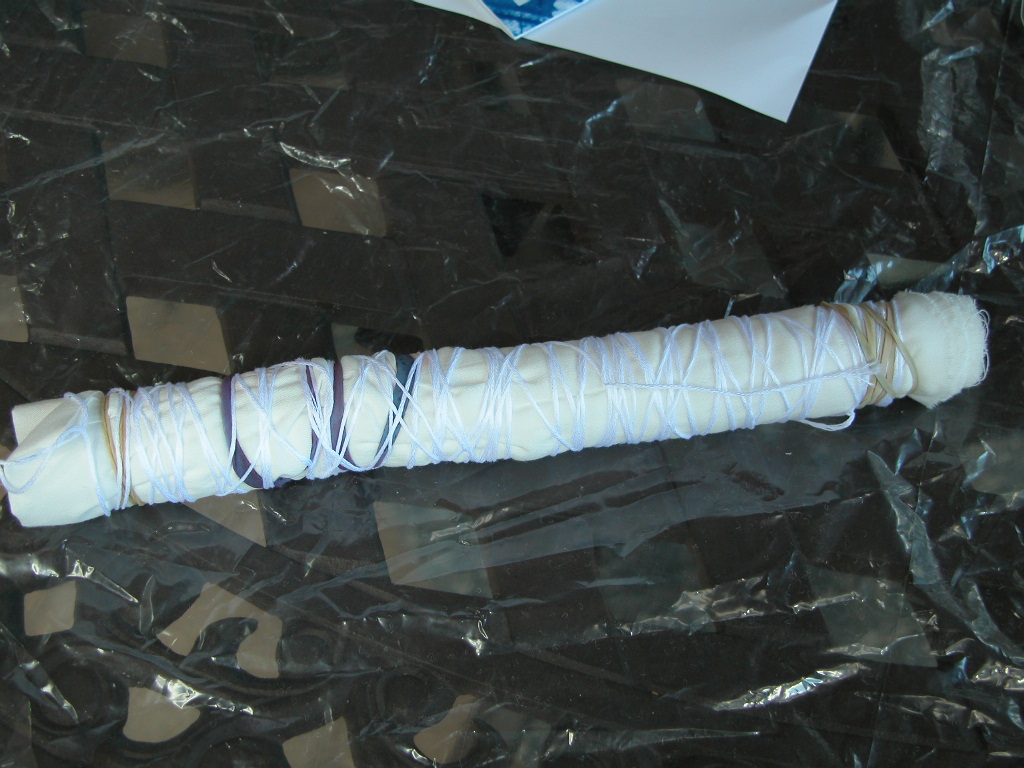
Yesterday I finally broke out the indigo dye kit. This may be our last stretch of warm weather, so I thought I'd better get to it. This is the prep station. I only dyed a few skeins of floss, but tried different things. The four on the stick were dip dyed. One was used, in addition to the rubber bands below, to wrap a piece of fabric around 5 lined up corks. You'll see the outcome below.
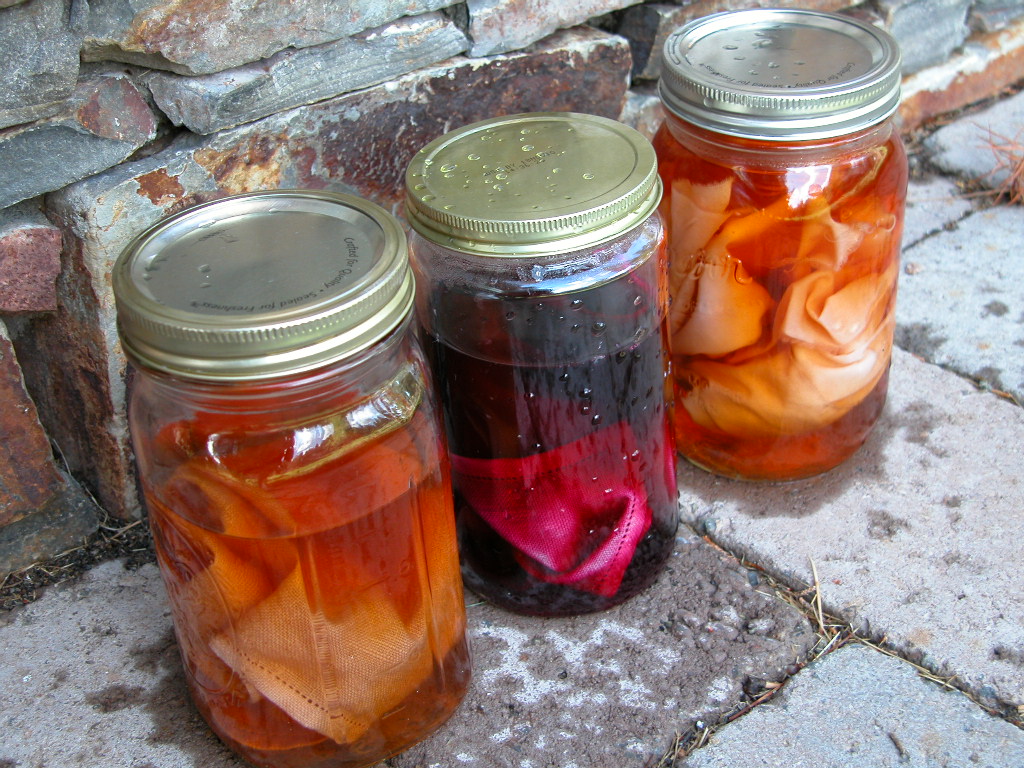
I also made a tea dye bath.
And a couple of avocado baths (right, left), and a beetroot bath (middle). None of the fabrics were mordanted.
Here's the indigo vat. It's my first time using indigo and I found that you have to be pretty careful with it to not introduce air. I've heard the vat can last several weeks if you take care of it properly. I plan to try again today, but we'll see how long it lasts. Everything that went into the indigo vat was soaked in water for at least an hour before dyeing.
Below are the skeins of DMC embroidery floss. At the top are a couple of skeins I just attached to a length of yarn and hung over the side of the vat. They stayed in a while and got pretty dark.
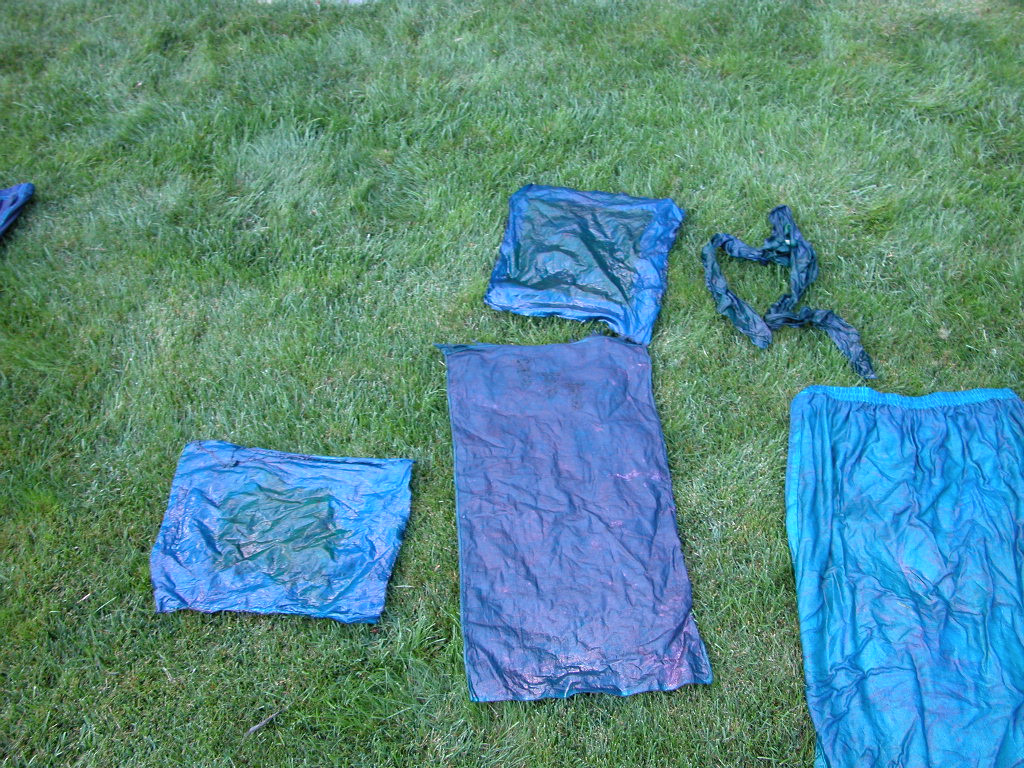
I also dyed some of the clothes I got at the thrift store. These are all linen. The skirt was white to begin with. The pants were a kind of beige and the shorts were a fairly dark green. The pants were just stuffed in the vat and not stirred much, hence the mottling.
I also dyed a couple of silk squares that had previously been dyed with resist and silk dyes. I hadn't liked the way they came out, so decided to overdye them. Their is also a silk scarf with I tied with marbles. It had previously been dyed green with synthetic dyes. The rectangle is a linen towel that has some embroidery. It was a beige color, but had some stains so was a great deal at the antique store.
And here are the results. From the bottom left, the green shorts, the pants and the skirt. At the top is the linen towel.
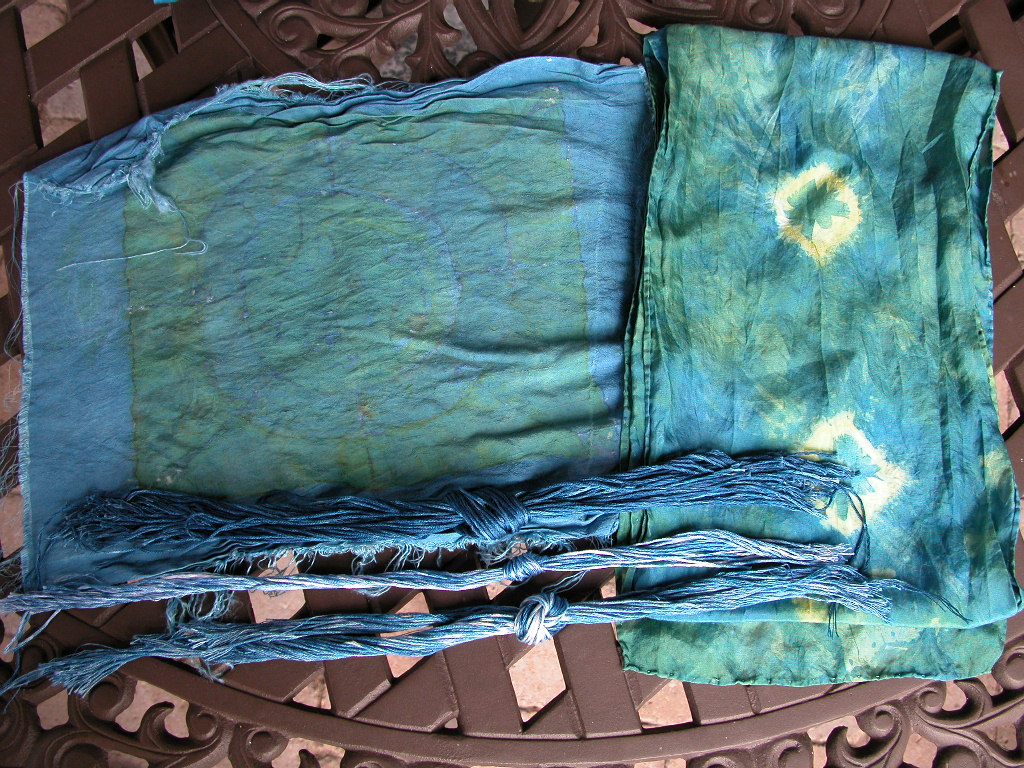
Below top is one of the silk squares. You can just see the pattern from the previous dyeing. Right is the silk scarf. The green shows where the marbles were tied on. The floss is to dye for !!! On top are the ones that sat in the vat for a while, they are the darkest. Middle is the one used to tie up the fabric on the corks, bottom are the ones on the popsicle stick. They got a resist at the point where they were looped over the stick.
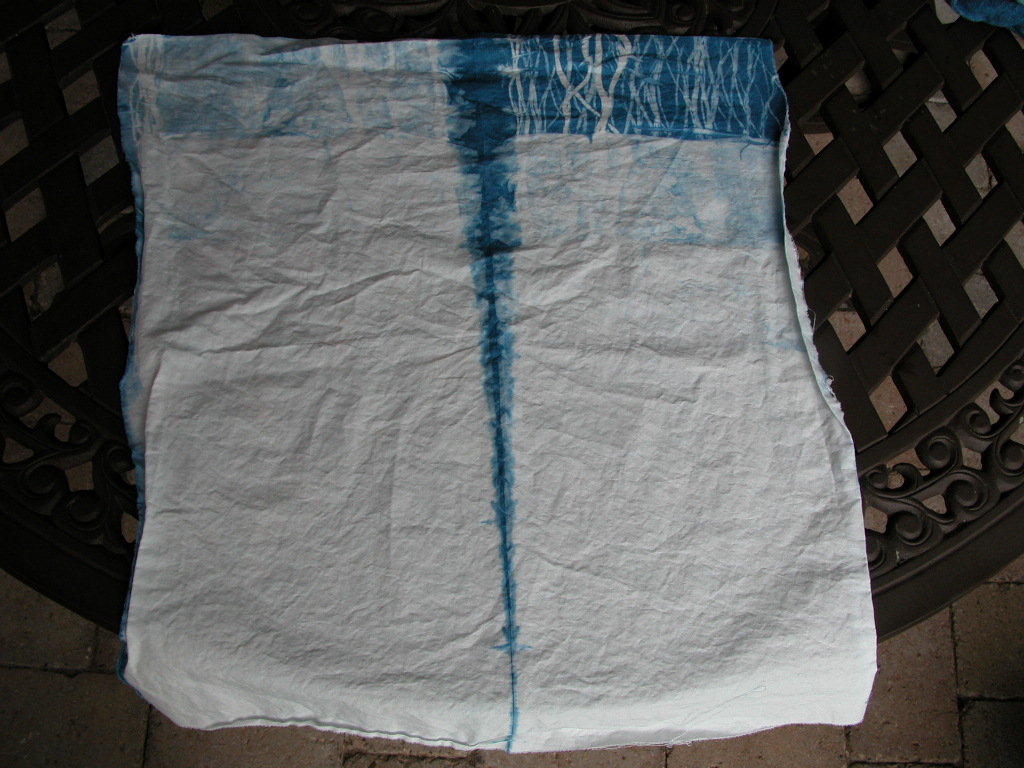
Below is my favorite piece of all. I'm going to try more of this for sure. This is the piece that was wrapped around the corks. The fabric was folded first and then wrapped. The line down the middle is from one end of the "stick'.
The outermost fabric gave the best pattern on the upper right. There is a fainter copy of that on the left.
I've seen info about using a large diameter piece of PVC for this technique and now I see why that would be an advantage. I will probably cut the bottom of this piece and redye it using my newfound knowledge. I really love the way the floss came out that was on this piece too. It's the middle one in the floss photo above and it has a lot of resist areas spread throughout.
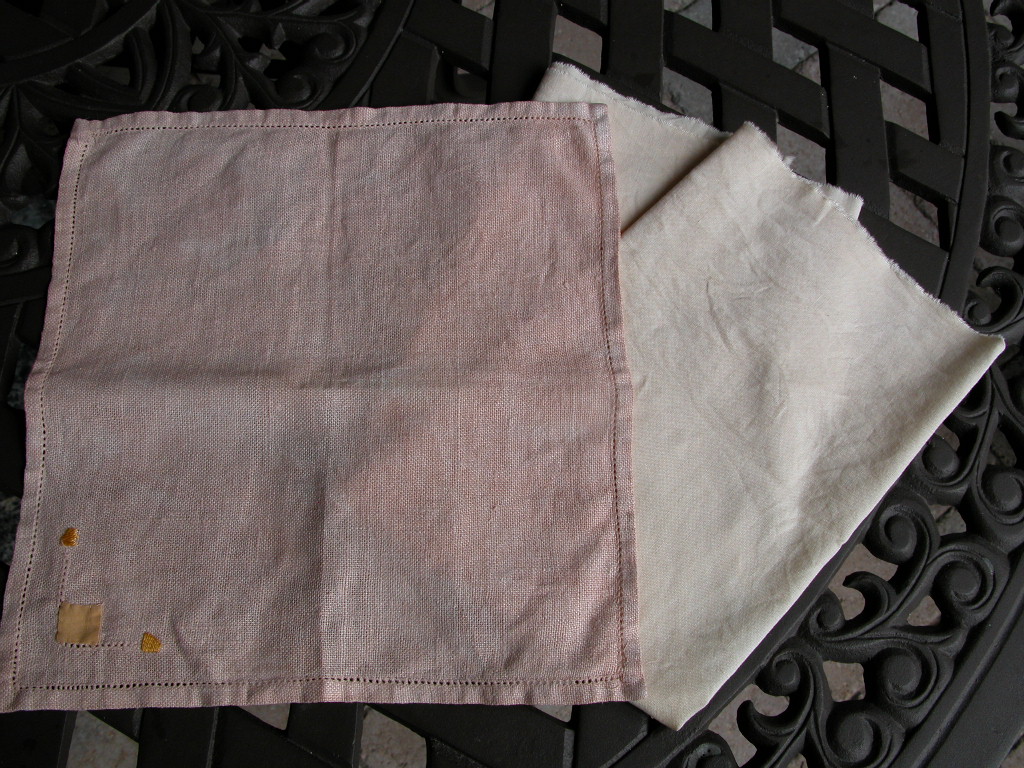
Lastly, the other dyes had results not quite so splashy, but interesting nonetheless. The beetroot didn't do a thing, it washed out right away. I ended up throwing that piece into one of the avocado baths to dye again. Below is one of the avocado pieces, a linen napkin. On the right is a tea dyed piece of quilting cotton. There are a few more pieces in the tea and avocado and I'll just let them sit for a few days. More indigo today when it warms up this afternoon!

