My foray into fabric dyeing was just marvelous! I ordered Dharma Trading Company's Fiber Reactive Dyes and several types of fabric to sample. I was inspired online by a couple of blog posts: Melody- The Lazy Dyer and Karen at Stitching Life. It took some time to gather all the supplies, but I'm so glad I did! I did plastic bag dyeing for almost all, except for one tub dye experiment. I like the bag dyeing most of all. It's easy and you get very interesting results.
I started off by ripping my fabric into smaller pieces. I didn't measure anything, I just made them into something like fat quarters or fat eighths, depending on the fabric. I had on hand Dharma fabrics: Pimatex Cotton #PTC58, Bleached Linen #LIN, Combed Cotton Lawn #CCL, CottonVoile #CVO, Bleached Harem Cloth #BHC, Dharma Silk Gauze 3mm #SG45. Since I bought the harem cloth to use for my bases for the Spirit Cloth class, I just ripped some very small pieces to try it out for dyeing. Most will be kept in its natural state. I found out that linen and silk don't like to be ripped, so used the rotary cutter. I also had a few skeins of light colored embroidery thread that I soaked and threw into the bags too.
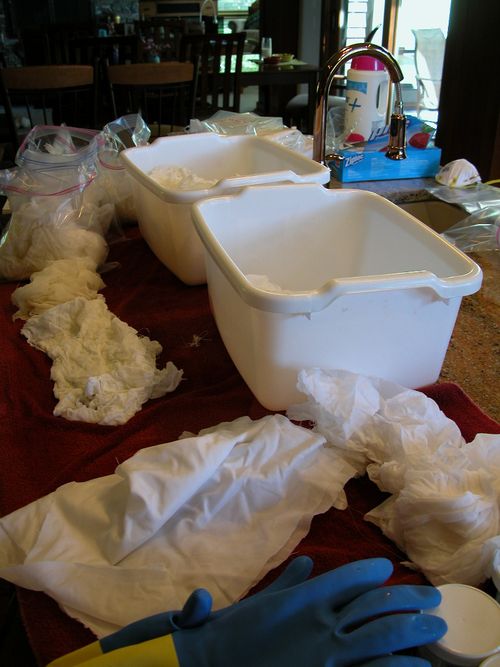
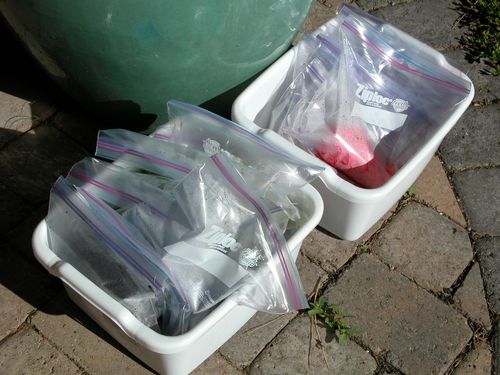
I kept the fabrics separated in the soaking tubs (for the soda ash- also known as sodium carbonate- 1/4 c soda ash to 1 gallon of water- they just need to get wet- don't have to soak for long). You can get the soda ash at a pool store or hardware store. Above you can see that I prepared all the bags with one piece of each type of fabric in each. As it got down to the end, each bag didn't have all 6 types. As I neared the end of the dyeing session I had leftover dye that I wanted to use, so I ripped more fabric, soaked it for a bit in the soda ash and then used up the leftovers.
I had 8 Dharma colors: Lemon Yellow #1, Golden Yellow #3, Deep Yellow #4, Deep Orange #6, Fire Red #10, Fuchsia Red #13, Cerulean Blue #23, and Turquoise #25. I made a 2 teaspoon dye powder per 2 cups water solution for all except the fuchsia which was 1 teaspoon per 2 cups water. I used my mask and had wet paper towels down to catch the floating dye powder which does go everywhere! In the photo it looks like I'm working right on the counter, but I had plastic down as well.
Then the fun began and I started pouring in the dye. At first I thought I might measure out by the tablespoon and even take notes. Ha! I ended up mixing the colors in the plastic liquid measuring cup- about 1/2- 1 cup total of the dye liquid and then pouring it into a bag. Sometimes, I didn't like the color so I would add more of something else. Sometimes I poured the excess dye out of a bag and added something else to it to change the color for the next bag. Totally unscientific and totally fun!
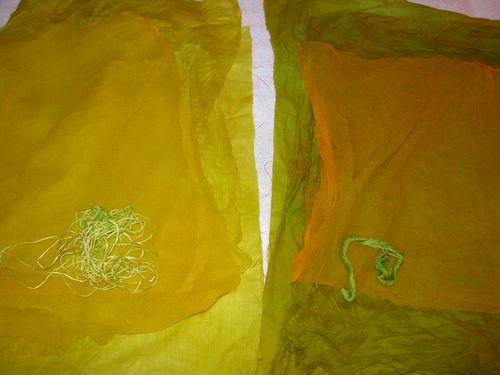
Sunday was a hot, hot day here, so the bags were left to "bake" in the sun for about 4 hours. The rinsing was the least fun part. Next time I might combine more colors for rinsing. I was afraid dye would transfer, so I was rinsing them by hand one bag at a time. Took forever. Here are the first couple bags worth after rinsing, but before washing them out in the machine.
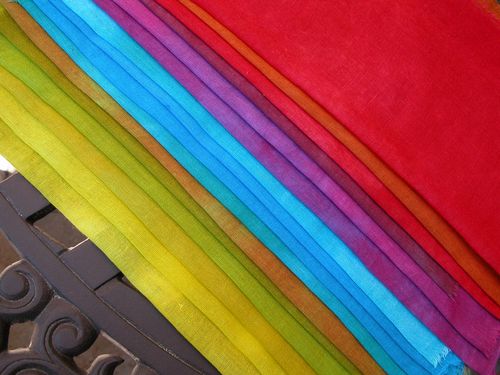
Above: Isn't it interesting how the different fabrics and thread took the dye differently. That orange silk was totally unexpected with the green cottons! Below are the others all ready to be machine washed. I have a front loading washer and washed each batch with about 2 teaspoons of Synthrapol. I didn't have any bleeding when they were ironed while still wet. Below are all the other colors ready for the machine.
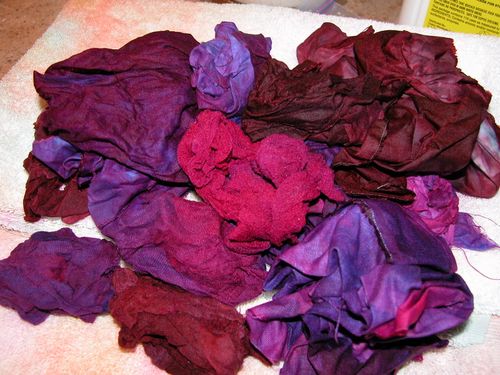
And here's the good part! Just look at what came out in the wash. First I've arranged them by type of fabric.
Above: Dharma Pimatex Cotton #PTC58
Above: Dharma Bleached Linen #LIN
Above: Dharma Combed Cotton Lawn #CCL
Above: Dharma CottonVoile #CVO
Above: Dharma Bleached Harem Cloth #BHC
Above: Dharma Silk Gauze 3mm #SG45
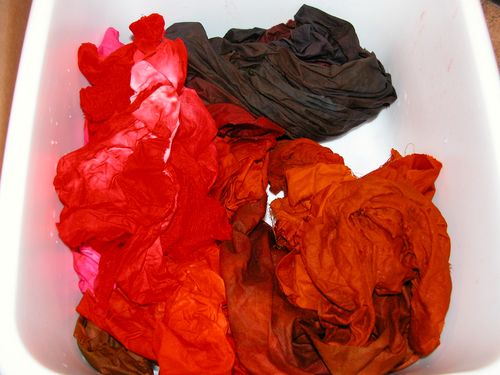
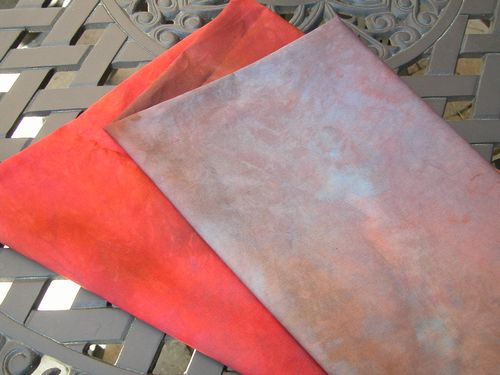
Above: Dharma Pimatex Cotton, tub dyed and scrunched, using the last of the dye. This piece is very "moody" and not really my style, but I'm sure I'll find something to do with it!
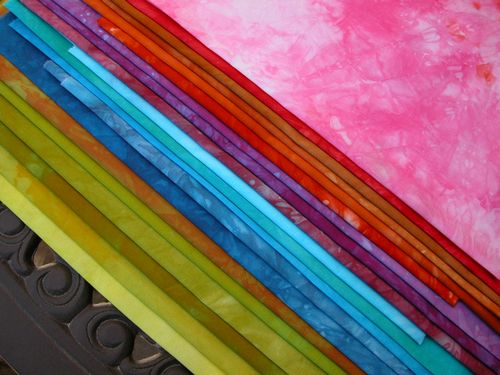
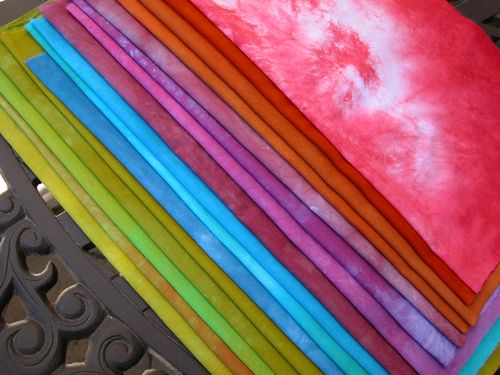
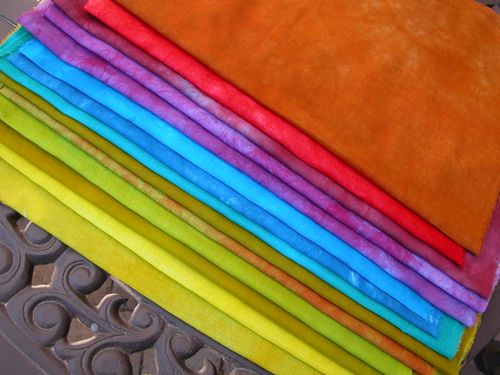
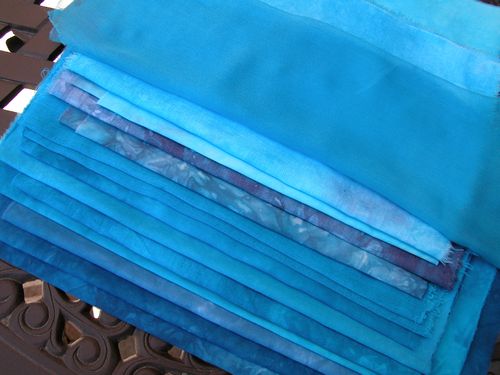
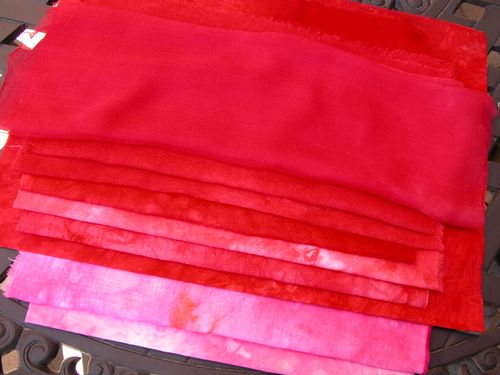
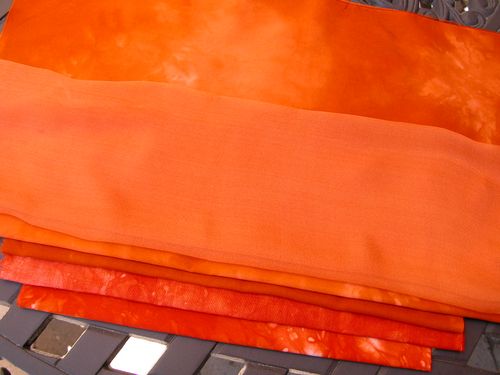
The next photos are arranged by color and within each photo are usually 1-4 bags worth of fabric. I had a hard time matching the dye lots back up because the different fabrics took the dye differently. There were at least a couple of sets of very similar colors from different bags.
Things I learned from my first dyeing day:
It was a very long, tiring day and into the next one to get all the pieces ironed. Next time I will prepare all the fabric and fill the bags one day, prepare dyes and do the dyeing another day and maybe do the washout and ironing another day. One thing I learned is that silk does badly if exposed to soda ash for a long time, so I had to do the washout at about 8 pm and that was too late to start that whole process. Next time, dye the silk separately or pull out the silk pieces to washout earlier than the cotton and linen.
I much prefer the bag dyeing. Do very little manipulation of the fabric if you like the variety in colors and the light spots. To make it more uniform, but still have a suede look, go ahead and smoosh it around a bit. I like the suede look a lot!
Stick with the smaller pieces, fat quarters are good for this. Each bag had approximately 1 yard of fabric total, but you could easily do 2 yards per bag.
To make the silk have more variety across a surface you might have to do the tub dyeing. All the silk came out totally uniform in texture. Next time we want to try my wool (acid) dyes on the silk because it takes the dye more predictably that way.
You could make a very lovely set of colors just with the three primaries- Lemon Yellow, Fuchsia and Turquoise, but the added colors were nice to have. I made 16 cups of dye all together and dyed a lot of fabric! There was excess dye so I could have done more fabric too. I would make one cup of each color for a more manageable dyeing session.
To make lighter colors, make the dye solutions weaker- try 1 teaspoon dye in 2 cups of water. Sometimes I took the regular strength and added water before putting it in the bag. Same thing, less reproducible.
