I'm still working on "parts" for my Halloween quilt. I felt that I really needed some liberated pumpkins and while I was starting I thought maybe a tutorial was in order.
First, I cut some random sized square and rectangular shapes in about the size I wanted for the pumpkins. These are not truly square. I used my ruler to cut these, but only for the straight cuts, I didn't measure anything. Next, I cut some square shapes for the corners and cut them in half diagonally. Again, I didn't measure anything, just cut whatever looked good.
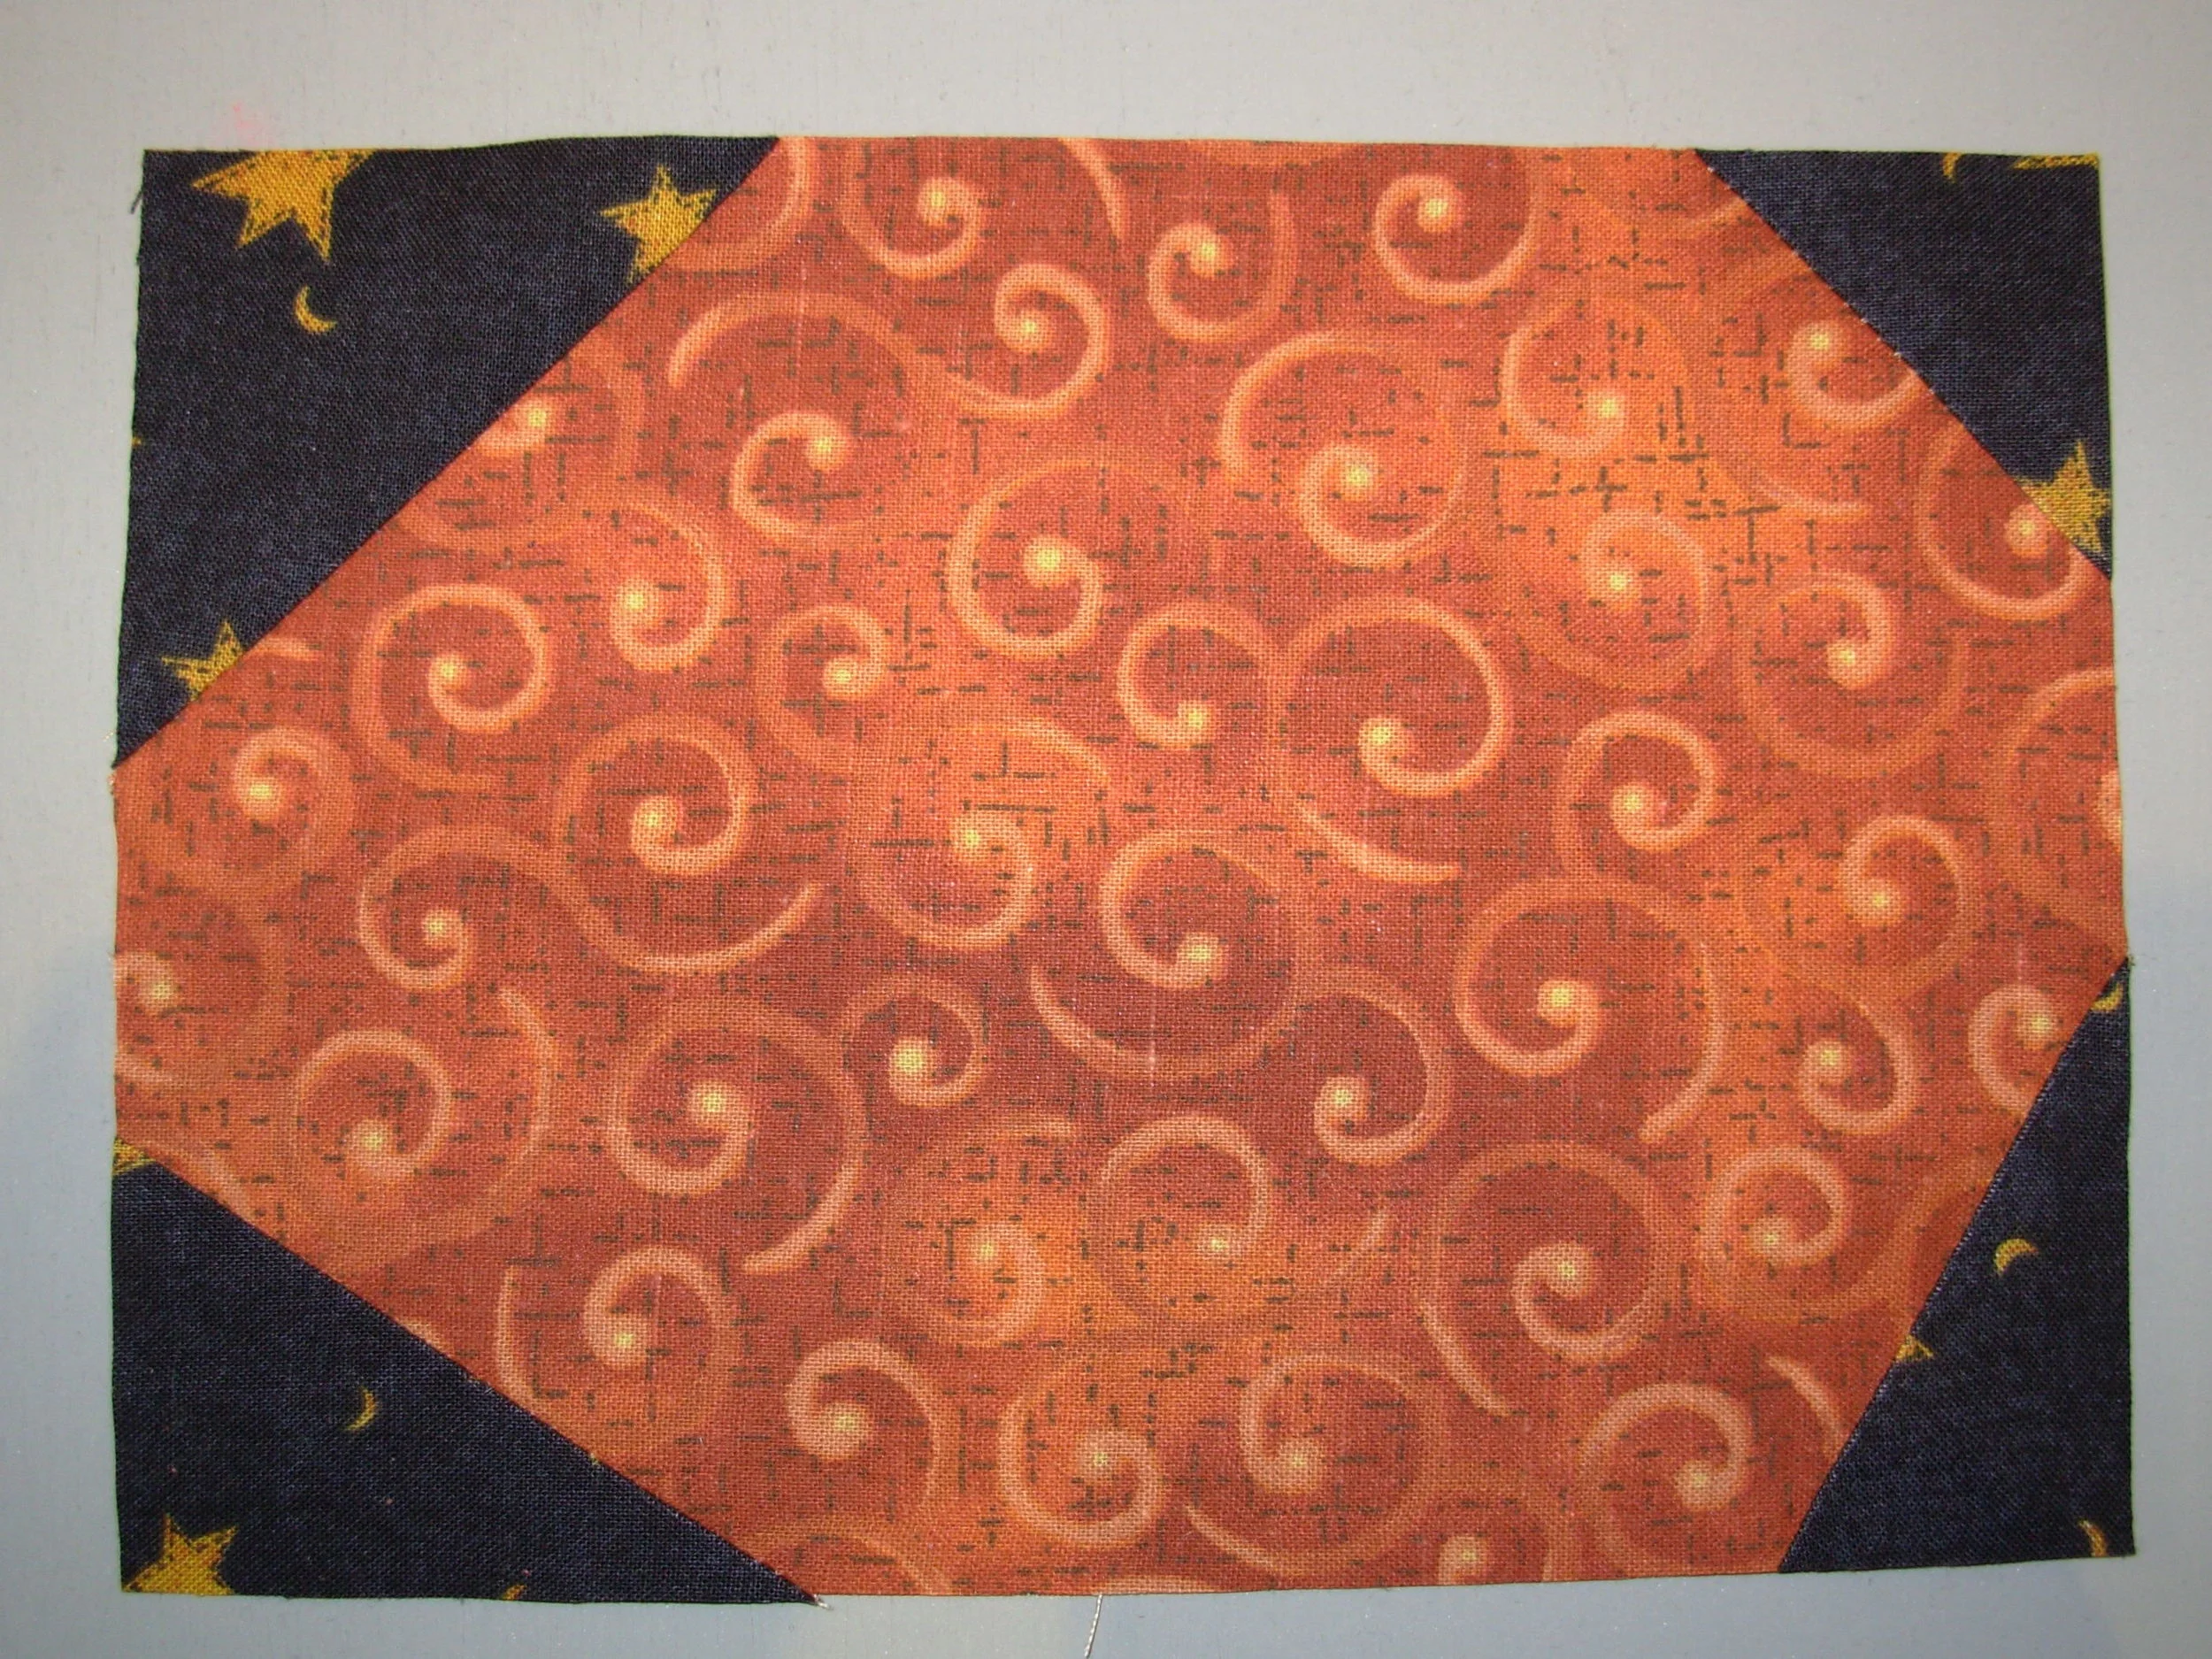
Then I placed a triangle on each corner of the pumpkin pieces, right sides together, making sure to overlap the black corners so that after sewing the black would reach all the way over the corner of the orange.
Now, without pinning, I sewed the corner with about a 1/4" seam (no need to be exact).
Then, iron the black corners back and make sure they go past the edges of the orange. Trim the orange bits behind the new black corners so you don't have a double thickness.
Trim the corners even with the rest of the pumpkin.
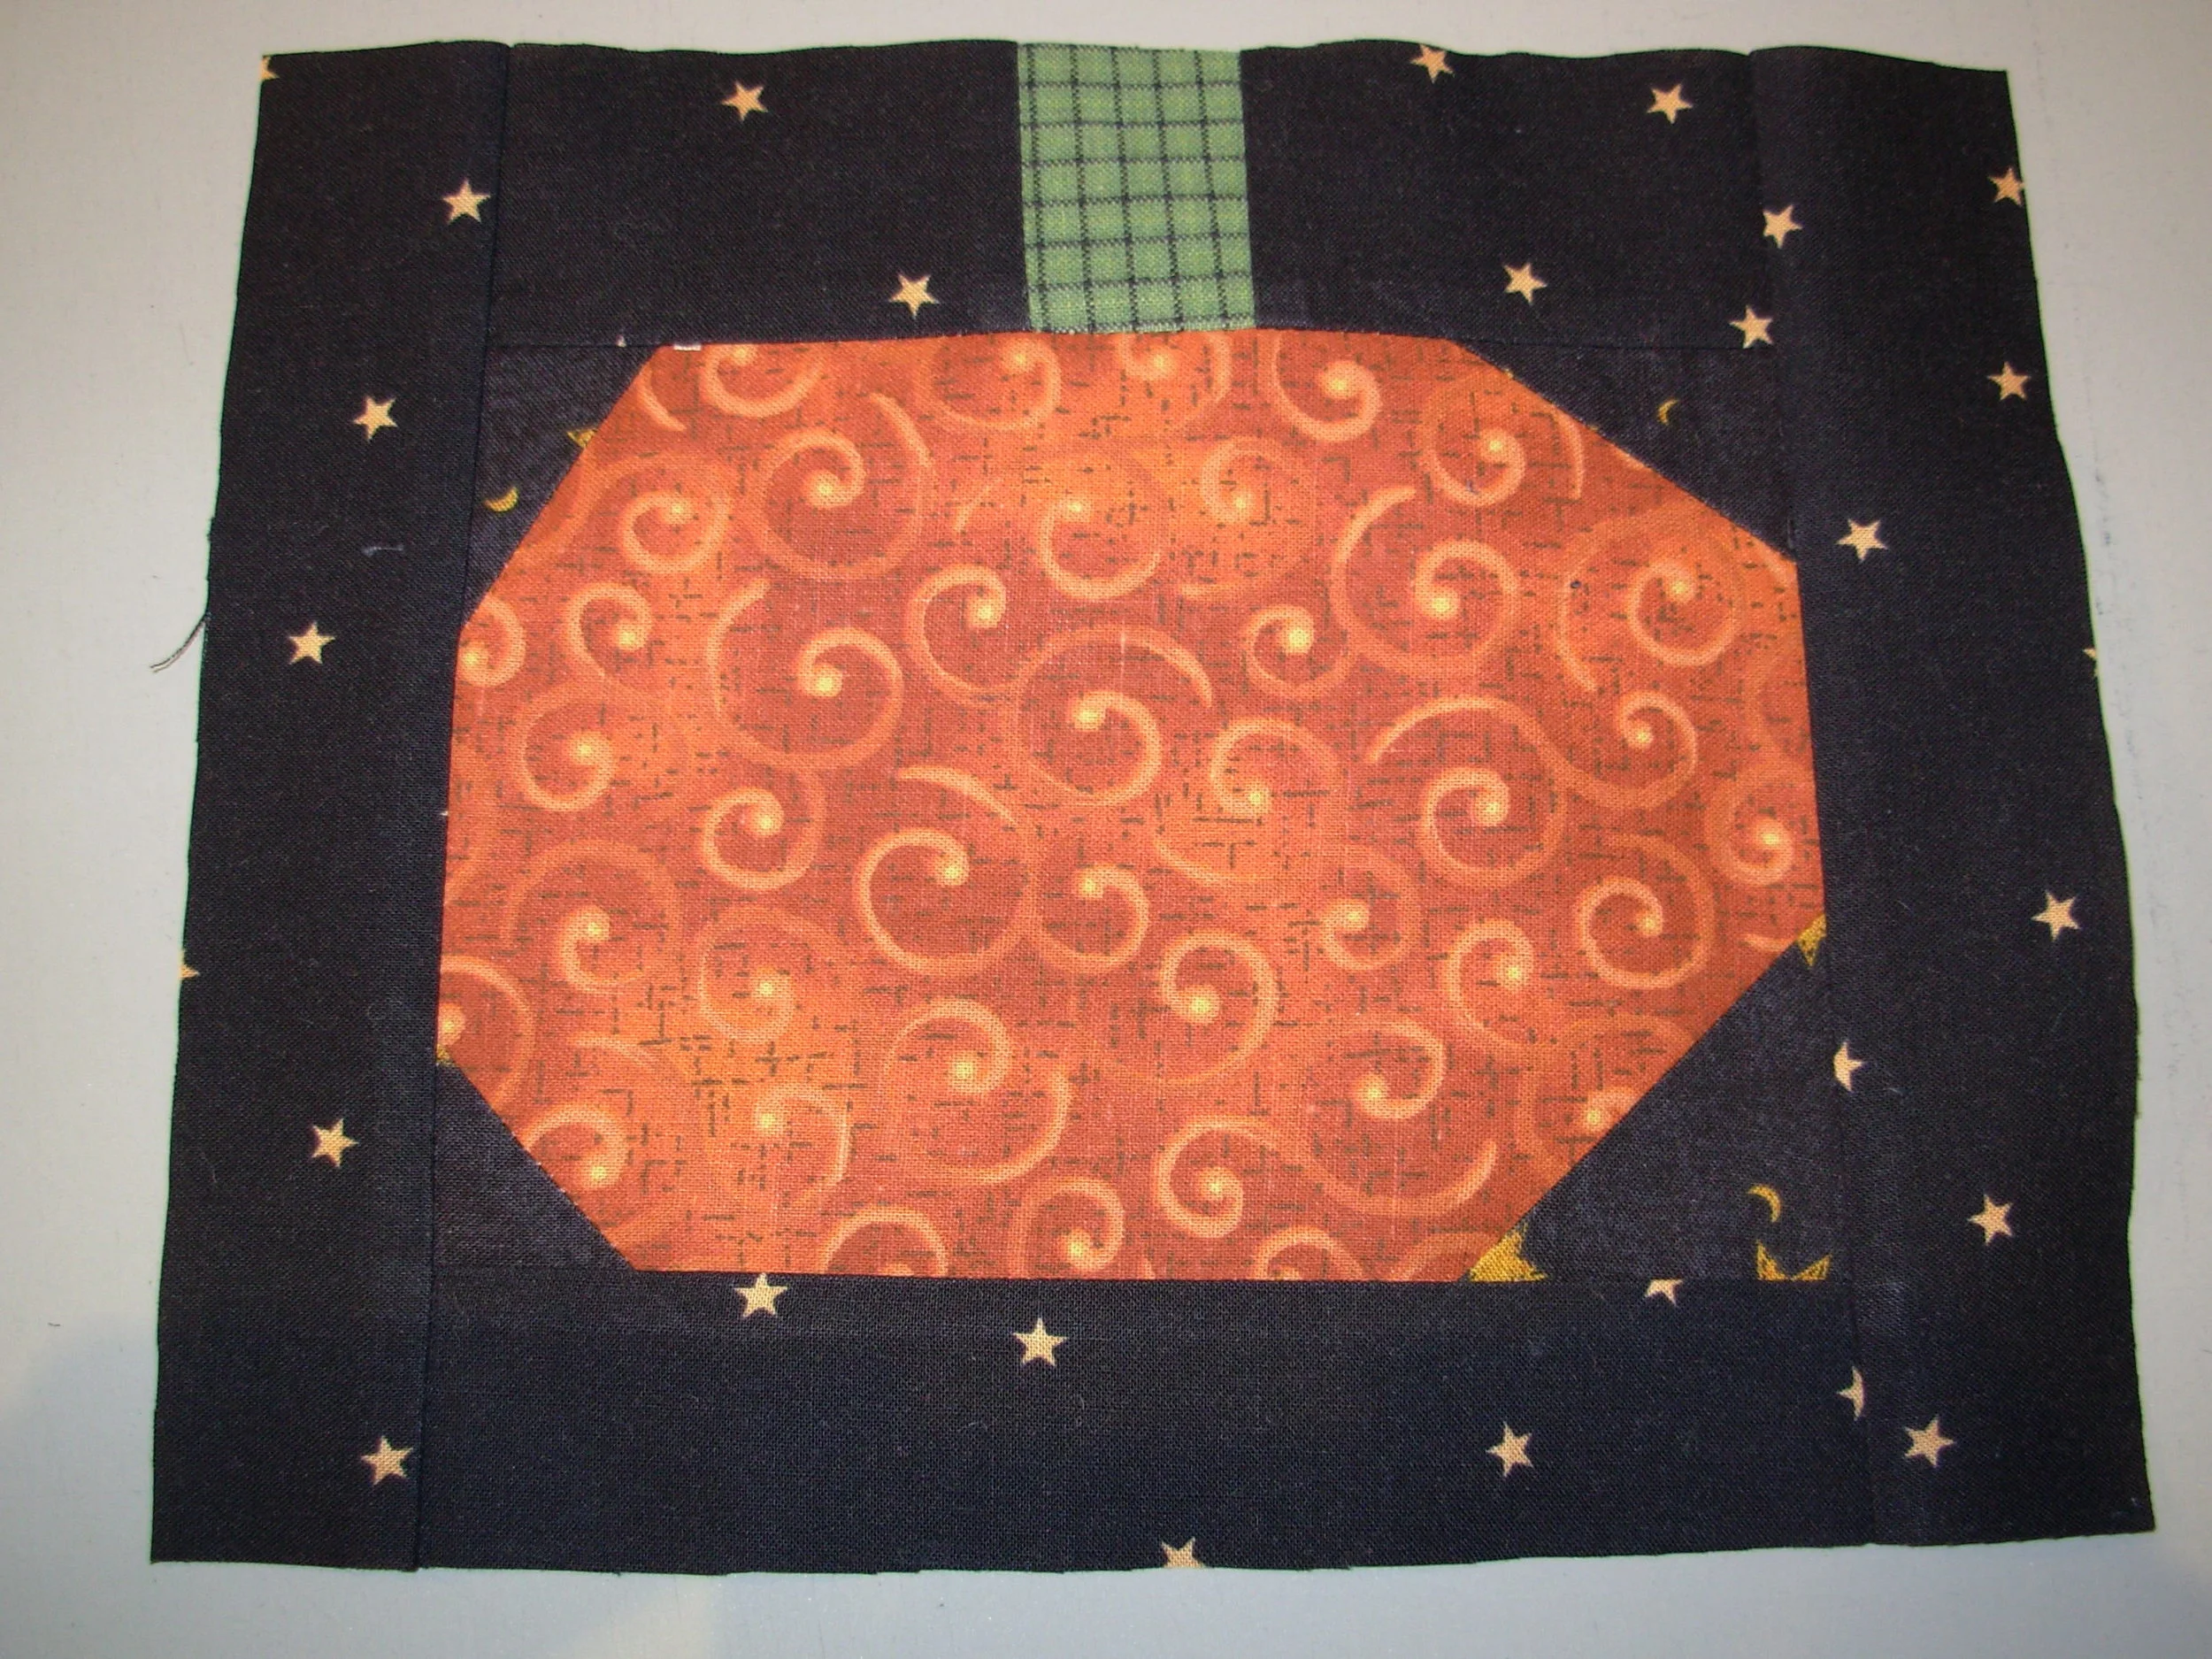
Cut several long, black strips of varying width and not necessarily straight. Cut green stem rectangles the same way.
Cut the black strips somewhere in the middle and add in the green stems. You can cut them to make sure the stem will be over the pumpkin properly, or not, it's your pumpkin! Sew the stem piece to the top and an extra black strip to the bottom, then add sides.
My pumpkins are obviously not the same size, so I will be putting them together with more strips of black in whatever way fits and strikes my fancy. Also, I noticed afterwards that the stems are mostly the same length, so when I add the black I'll probably cut the stems down to various sizes.
I hope you enjoyed this tutorial. I'd love to hear if anyone tries this method or uses this technique to make other designs. Remember to check out Gwen Marston and Freddy Moran's Collaborative Quilting for more ideas.
I haven't decided yet if I'll make some of the pumpkins into Jack-o-Lanterns, but if I do, I'll applique the faces. Next up, I've got a nice witch fabric that is begging for a house to live in. I think she needs something more like a mansion so I'm going to make a much larger liberated house for her. After that I think all the parts will be done except for some filler pieces. I'll see how much I can do before the trip next week. More on that later!


