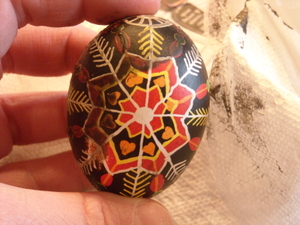
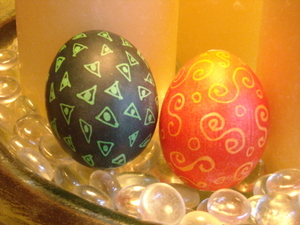
A thoroughly enjoyable afternoon was spent making Pysanky today. These are Ukranian Easter Eggs and they are certainly challenging! Our kit came from the Ukranian Gift Shop and included lots of great dyes, three kistky and a block of beeswax. The really nice thing is the dyes last up to a year, so we are saving these and will be doing it again sometime. We actually only made up 5 dyes and there are about 7 more in the kit.
I started off by lightly drawing a design on my egg (blown out and the holes covered over with beeswax). Chloe did hers on a fresh egg which it says is possible. I'll believe it when I see it! It might look like I have a cracked egg, but those are the lines I drew.
I heated the kistka in the candle flame to melt the beeswax and started drawing over my lines with the wax. One thing we discovered is how difficult it is to make the designs come out even on the egg. Luckily, I don't worry about that too much and just got down to business.
With Pysanky the dyes are built up one on top of the next, so you go from light to dark. Yellow is the first color. The wax lines are left on the egg until the very end. Between each color more lines or shapes of wax are added.
The final step is amazing when you heat the egg next to the candle flame to melt the wax and wipe it off. The design is slowly revealed (wavy lines and all).
Here's Chloe's egg.
I made two more quick and dirty eggs with a couple of blown eggs that had large holes. These went very fast whereas the first one took about 1.5 hours.
Chloe did one more as well. This was such a fun activity that I can see doing one or two every year!


