
Maria and the Finch, 40x40
The past few weeks have been super busy getting this quilt ready to show last Saturday at our guild quilt show. If you were following my Instagram feed I was noting the amount of time it took for the machine quilting. It turned out to be about 20 hours just for that, plus another 5 hours to do the facing, sleeve and label. Not to mention countless hours I spent designing and creating the fusible pieces. You could also count the hours spent making the four smaller faces which gave me the confidence to start this quilt. All in all, I'm only counting hours so I can have an honest answer when the inevitable question comes up. I don't do that for every quilt I make and I know there are some quilts I've sold for a pittance compared to the amount of hours that went into them. Luckily, I don't think I'll ever sell this one.
Maria and the Finch is 40x40 inches which was the size my book club determined for every quilt in this exhibit. A consistent size helped make this a very cohesive exhibit which you'll see in a future post.

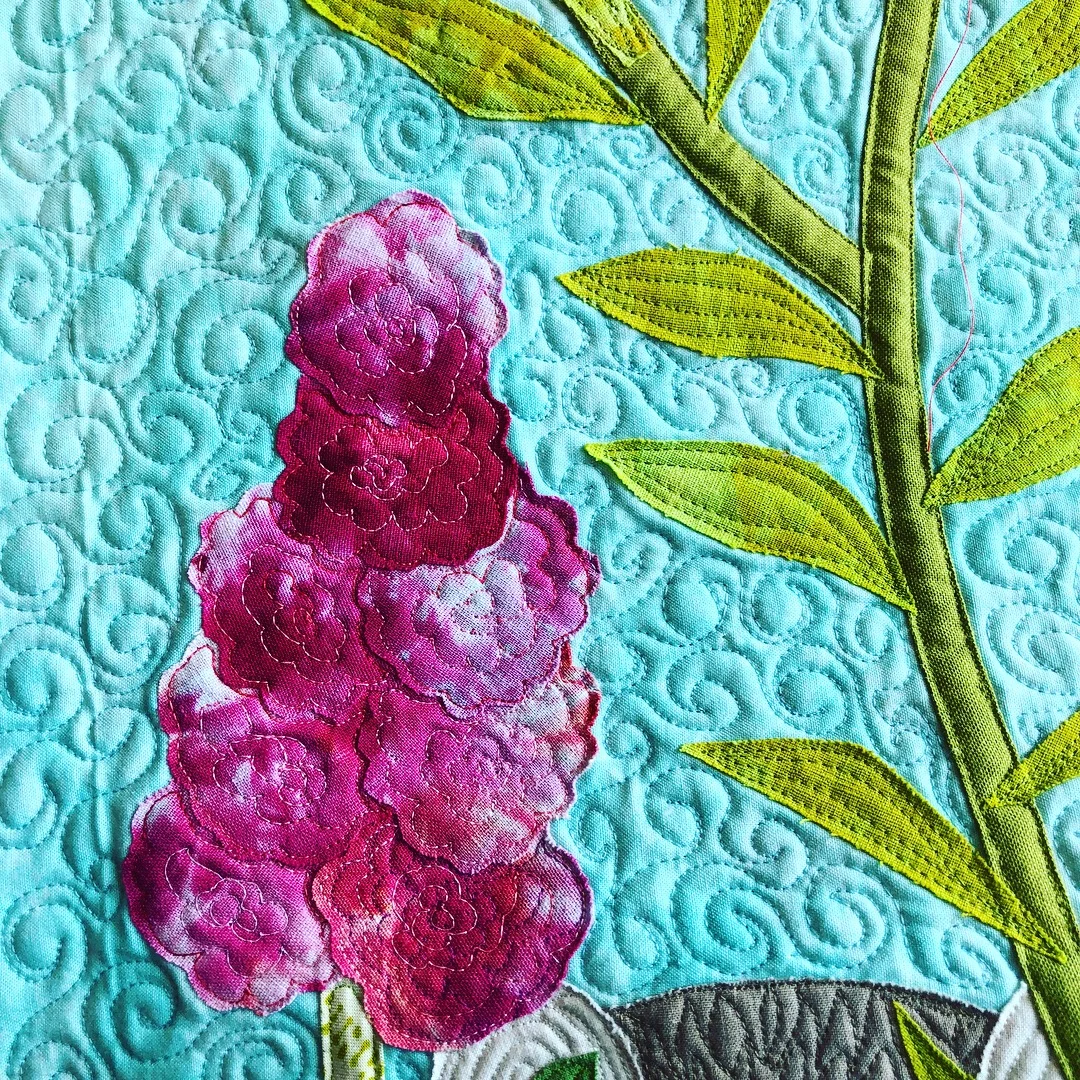
My first task for getting on with this quilt about a month ago was to make the marten face. I based this image on the book cover. You can see the cover in the last photo of this post. I wanted to make it look like Martin was hiding in the flowers and originally intended to put a lot more flowers in the mix. As I was adding flowers I changed my mind and made it a bit more simple.
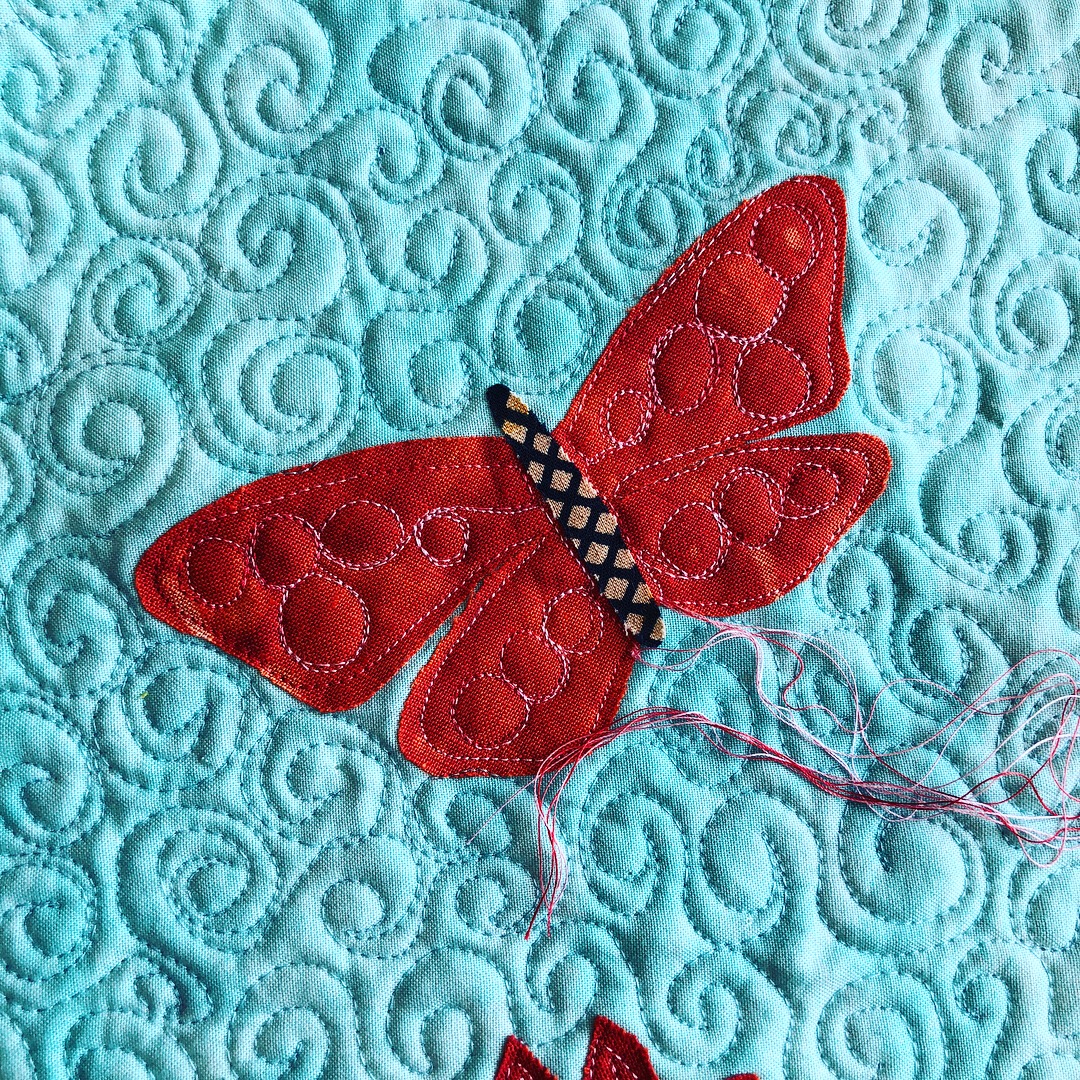
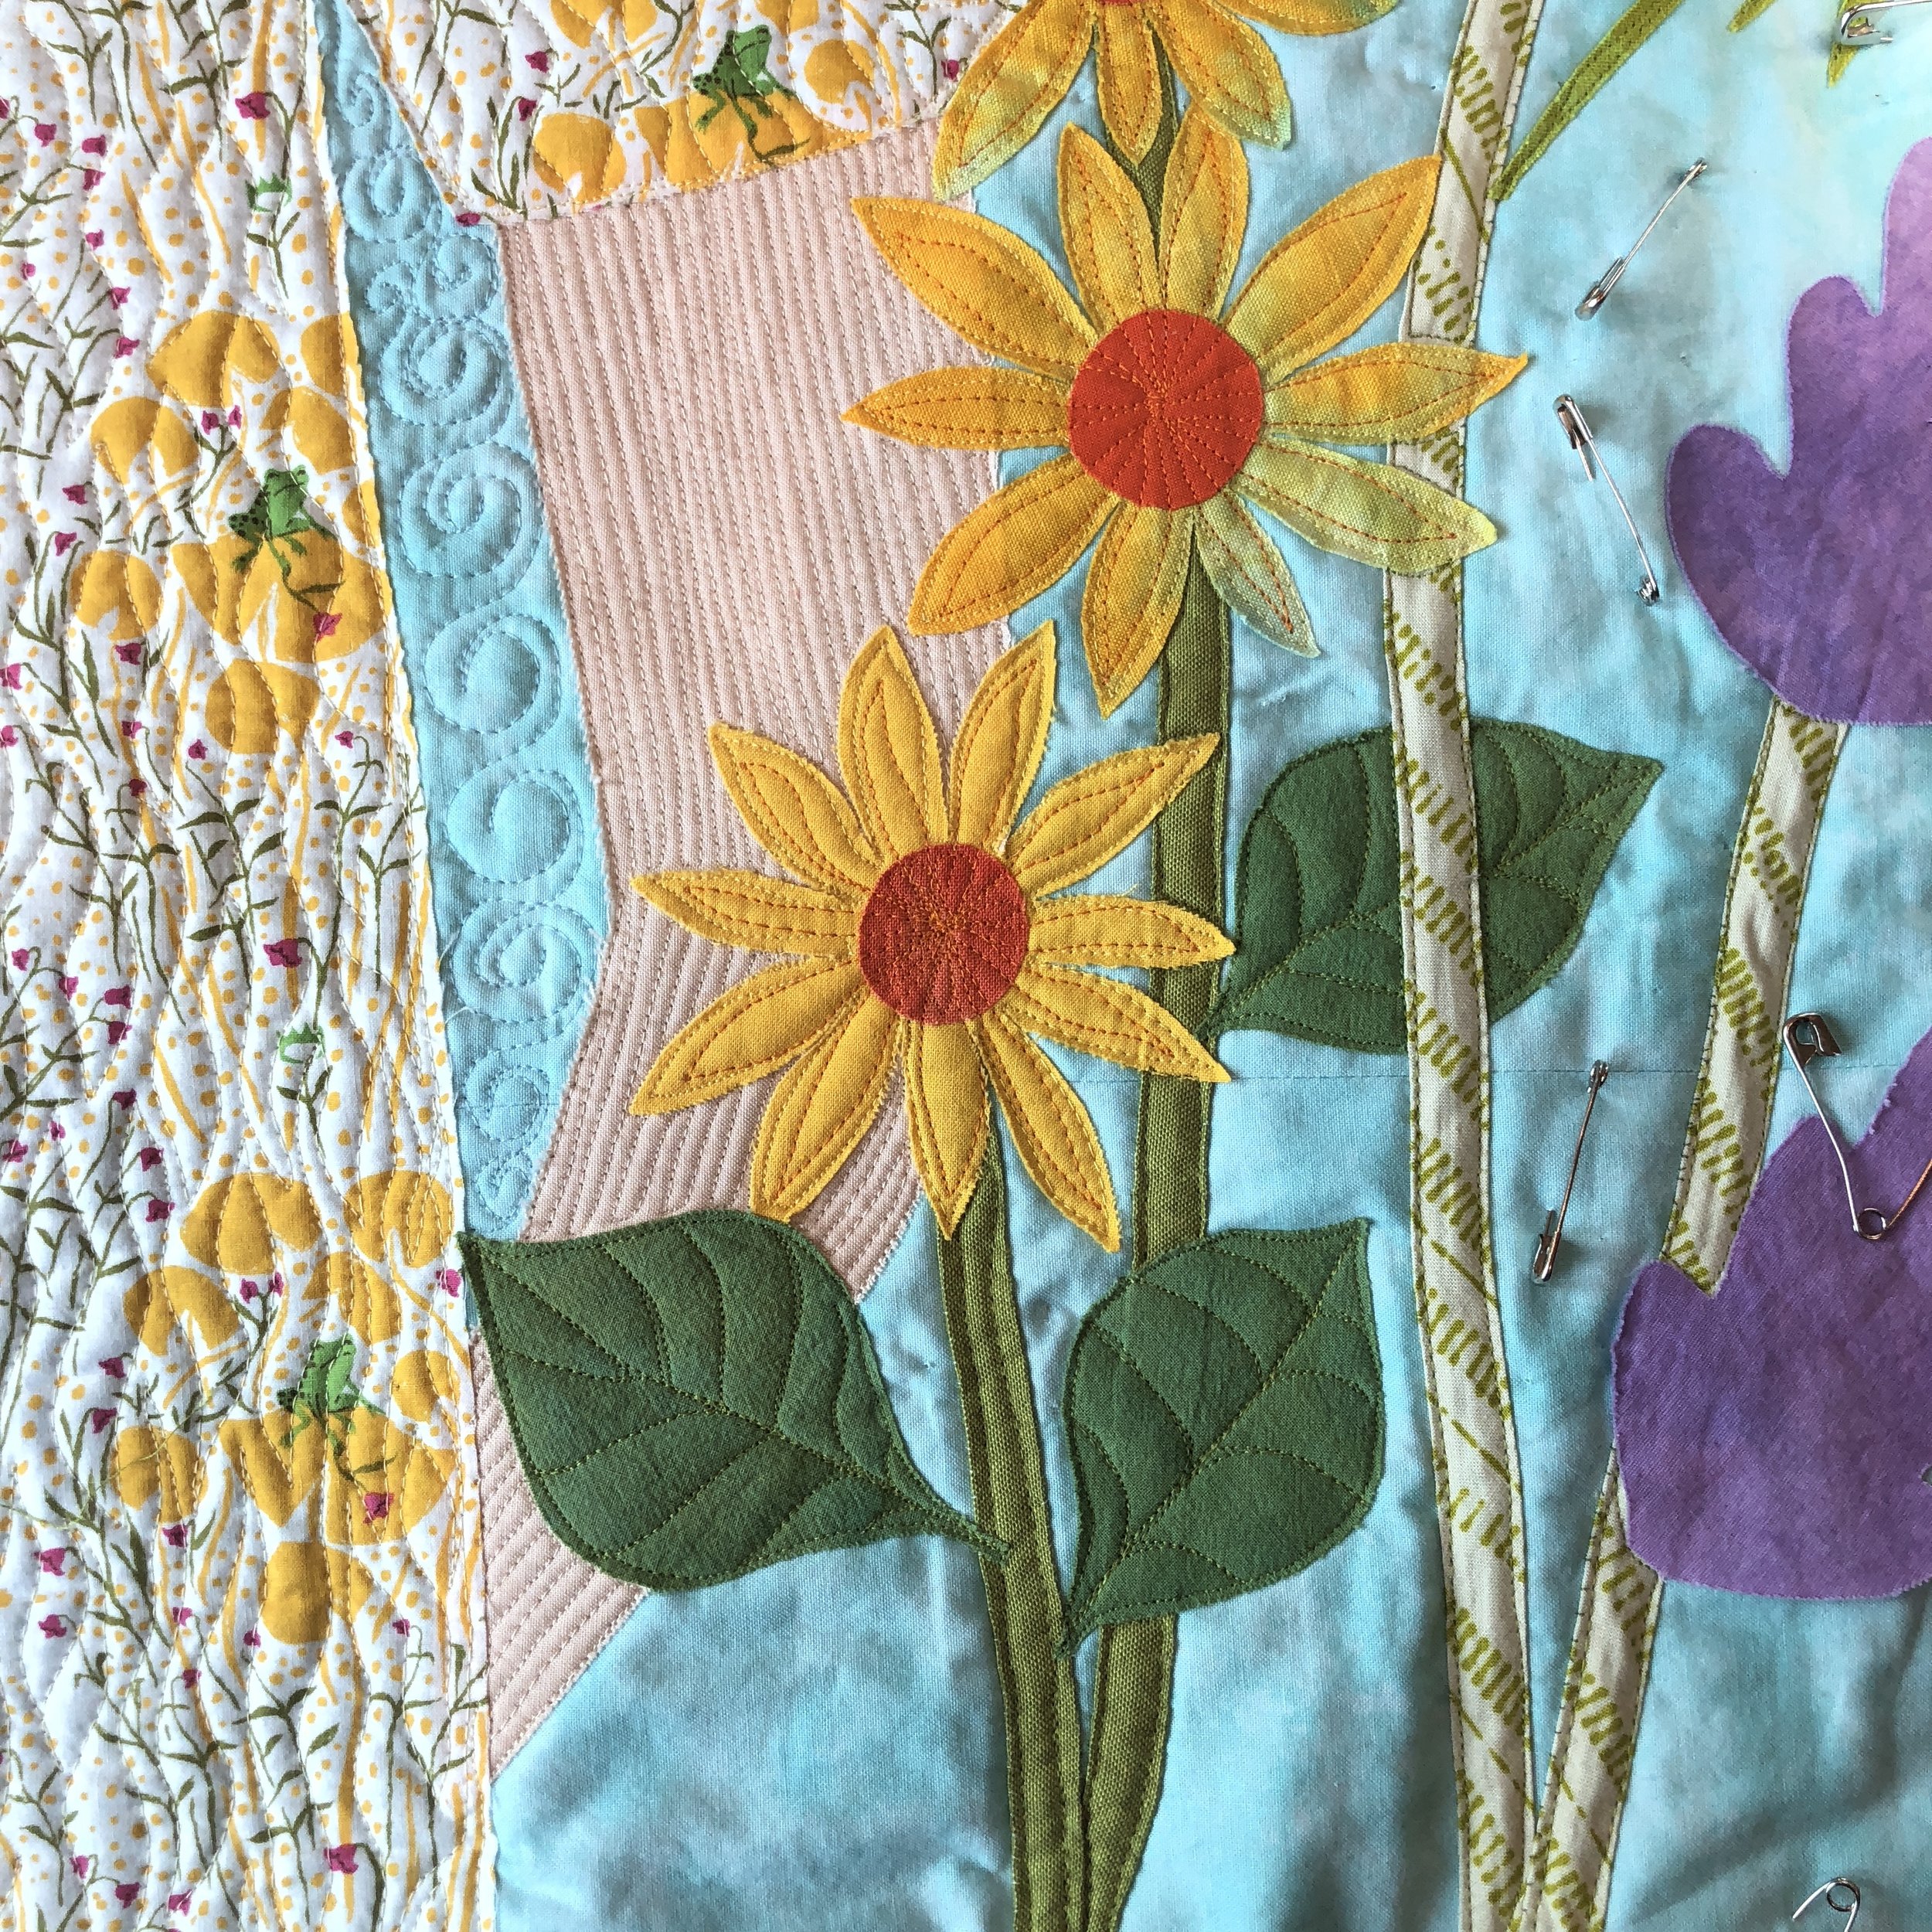
Once all the pieces were fused down I pinned it and got out a bunch of threads to get ready for quilting. I ended up adding more colors of thread. This free motion quilting included lots of thread changes which is one reason it took so long. In addition, I prefer to bury my thread ends and I like to do that as I go which makes things a little slower.

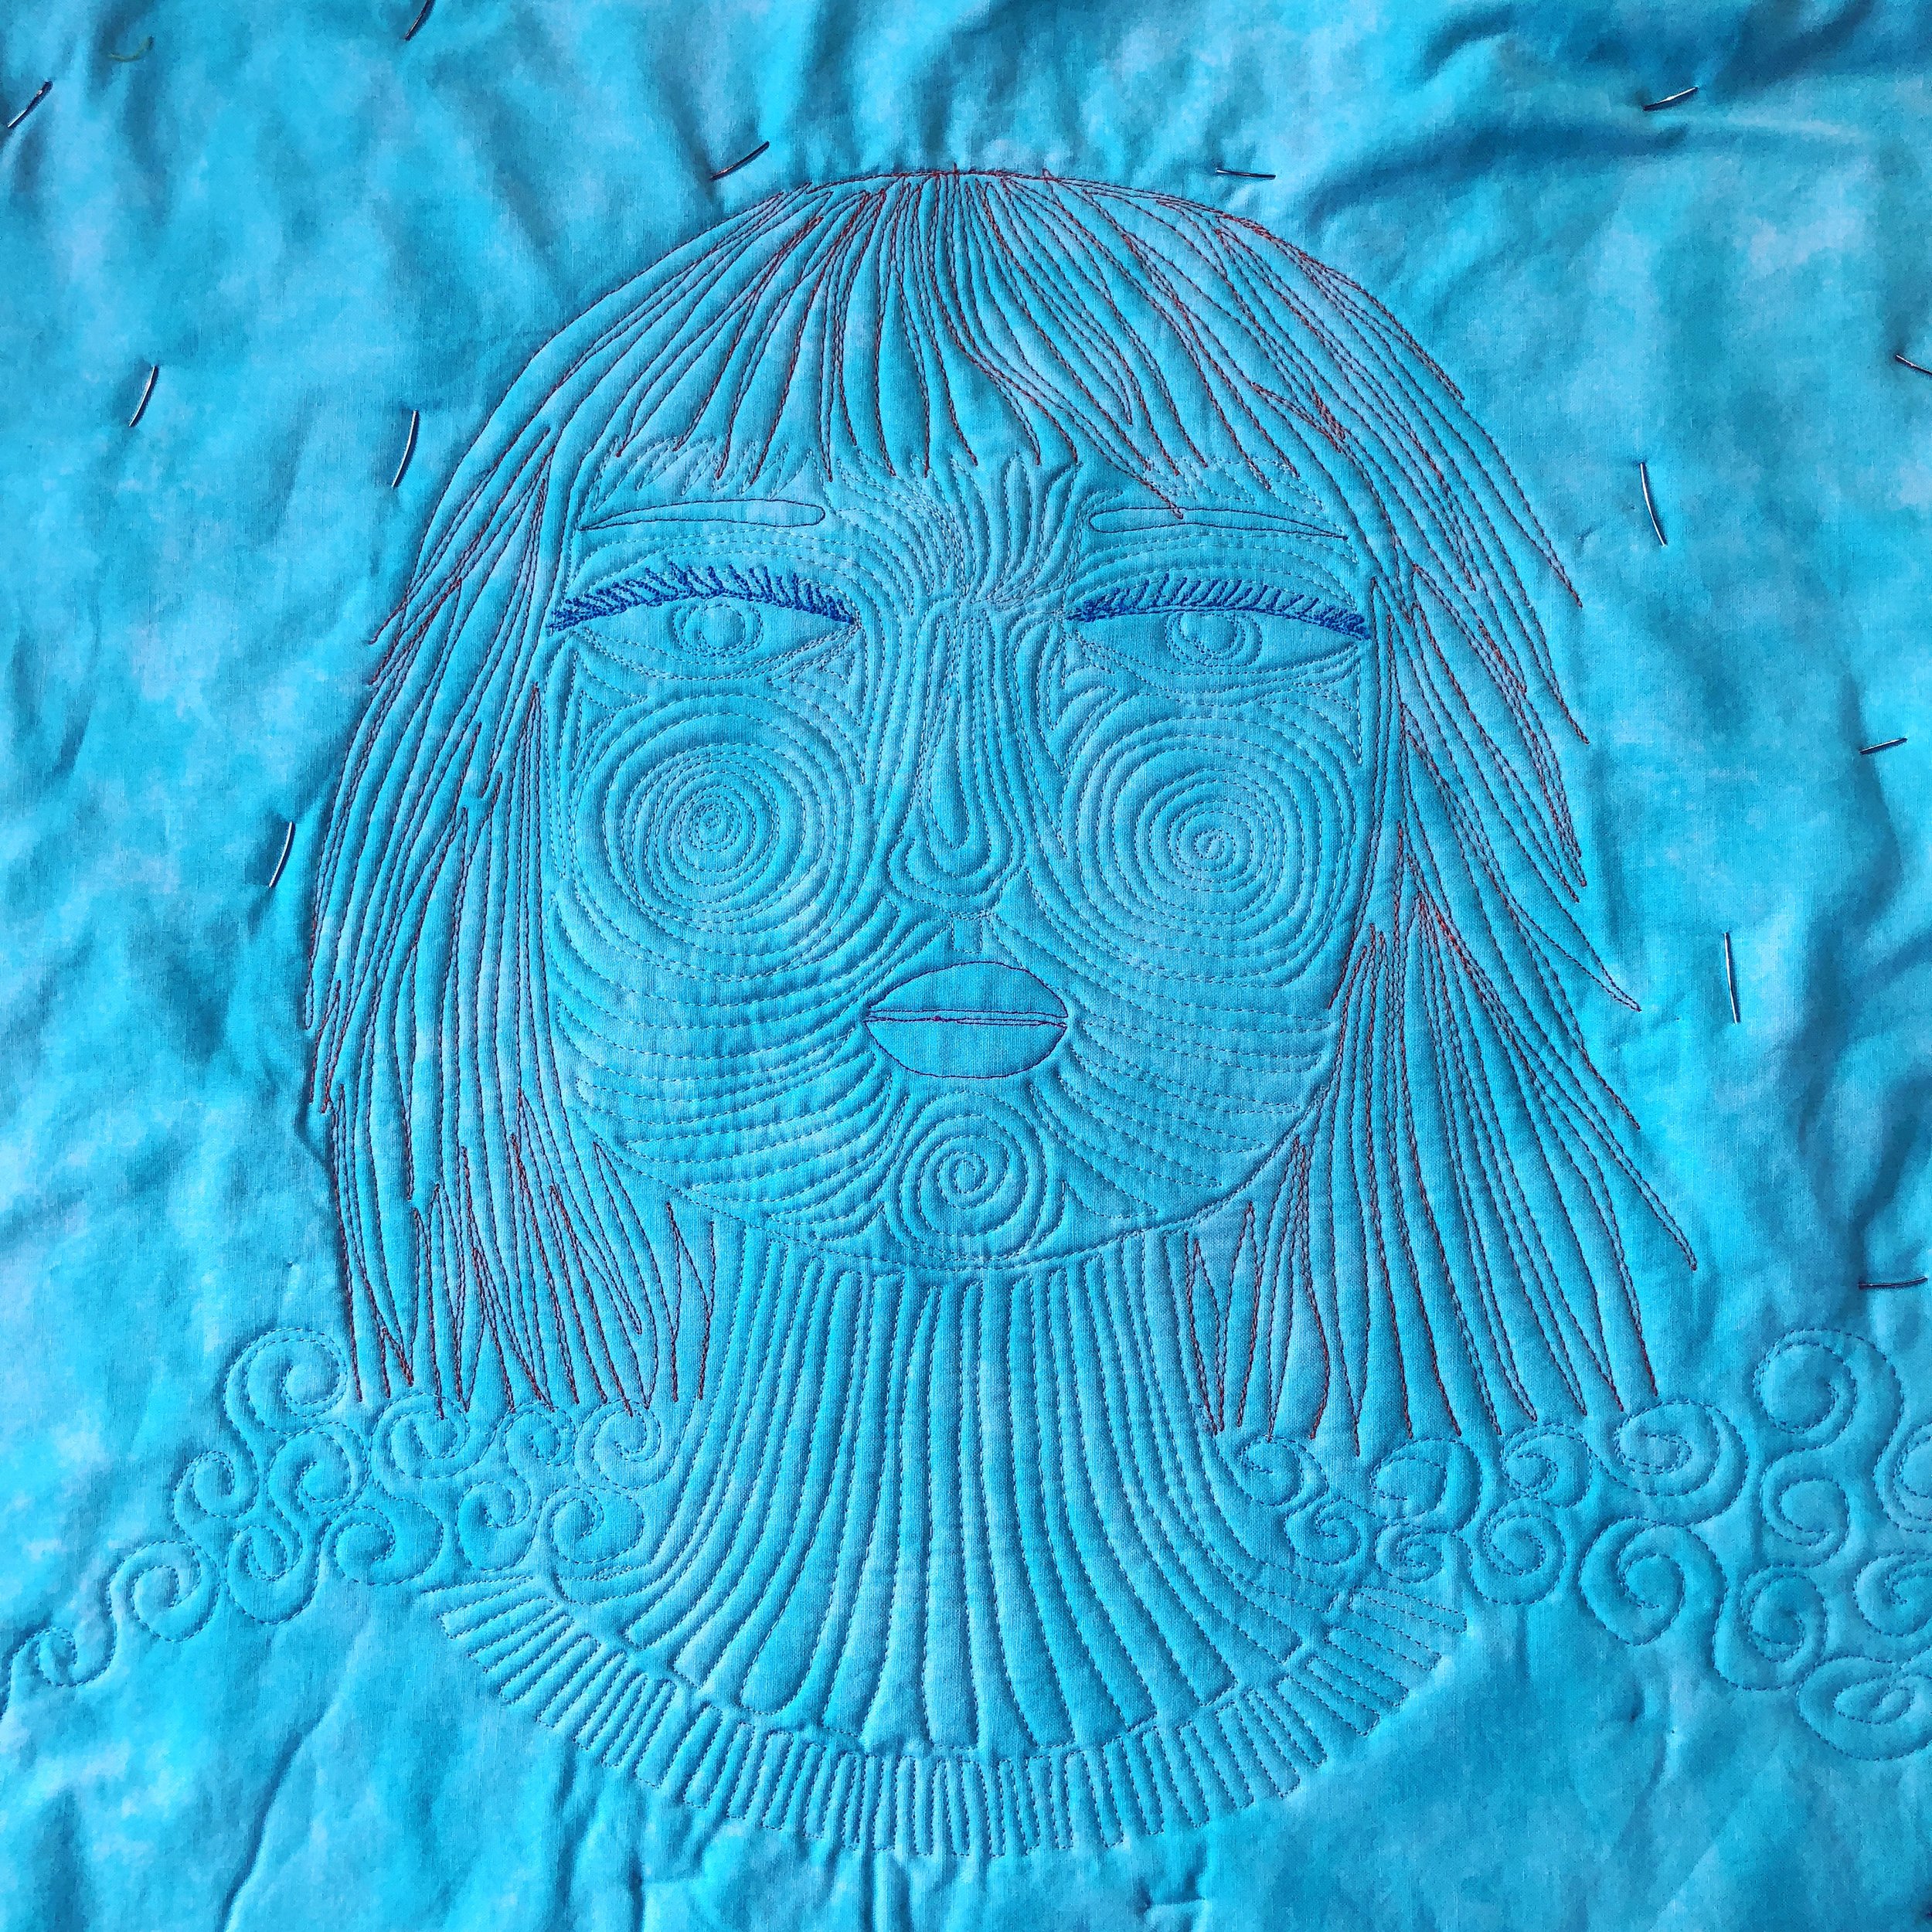
I started with the all important face. First I got out my previous face samples to study for a bit. It had been a while since I did them and I wanted to get a feel for the process again. Then I just dived in! It's not perfect, but do you know a face that is?

I love looking it at on the reverse too. In order to keep from having the fabric bunch up I worked my way from the face out to the edges. I did the shirt next, then the flowers and the marten before heading up into the sky.

The bird got it's quilting, but the legs didn't get done until later. They are just heavily free motion stitched lines.

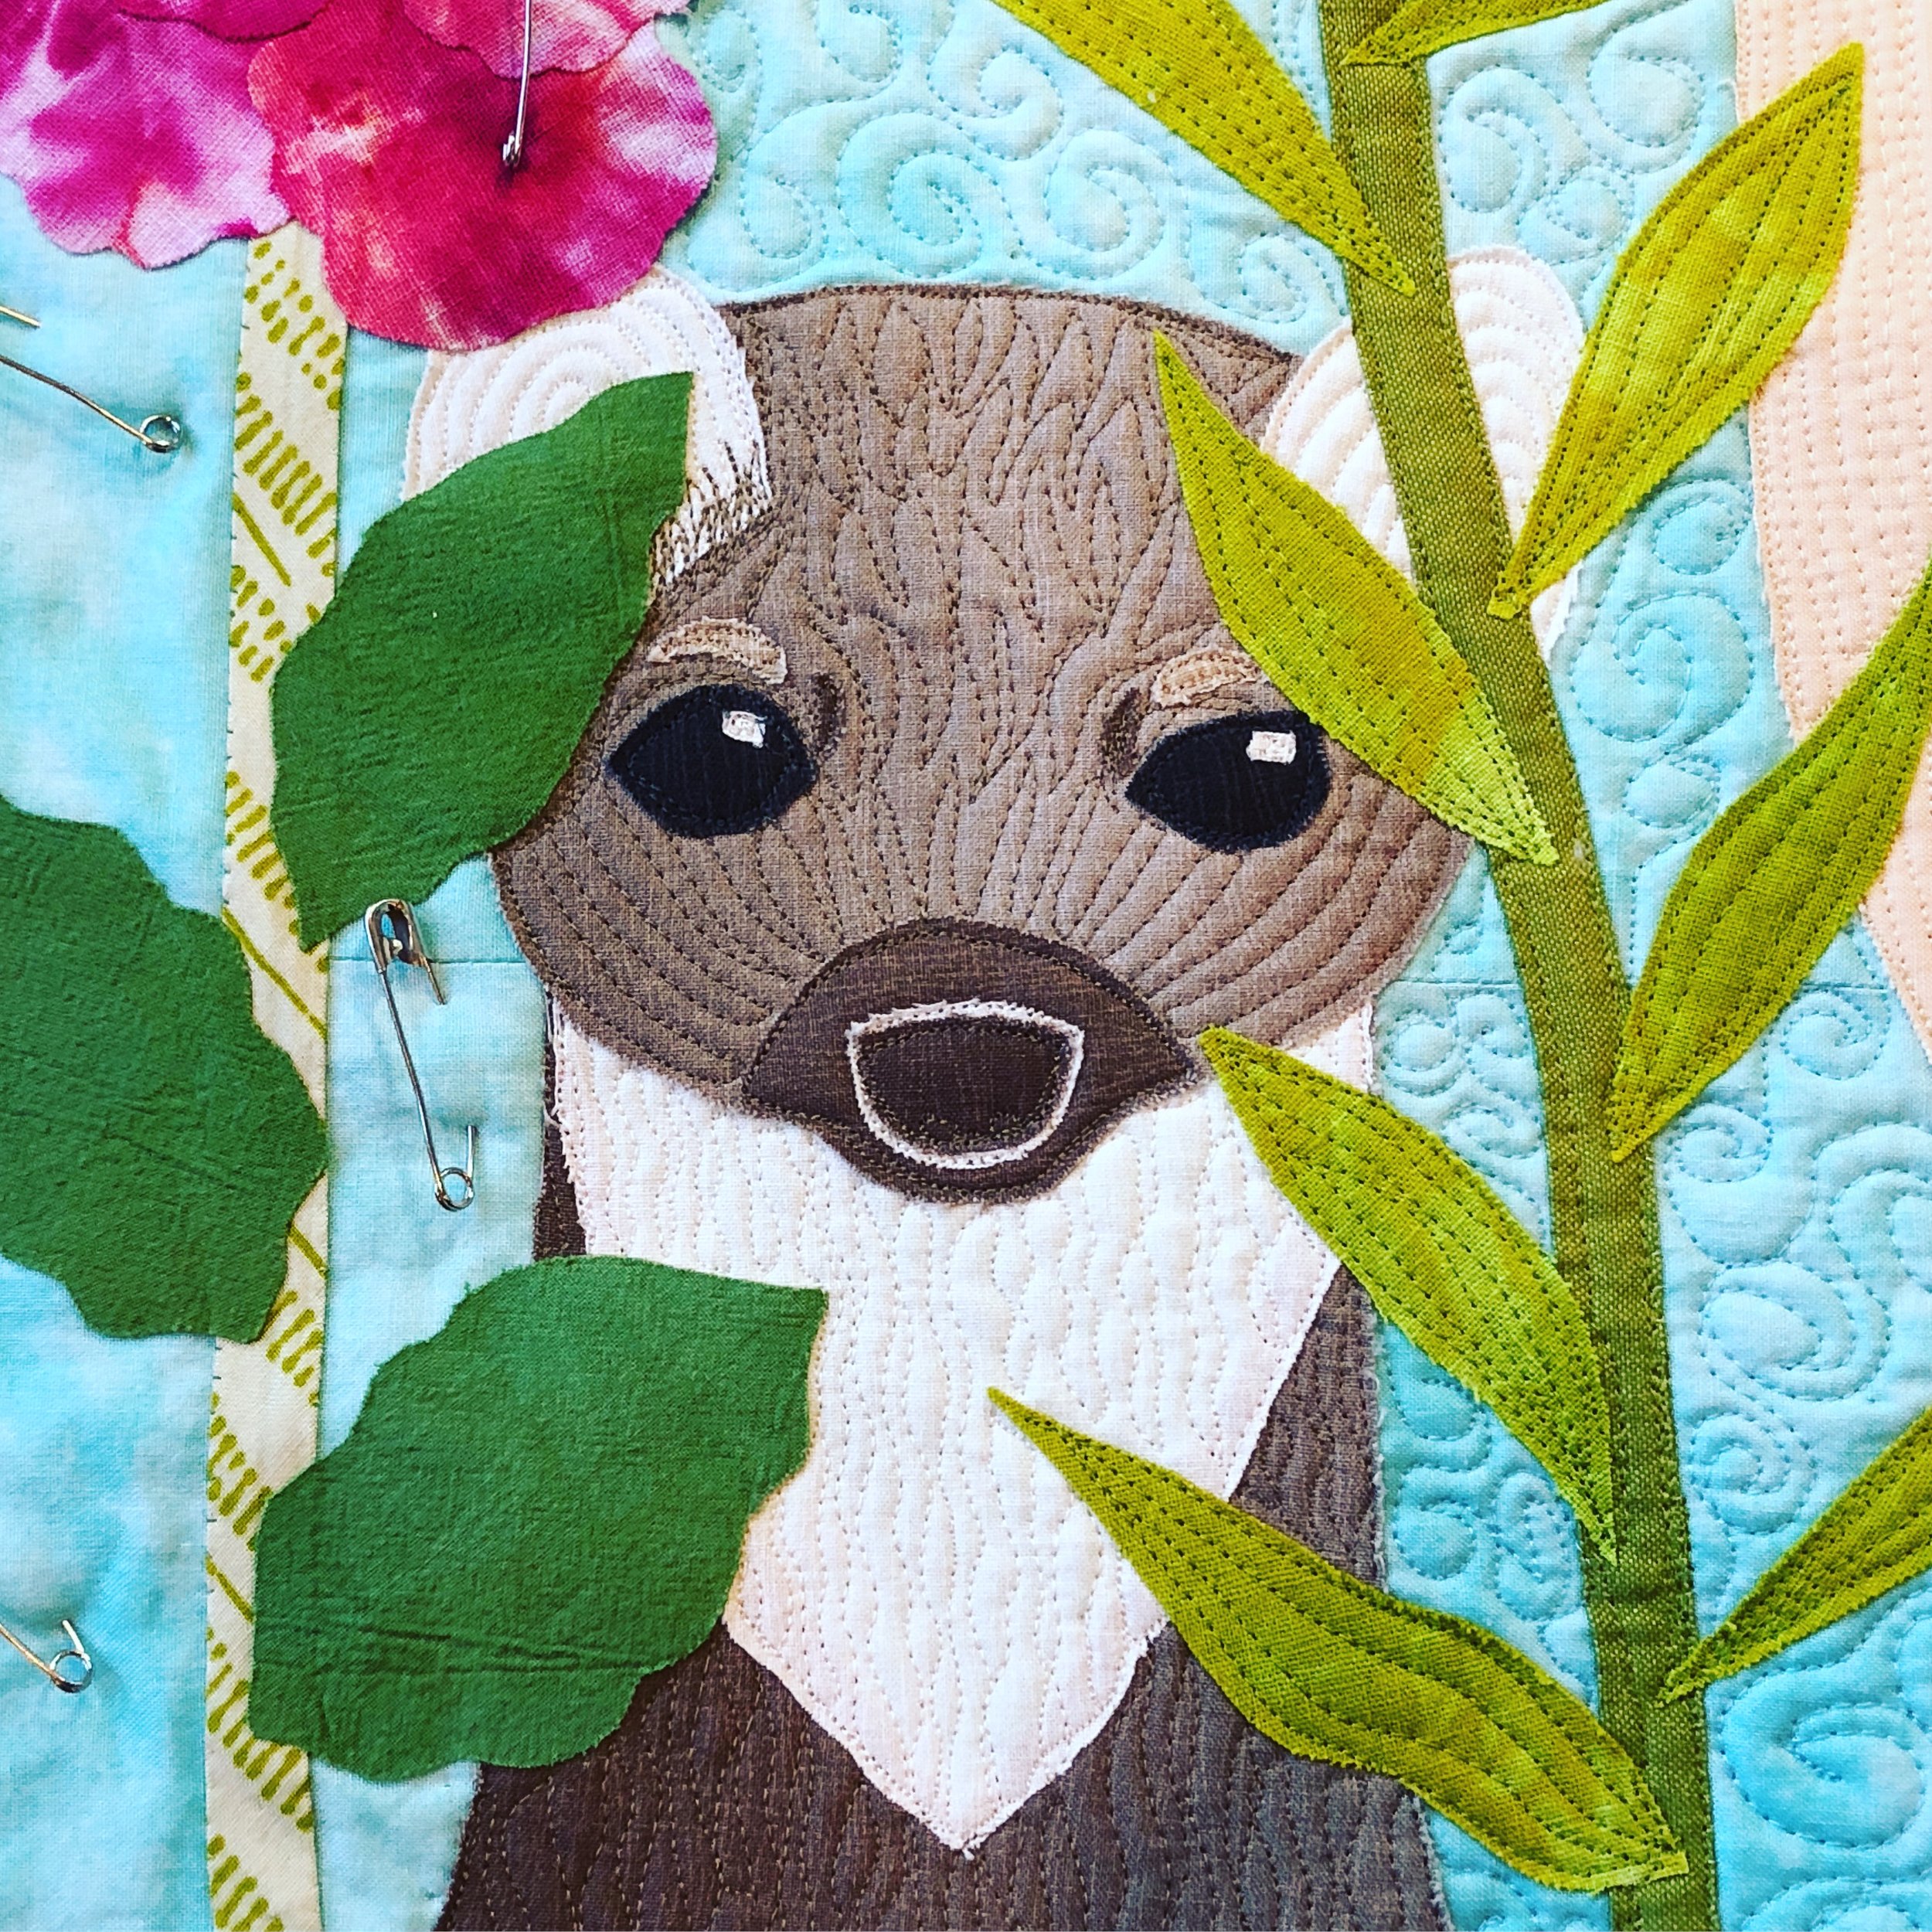
I attempted some fur texture on the marten's face and body.

Doing a person's skin is a particular challenge. I've gotten used to doing the faces, but when it came to the arms I wasn't sure what to do and ended up with these lines. The rest of the quilt is pretty densely quilted, so I wanted to keep the amount of quilting similar throughout.
As with my other face quilts, I don't do any stitching at all until the applique is fused and the quilt is layered with batting and backing. Therefore, the stitching I do to hold the fused pieces down is also the quilting. I also add stitching to every single piece. I just prefer it that way and I don't trust the fusible stuff to keep it all together over time.
Below you'll find my label which I create in Microsoft Word and print onto printable fabric. I hope you'll consider reading Martin Marten yourself. It's a wonderful book and the quilts our group made are really fantastic. More on that in the next post!
