
So, let's get back to our faces in fabric series. Today I'll start a two part post about the largest quilt in the series. This one is for my Undercover Quilters book challenge this year. The book is Marten Martin by Brian Doyle. It's a fantastic read and you are in for a treat if you've never read Doyle before. He was a local Oregon author who died last year, well before his time. His books celebrate language and nature in the most delightful way. In this book I've chosen to depict one of the main characters, a girl named Maria. The scene about her birthday party in a meadow on the flank of Mt Hood was a real favorite for me.
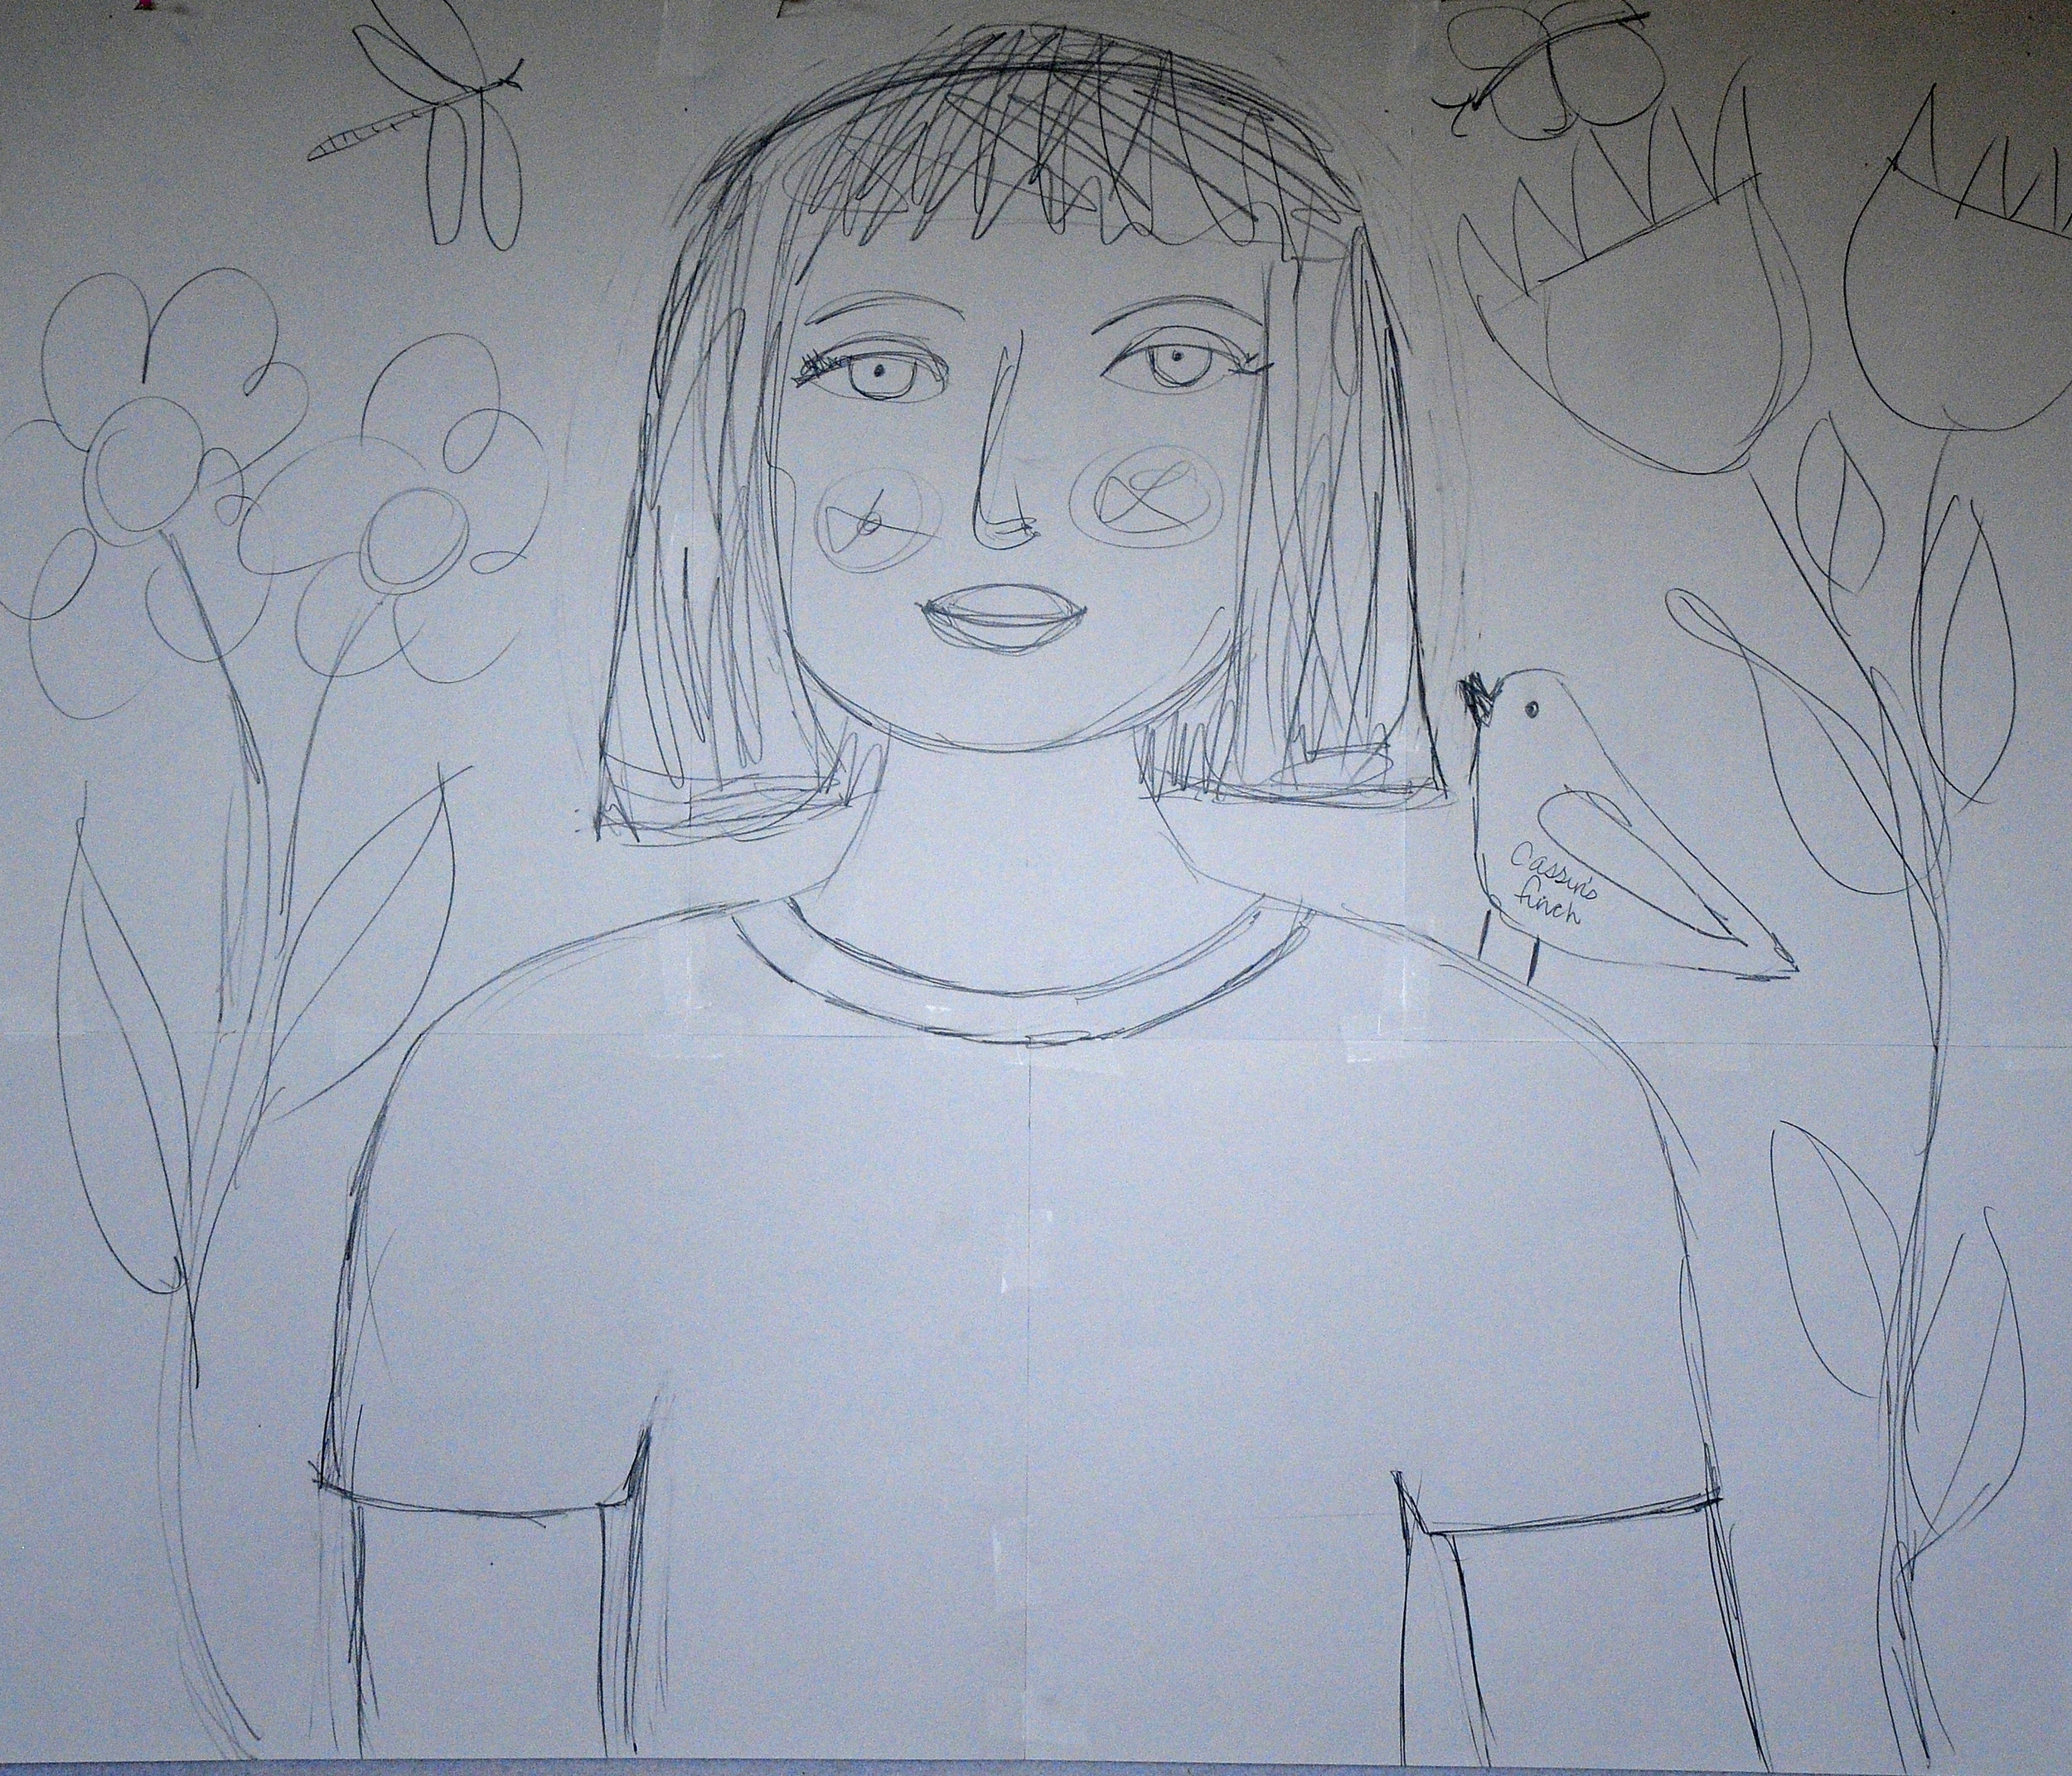
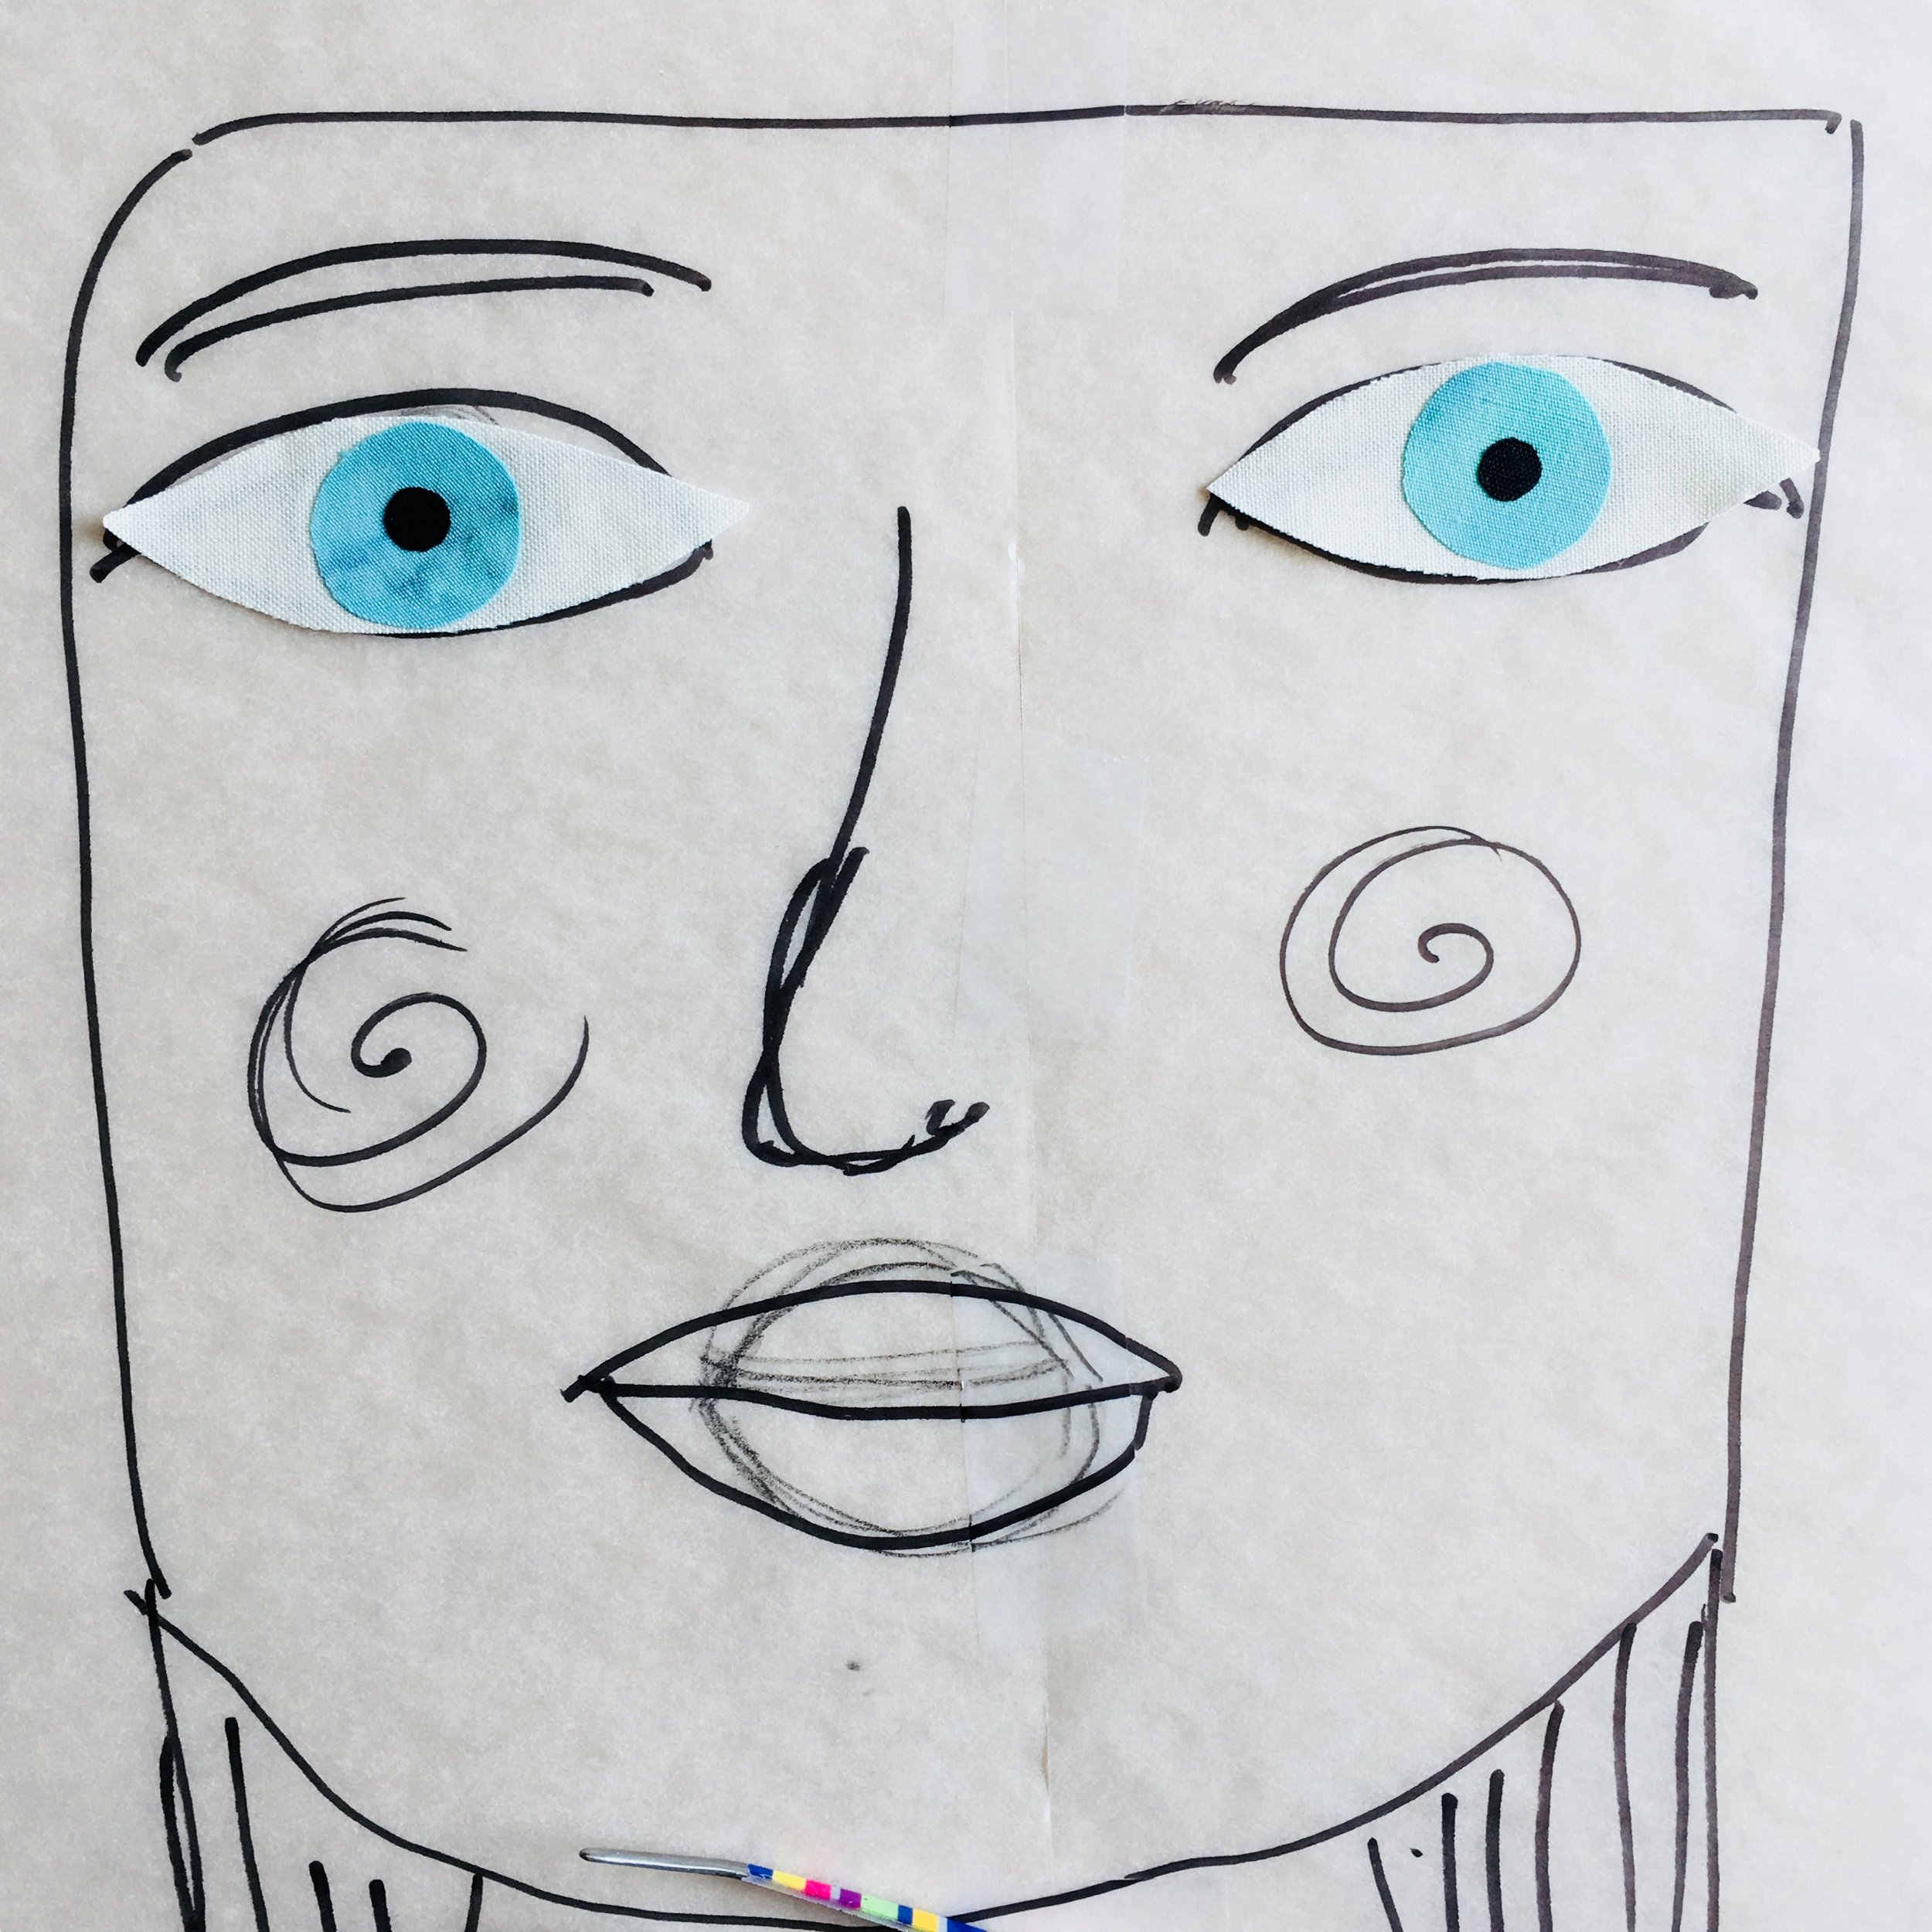
This quilt has to be a certain size, so rather than leave it up to chance and my crazy improv instincts, I decided to draw a mock up to make sure I can fit in all the parts. I then traced the face onto tracing paper with a Sharpie. This allows me to use it as a guide, but not as a pattern. Remember, I got help for this from Melissa Averino's book, Making Faces in Fabric.

The next step is to choose a face fabric and start building the face. I keep the tracing out as my guide as you'll see below.


I first refined the shape of the mouth.
As I said before, I always start with the eyes. I cut the white of the eye, irises and pupils and use the guide for a rough idea of shape. There will be changes as we go along, but that's ok.

Then I decide on an upper and lower eye lid.
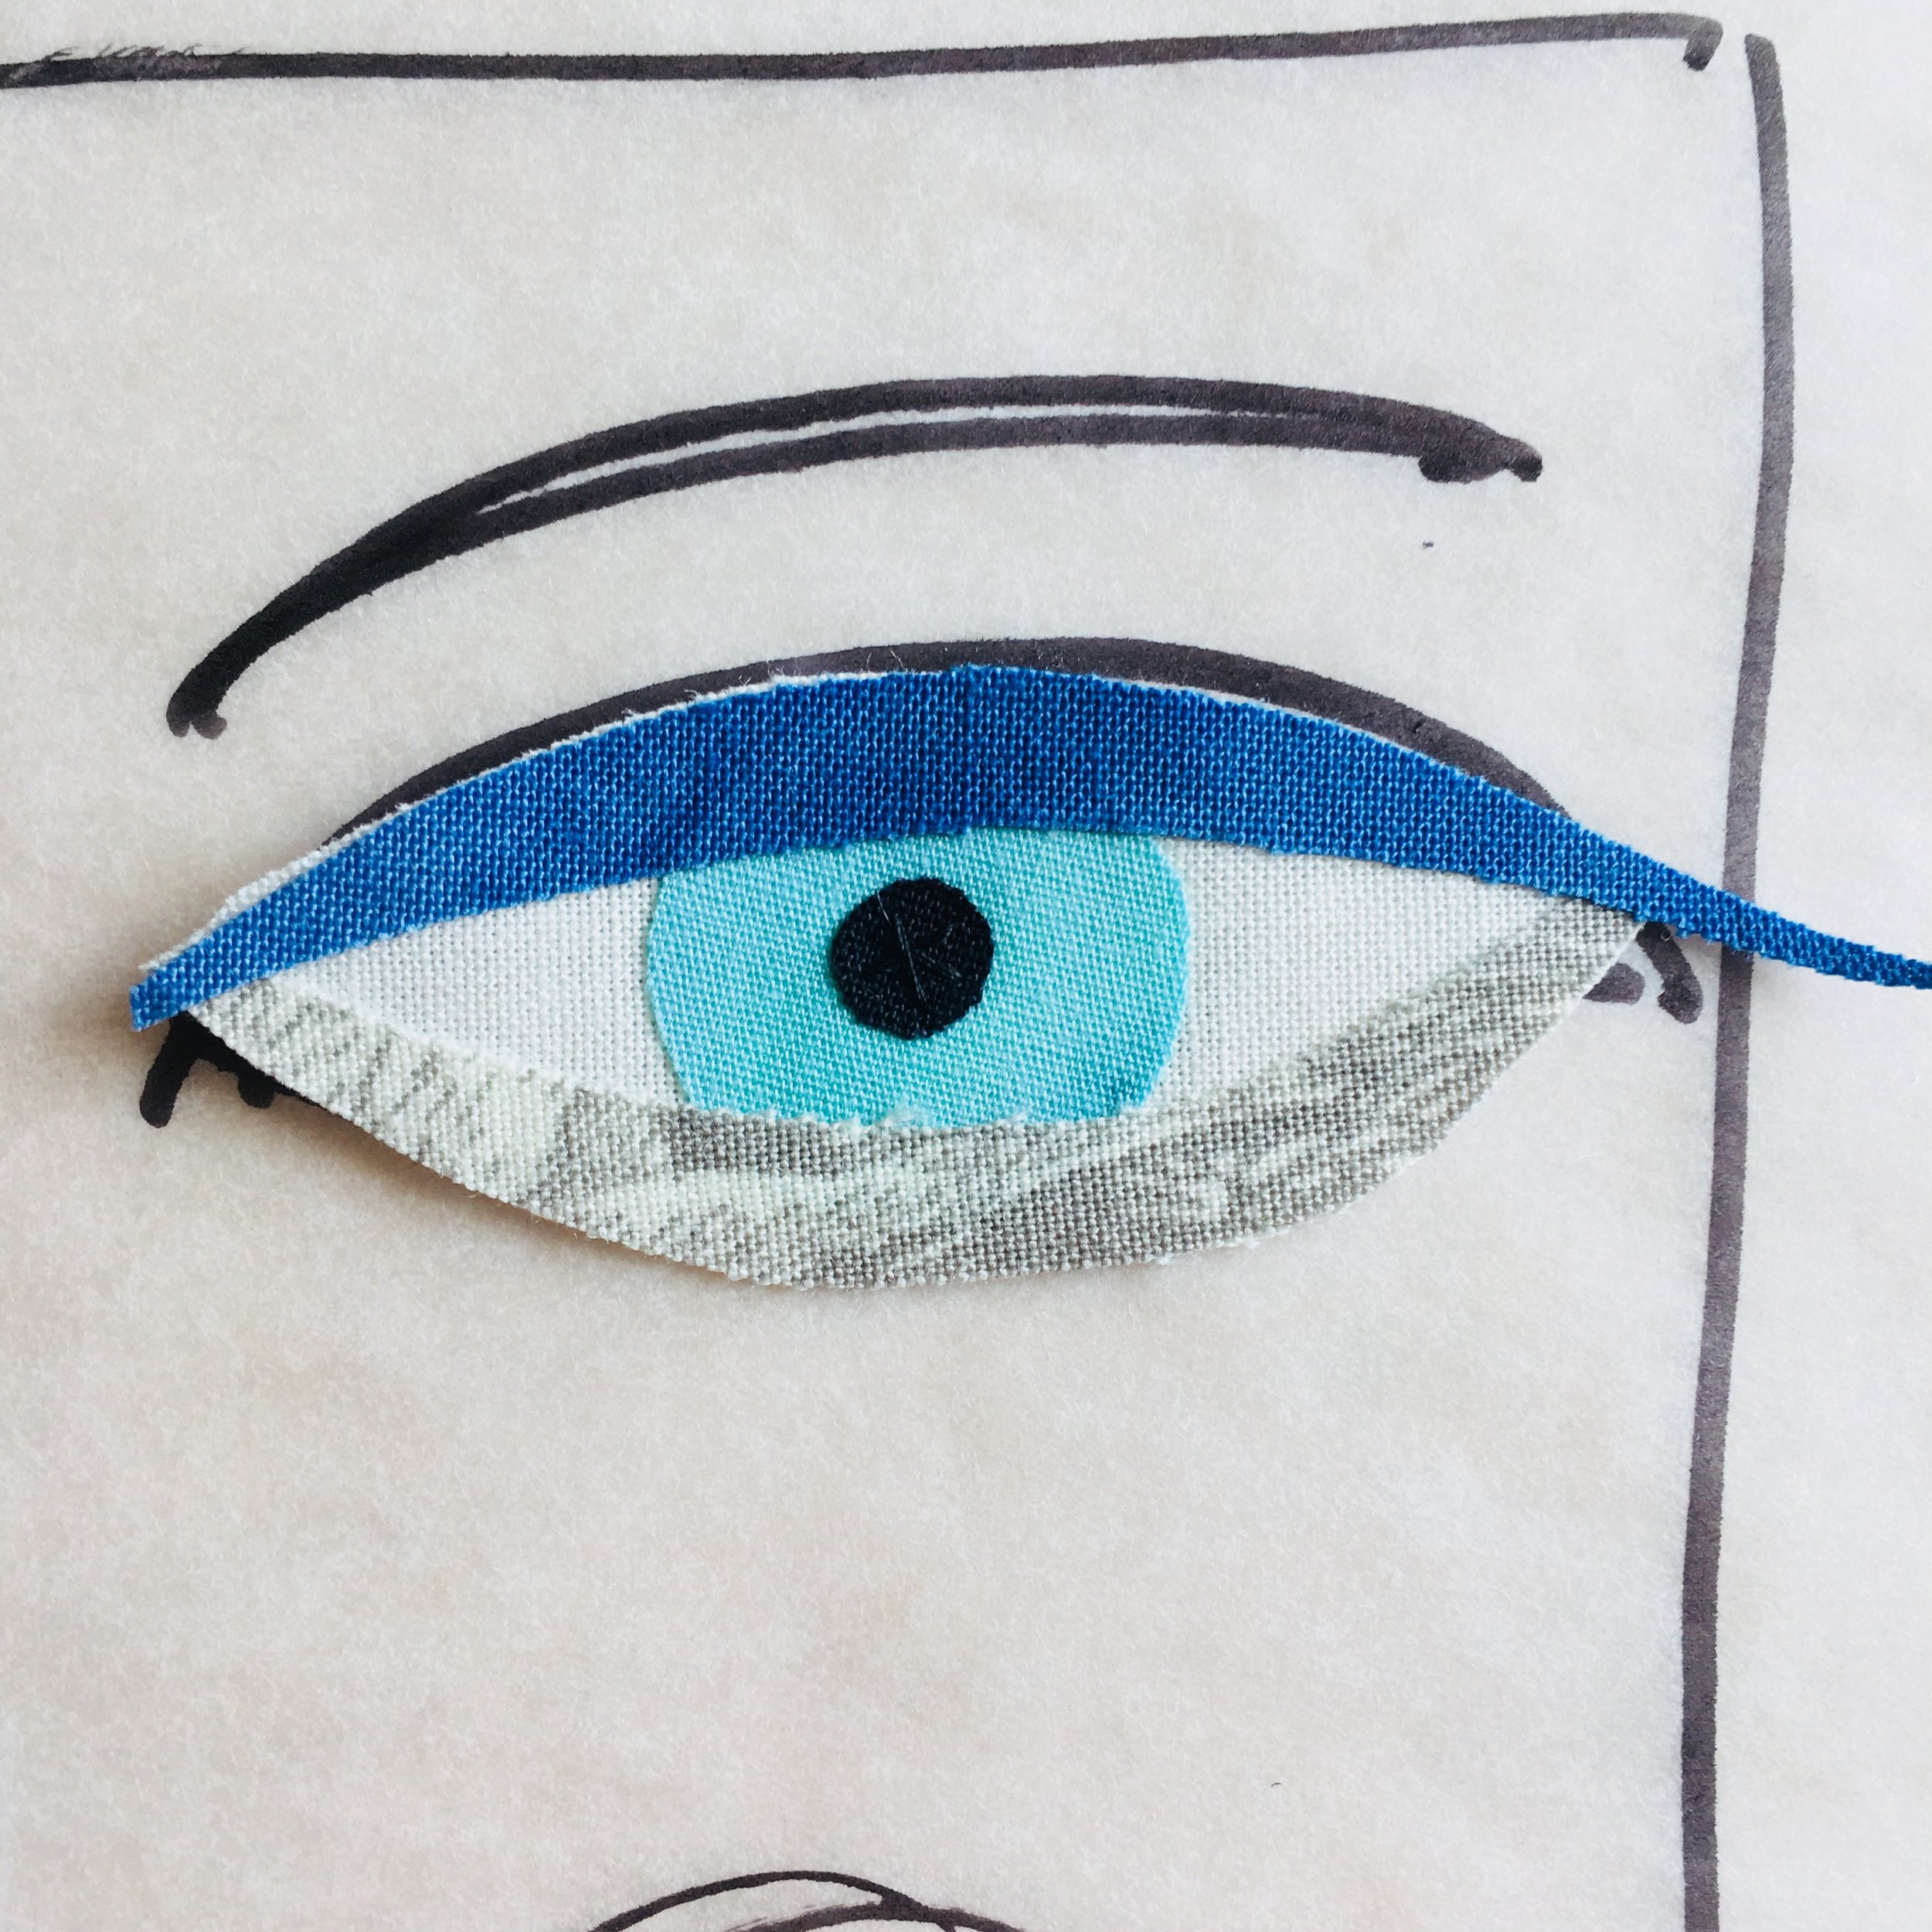

Before I go further I like to fuse the eyeball so I don't lose the little pieces. Then I do a couple of hand stitches in the pupil.


Tweezers are a necessity in my opinion! I also added the highlight with a couple of little stitches.

Once the eyes are complete they are fused, then I can decide on other features. The lips have a dark fabric placed under the upper lip for definition between the upper and lower. Melissa also recommends having the upper lip a shade darker than the lower lip.

cheeks

rosy cheeks, even better!

eyebrows

Once I have all the features ready I use the translucent tracing paper to guide placement on the face fabric.

At this point they can all be fused.

This time I used some very tiny pieces to just outline the nose.

I also used some skinny pieces to define the shape of the lower face and the neck.
Next time I'll talk about how to do the hair!